


Well I tried to find a water-surface tutorial for myself but I soon found out that there where none good out there.
 So I decided to experiment a little and this is what I came up with.
Start of by creating a new sheet 800x800, RGB mode and transparent background.
Then go directly to channels and create a new alpha channel by clicking on the new channels button.
Go to filter, render, clouds.
Go to filter, blur, radical blur. Choose zoom blur and set it to 25 and good.
Go to filter, distort, zigzag and put it on "amount 20, 15-20 ridges and pond ripples".
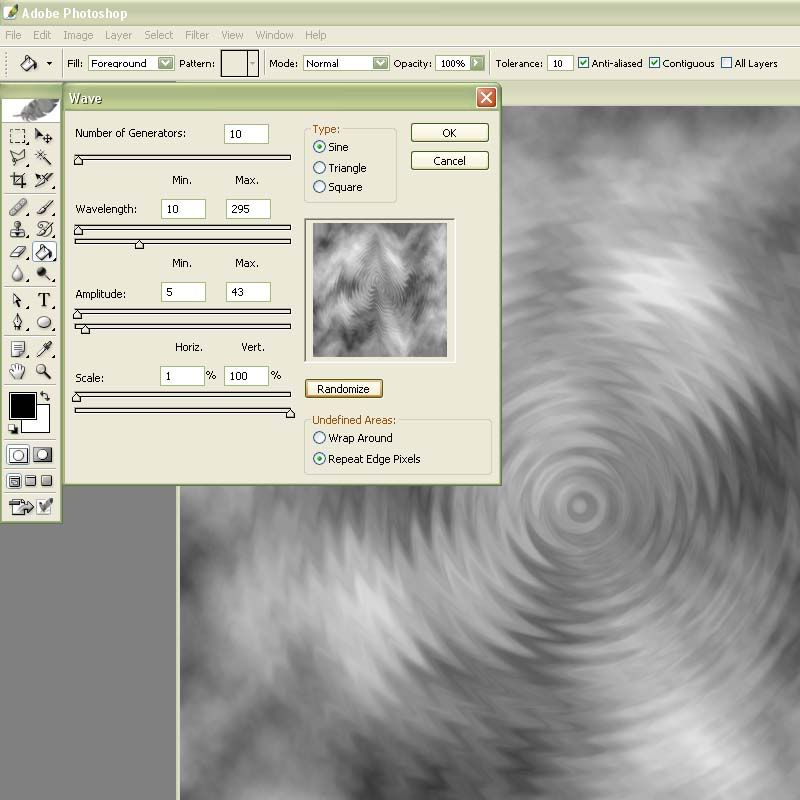
Now go to filter, distort, wave and enter the following settings. Click randomize until you are happy with the outcome. Its wary important that you dont change the wave settings after you used them because you will have to use the exact same wave later on.
Go to filter, blur, Gaussian blur and blur it about 4 pixels
Now go back to the layers palette and fill your layer with a water like colour i used #5697F7.
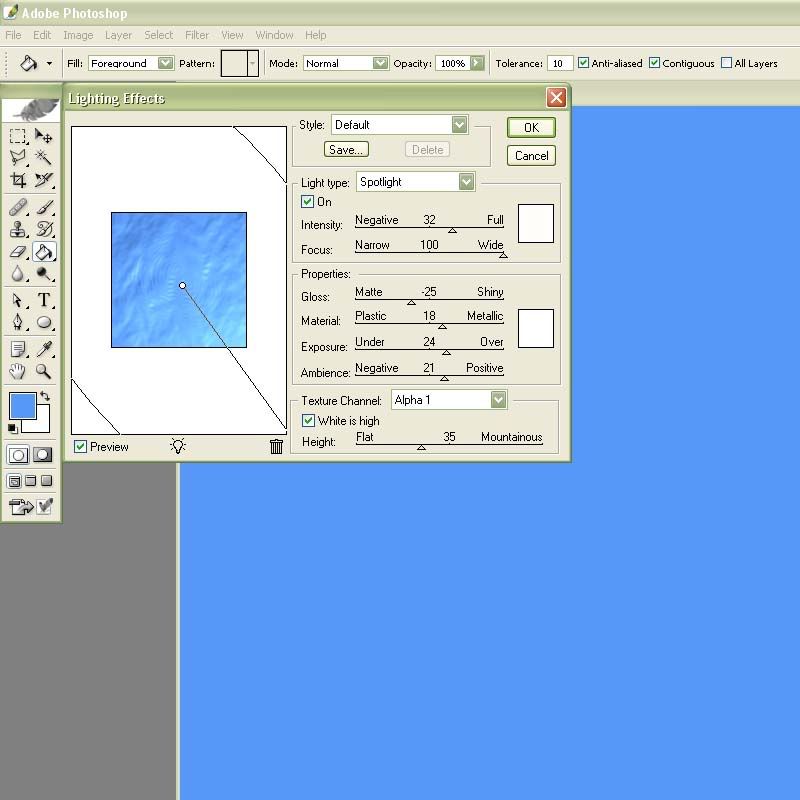
Go to filter, render, lightning effects and use the following settings.
Press "ctrl J" to duplicate the layer and then on the new toplayer go to filter, sketch, chrome and use "detail 5 and smoothness 10" as settings.
Press ctrl u to colorize the layer and use "Hue 190 Saution 50 and lightness -15" as settings. Then sett the layer blending mode to overlay.

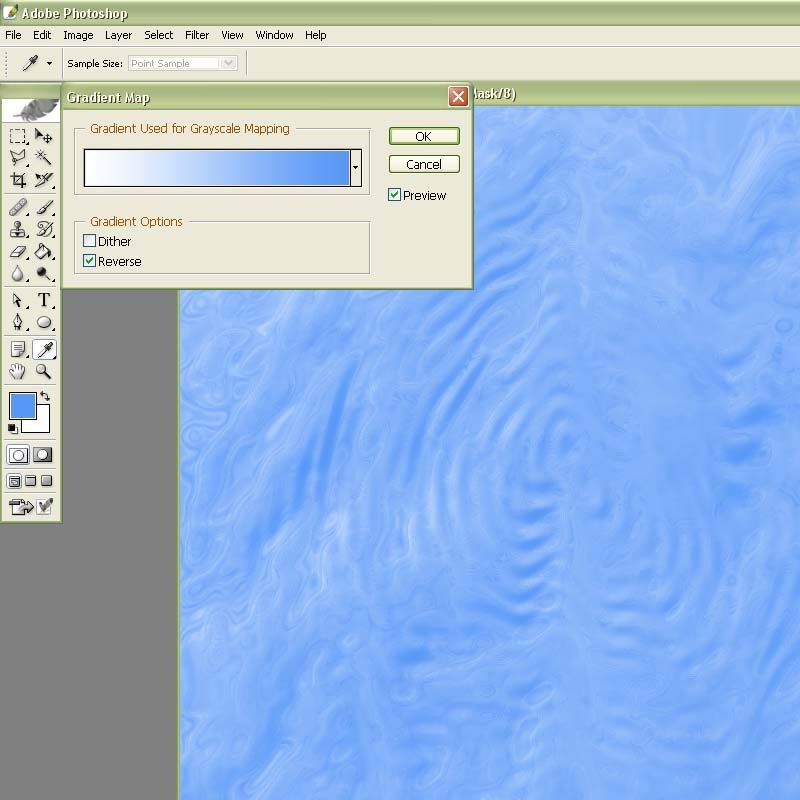
Now make a new gradient map adjustment layer by pressing the create a new fill or adjustmentlayer button to the left of the create new layer button down in the layers panel.
Make it a 2 coloured gradient. The colour to the left should be white and the one on the right a middle blue colour i used #458AE7.
http://img.photobuck...tersurface4.jpg
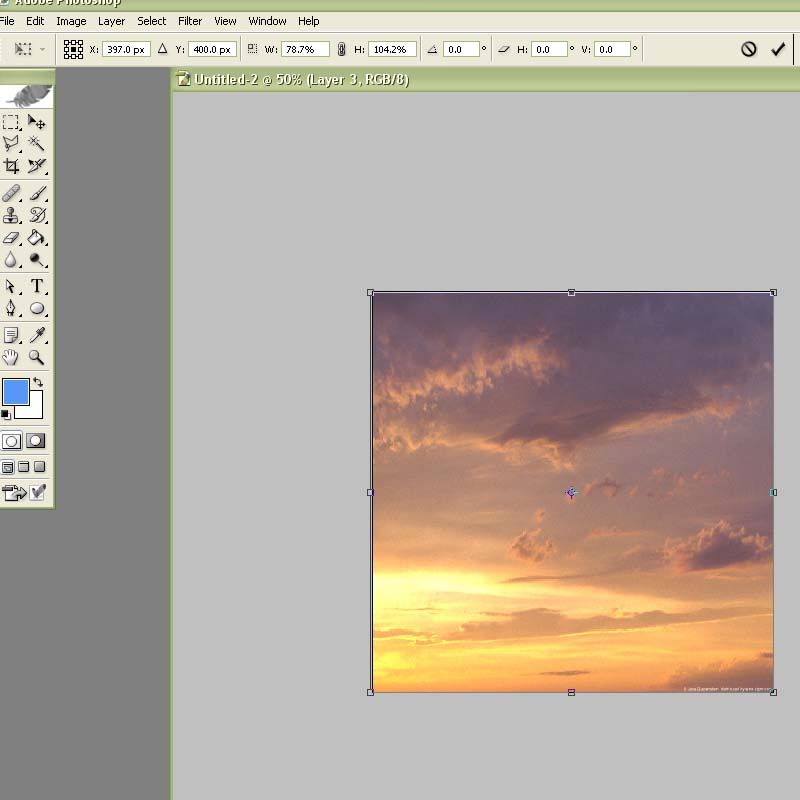
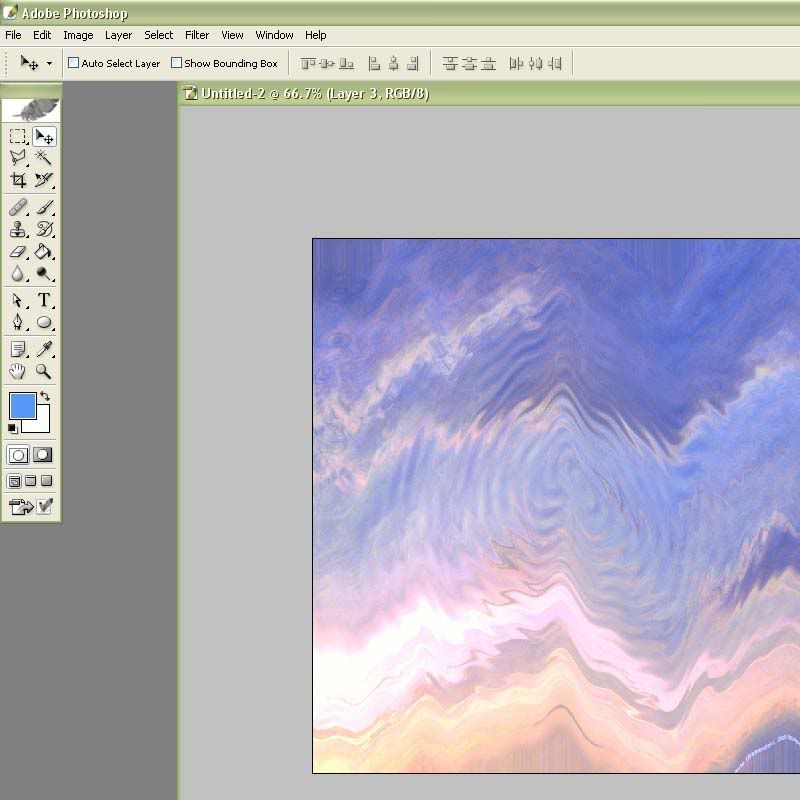
Now the problem with water is that it actually has no colour. It only reflects its environment witch in my case is the sky. So now go find yourself a nice, preferable colourful picture of the sky. I used this one i found by searching for "sunset" on googles image search.
Use your free transform tool to fit it into your canvas. on a later above the gradientmap-adjustmentlayer.
Then lets repeat what we did on the alpha layer, go to filter, distort, zigzag and use the exact same settings as you did before on the alpha layer.
Then go to filter distort wave and use the same wave as you did on the alpha layer.
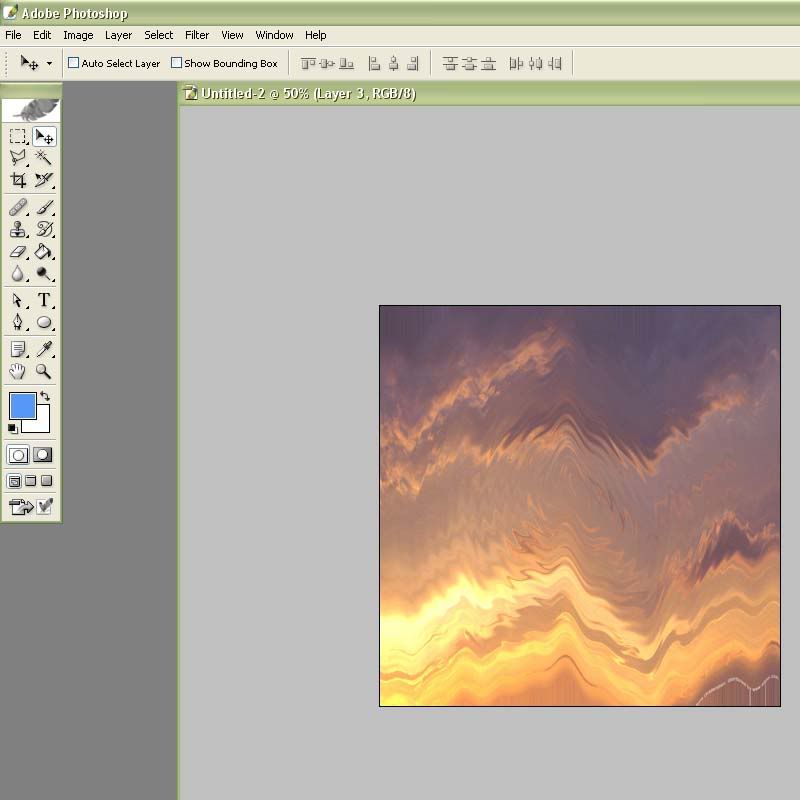
Now put the layer on the "hard light" blending mode and se the outcome.
But its not a surface yet so either link the 3 image layers together or go to layer, merge visible to get the image you have to a single layer.
Now zoom out to 50-25% and use your free transform tool as the image show.
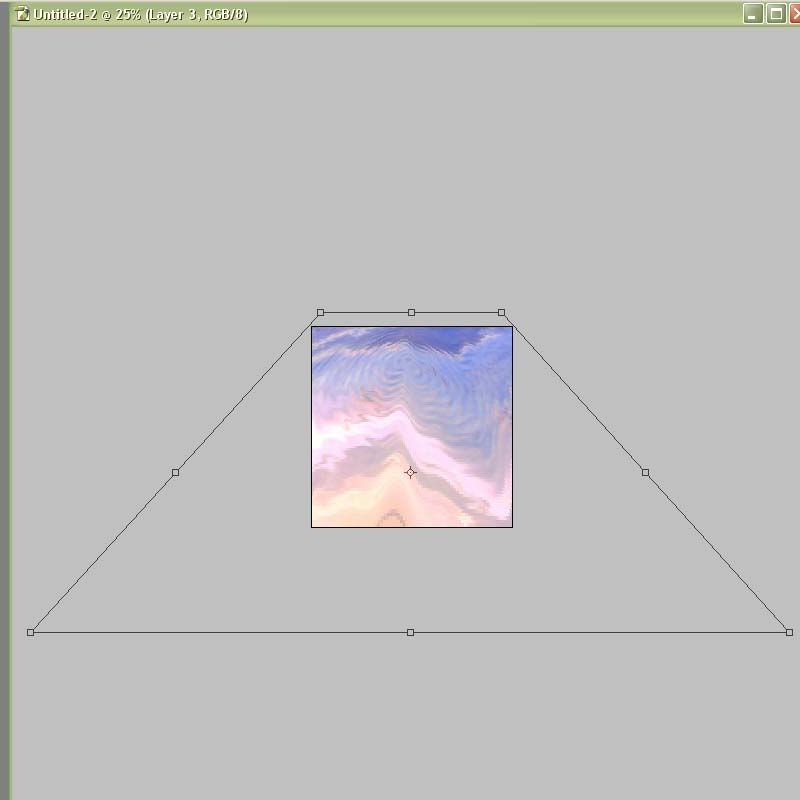
Volia now you have a nice looking water surface

Oh well I waved it a little too much in this tutorial I should have kept it down a little, it can be done beater.
A tip: put a later on top of the others and put it on overlay, then experiment with black foreground to transparent gradients on it.
I hope this tutorial was helpful to you all thirsty people cya all


