


In this tutorial you will learn how to create an glass bordered window just like
Windows Aero Glass.
Result
1) Open a new document 500x500 px. and fill it with this color #656565.
2) Choose the Rounded Rectangle Tool
 , and use these settings.
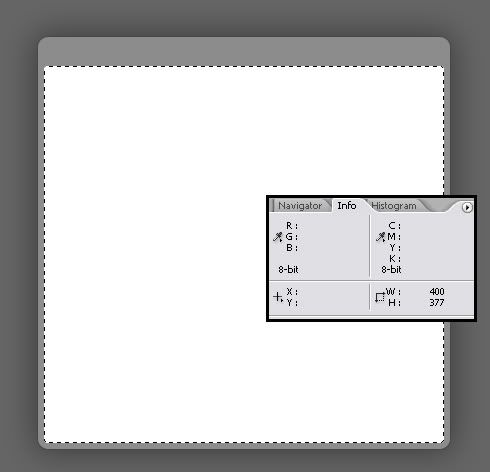
3) Make it 412x412px. Like so (Tip: press F8 to get info window).
4) Enter layer style (double click the layer not the layer's name} and follow these
settings [Pic 1] | [Pic 2] | [Pic 3] and name it Glass Layer.
5) Choose the Rounded Rectangle Tool
. again and use these settings, this time make it 400x377 px.and place it like this
Enter layer style (double click the layer not the layer's name} and follow these
settings: [Pic 1] | [Pic 2] and name it Inner Window.
6) Now download this reflection map and load it into your current workspace,
place it above the glass layer and below the inner window layer.
Load the selection by Ctrl+Clicking the Glass Layer [ctrl click
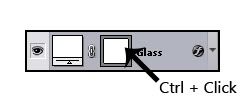 ], Make sure that the reflection map layer is selected and add Layer Mask by clicking this icon [Layer Mask
 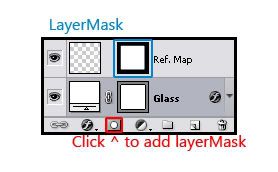 ].
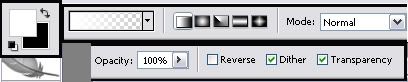
].7) Create a new layer [above all] ctrl+click again the Glass layer and select the Gradient tool

in these settings make sure that white is your foreground colour and do this:
from left to right [ like this ].
Duplicate the layer by pressing ctrl+J, then free transform by pressing ctrl+T then right mouse click
and select Flip Horizontal apply it then aling it with the Glass layer and press ctrl+E it will merge the layer below.
lower the opacity of the layer to 60% - 50%
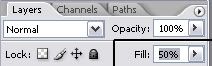 and name it Highlights.
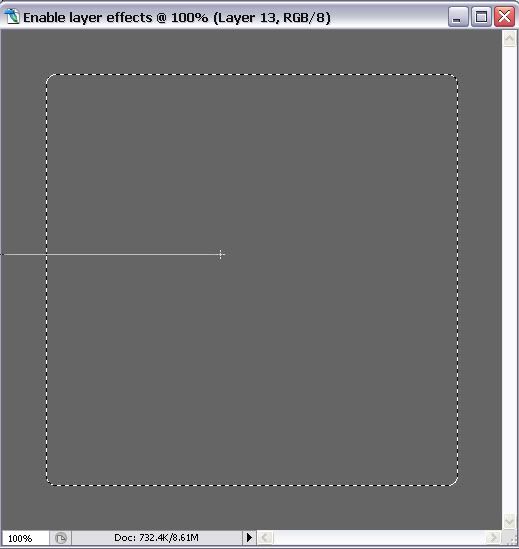
8) Ctrl+click the Glass layer then press Q [don't panic the red is ok
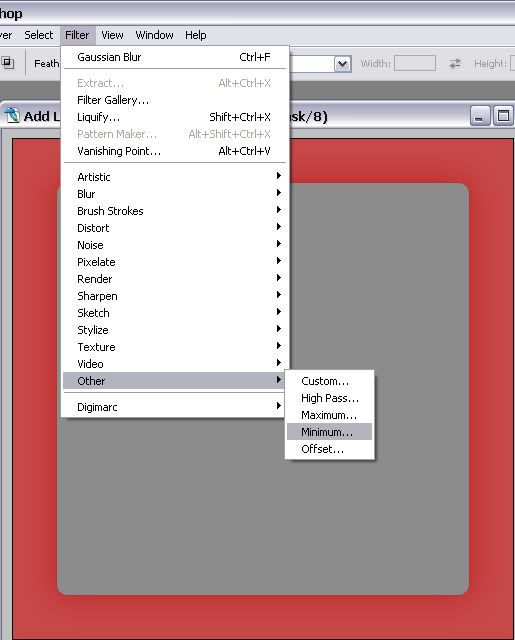
 ], now go to Filter> Other> Minimum. [ Filter Min ]
this will pop
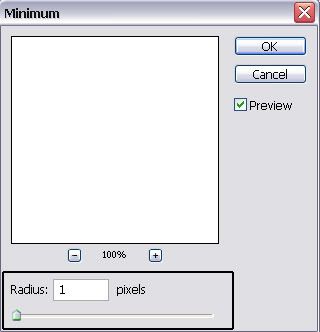 . make sure the radius is 1 px. then OK.
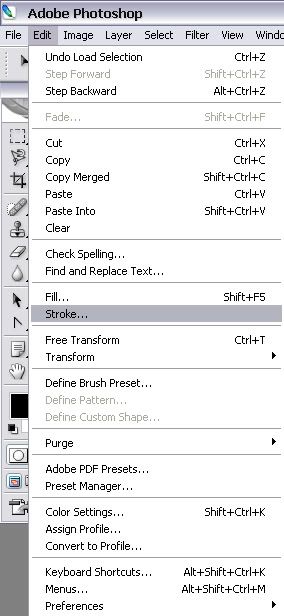
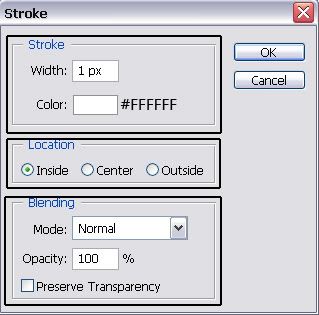
Press Q again. now make a new layer on top of all the other one's then go to Edit> Stroke, use these settings
Enter layer style (double click the layer not the layer's name} and follow these settings: [Pic 1] | [Pic 2] | [Pic 3]
apply it, and you're done!
 .
.*Note: you will get a trans lucid window so be sure to place your final composition
onto a picture of some kind I prefer landscapes.
Show me your results!. [any questions just ask]
The buttons are a bit more complicated if you want to I can provide you with them
.


![[Pic 1]](http://i58.photobucket.com/albums/g265/yellow_06/Glass/Aero%20TuT/GlassFill25.jpg)
![[Pic 2]](http://i58.photobucket.com/albums/g265/yellow_06/Glass/Aero%20TuT/GlassDS.jpg)
![[Pic 3]](http://i58.photobucket.com/albums/g265/yellow_06/Glass/Aero%20TuT/GlassStroke.jpg)
![[Pic 1]](http://i58.photobucket.com/albums/g265/yellow_06/Glass/Aero%20TuT/InnerWindowOG.jpg)
![[Pic 2]](http://i58.photobucket.com/albums/g265/yellow_06/Glass/Aero%20TuT/InnerWindowStroke.jpg)
![[Pic 1]](http://i58.photobucket.com/albums/g265/yellow_06/Glass/Aero%20TuT/StrokeLSblendingop.jpg)
![[Pic 2]](http://i58.photobucket.com/albums/g265/yellow_06/Glass/Aero%20TuT/StrokeLSstrokeop.jpg)
![[Pic 3]](http://i58.photobucket.com/albums/g265/yellow_06/Glass/Aero%20TuT/StrokeLSGradientop.jpg)