 Hello again. :) So with my last tutorial I tried to show you how to use 3D Revolve tool to create sapphire. And we created planet mars with this tool. Today I want to expand this tuttorial and want to show you how to create a disco ball. Basicaly we are going to fallow same steps but this time we are going to create our own texture map. So let's start. ADJUSTING GRID LINES:
To create the right texture I am going to use grid lines as guides. If you dont see the grid lines in your art board you need to click on "��show grid"�� option (View/ Show Grid). If you want you can adjust the spacing between each grid and subdivisions. For this adjustment you need go�'Edit / Preferences/ Guides & Grids'��. From the pop up menu you can adjust the spacing and
subdivisions, even the guide colors.
� CREATING THE TEXTURE MAP:
Now we have grids all around the art board. Before starting to create our texture we need to check �Snap to Grid� option (View/ Snap to Grid). So now we can easily create our texture.
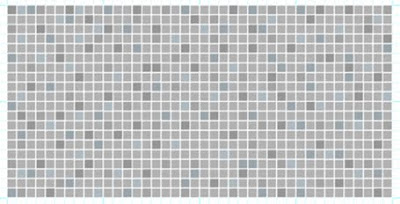
First I am creating a square which fits one of the grids. Fill color is %10 gray, stroke is 0.5pt white. Now click on it with selection tool and while holding to �alt� key drag it to the grid one next. As you we have just duplicated the first grid. Now if you click ''��ctrl + D''�� you can continue duplicating the same square to same direction. I created 40 square for the first line of the texture. And now with selection tool select all the squares that you created and again while clicking �alt� button drag the line one grid down. OK. Now we duplicated the first line. So again with '��ctrl + D'�� continue duplicating lines. I created 20 lines for this texture.
And finally I choose some random squares and changed their fill colors with darker gray, light shaded blue and little bit more dark shaded blue. OK our texture is ready.
CREATING 3D SAPPHIRE:
Let�s start with creating the sapphire shape. We are going to use 'Revolve'�� comment which is placed under '��Effects/3D'��.
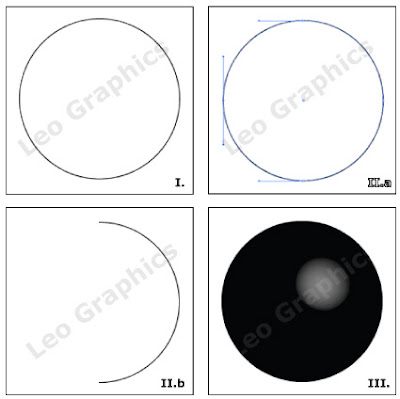
I. With ellipse tool create a perfect circle. (To create a circle you need to push shift button while drawing your shape.) Do not choose any fill color, only put a stroke color.
II. With direct select tool choose one the left point on the path and delete it. So now you have an arch represents half circle.
III. It is time to create the 3d sapphire. Now choose your shape with selection tool and go click on revolve command (Effects/ 3D/ Revolve). Click on the preview box to see the result of the tool. As you see you already created the sapphire. Quickly what revolve tool does is turns the shape around the 2 end points 360'��. You can play with the angle to change this ratio.
CONVERTING TEXTURE TO SYMBOL:
To apply our texture map on sapphire we need to convert it to symbol. It is really easy step. Just select all the texture and click �new symbol� button under symbol library. As you see new symbol will show up in the library.
APPLYING SYMBOL TO SAPPHIRE:
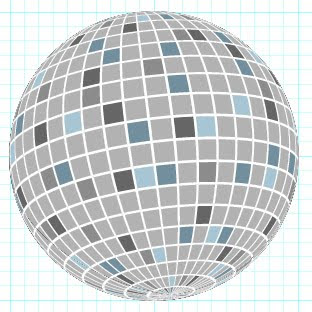
Now as a last step we need to apply the map to the sapphire. Click on the sapphire and double click on '��3D Revolve'�� which is listed under Appearance. (if appearance is not open you can open it from '��Window/Appearance'�� or short cut '��shift + F6'). The 3D revolve box will pop up again. Now click on '��Map Art'�� button. As you see there are 2 surfaces (one of them is inside of the sapphire and the other one is outside). Choose the first one. From the symbol menu choose the texture map you created. And click on '��scale to fit' button left down side of the box. Click '��OK'�� to apply the map art. Click on preview to seethe results. If you want to play with the side views of the object you can rotate it by playing X, Y, and Z values.
Congratulations. Now you have just created your disco ball. So where is the party ;)
I hope you enjoyed my tutorial. If you have any questions please do not hassitate to ask me.
Leo Graphics, 2008
www.LeoGra.com
blog.leogra.com
� 
|


