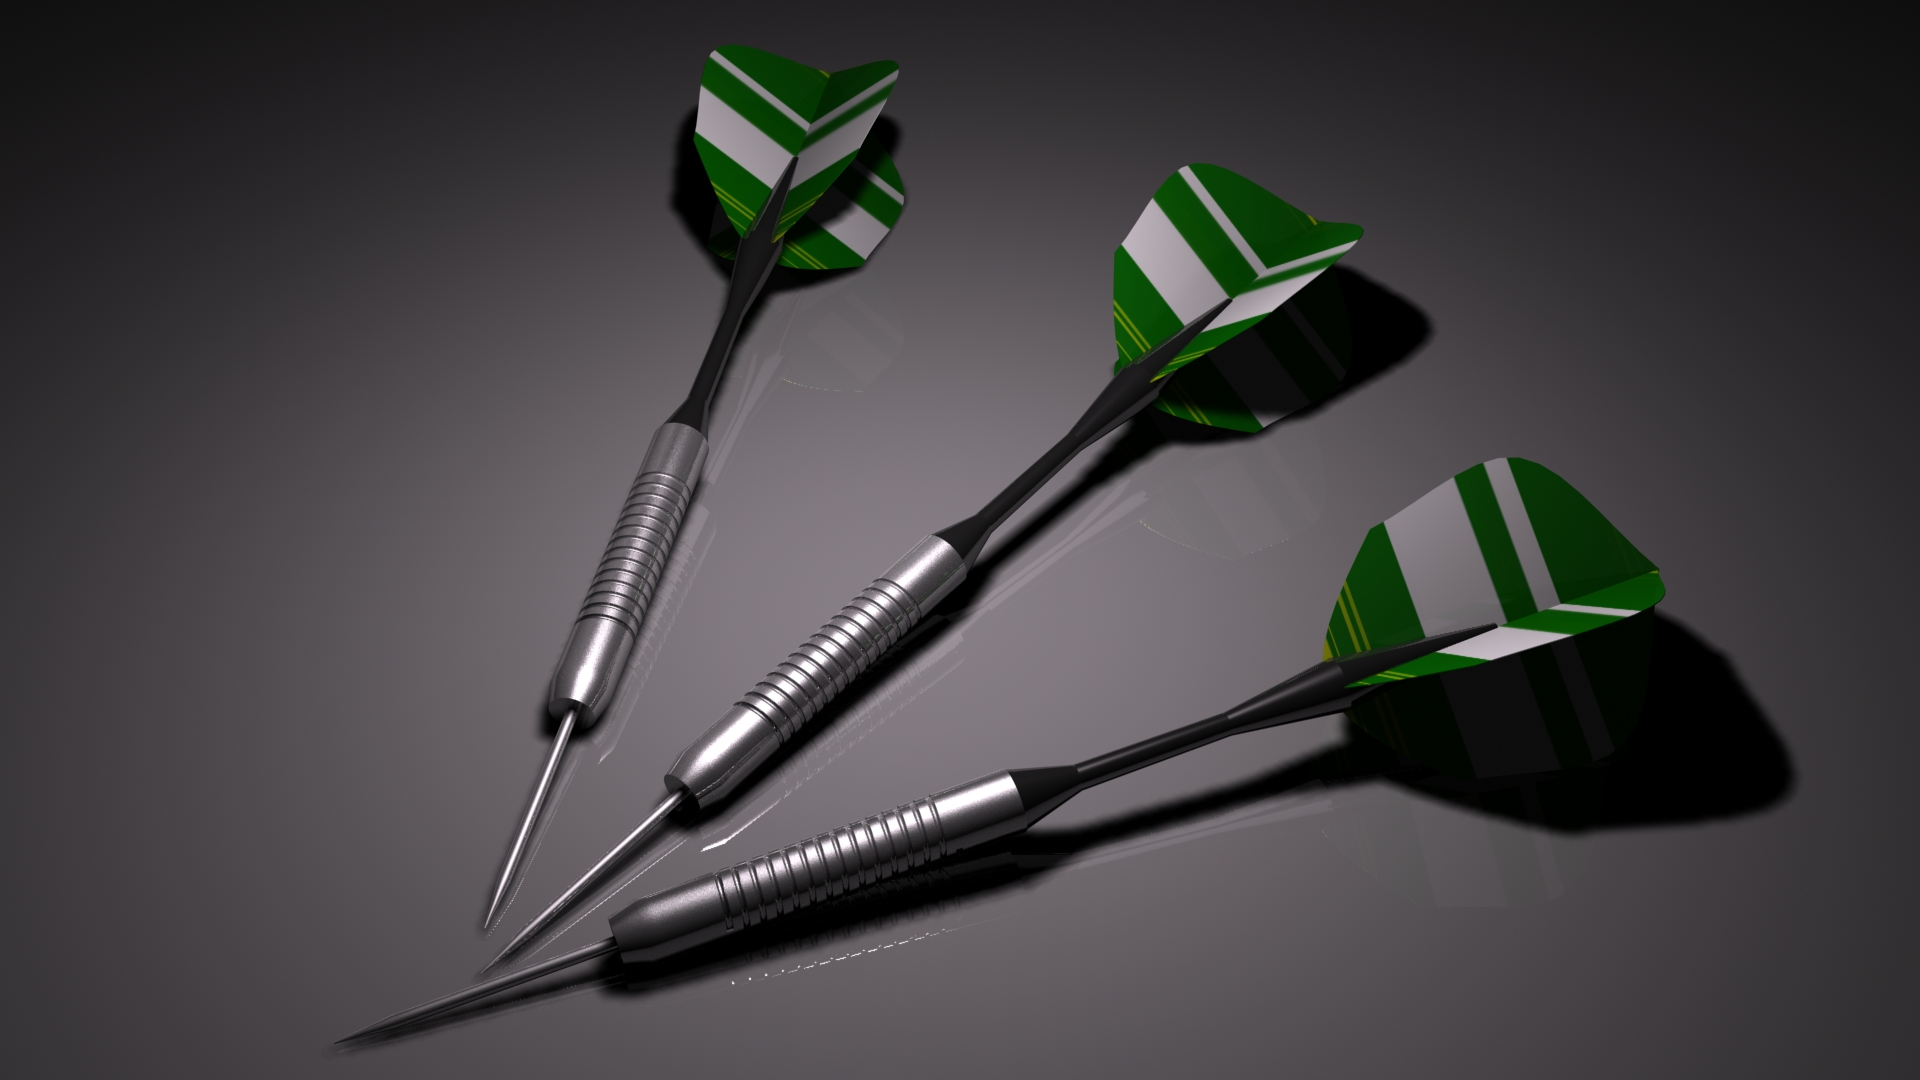
Real looking darts tutorial:
Intro: In this tutorial, i will teach you some basic and simple techniques to make real looking objects!
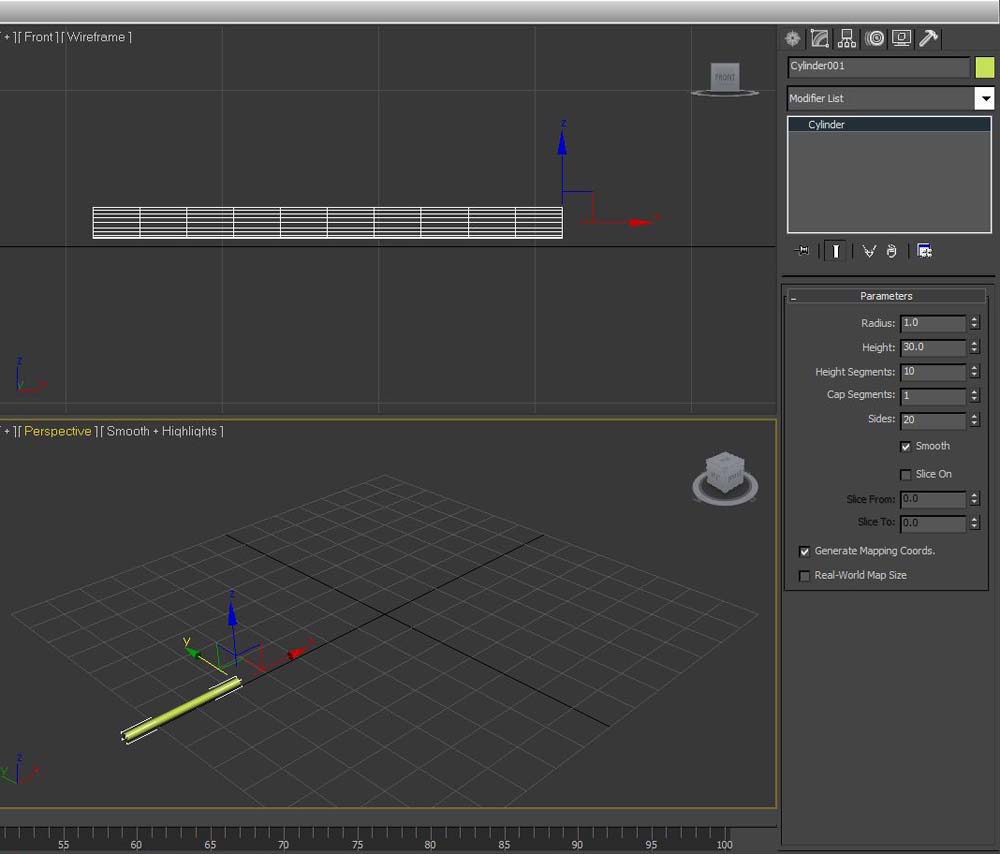
Modeling DART TIP: Step 1: Creating cylinder: Create a cylinder in (Left viewport) (Create panel > Geometry > Standard Primitives > Cylinder) with the following parameters:
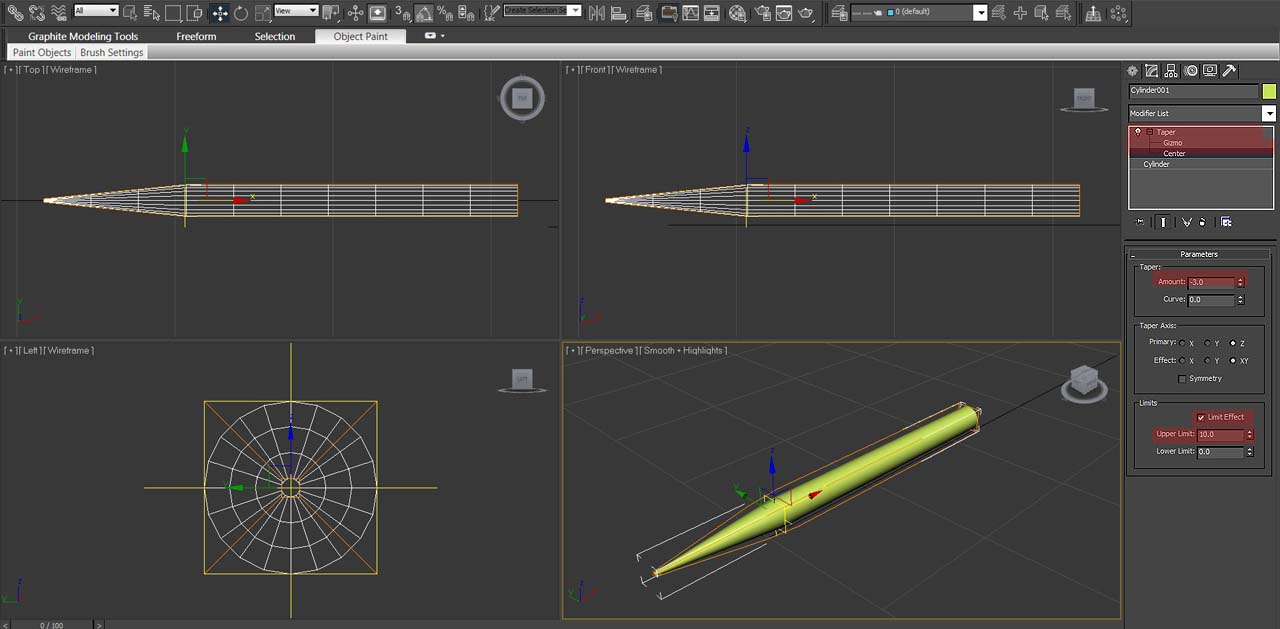
Step 2: Applying modifier: Now apply (Taper) modifier from (Modifiers> Parametric Deformers> Taper)___ with the following parameters:
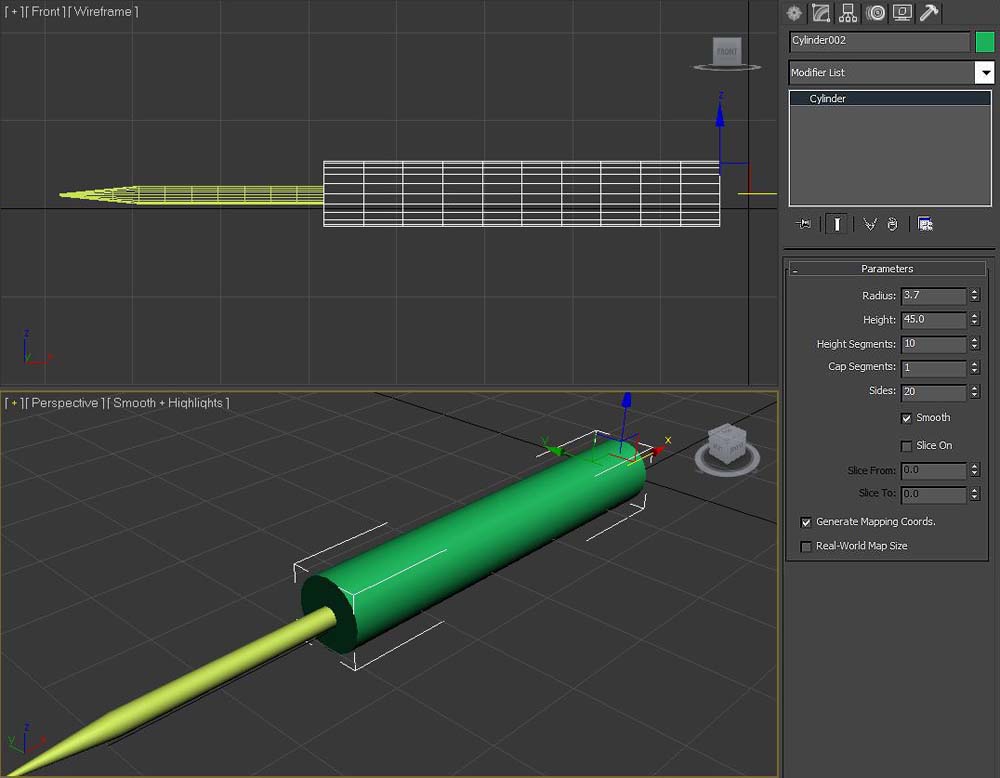
Then click on the PLUS sign on the taper option as shown in the figure and select (Center) and position it with the help of gizmo as shown in the figure: Creating DART BARREL: Step 3: Creating cylinder: Now create another cylinder in the (Left viewport) (Create panel > Geometry > Standard Primitives > Cylinder) with the following parameters:
Step 4: Applying modifier: Now again add the taper modifier (Modifiers> Parametric Deformers> Taper) with the following parameters:
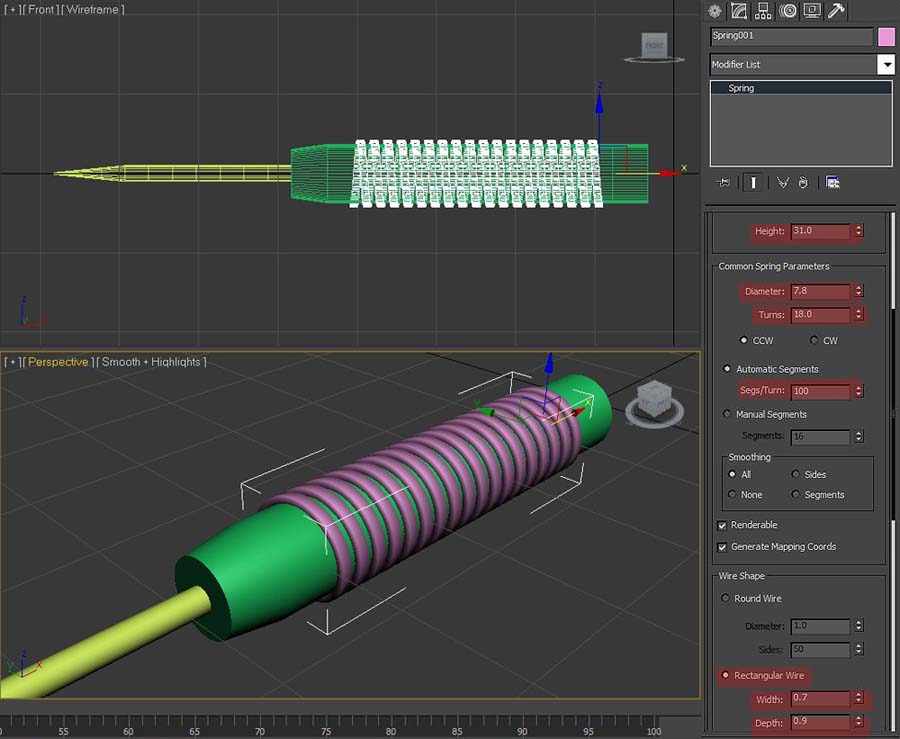
And again by going in the taper drop down list select (Center) and set as shown in the figure: Step 5: Creating spring for the grooves: Now create a spring (Create panel > Geometry > Dynamic Objects > Spring) with the following parameters:
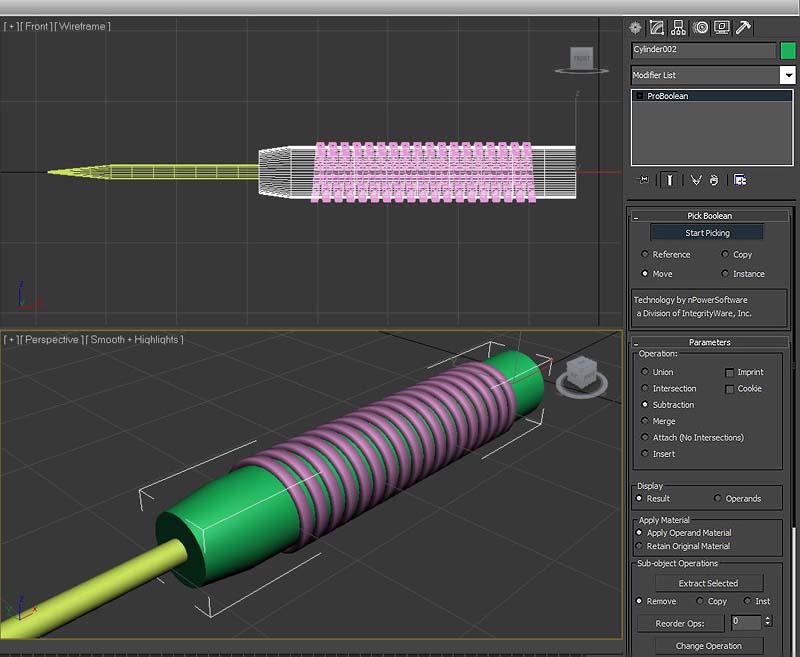
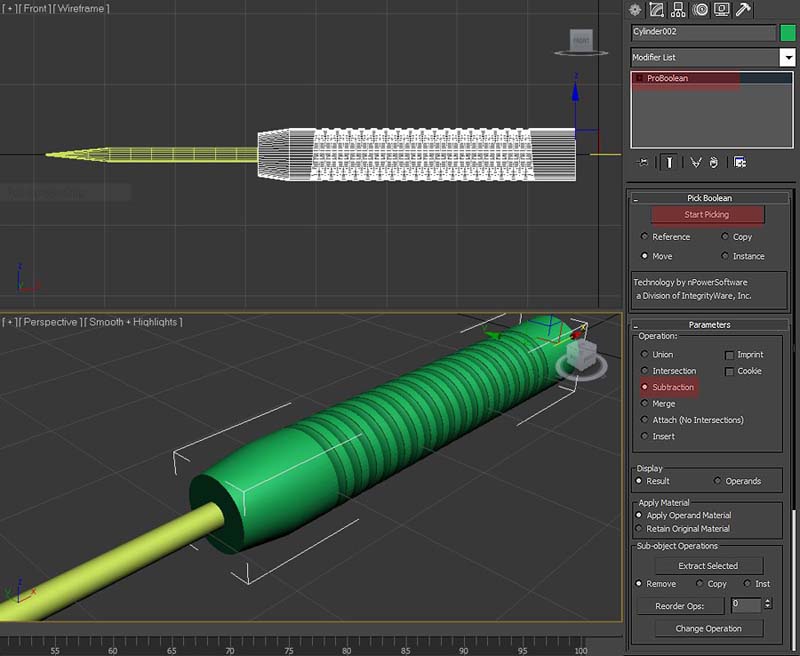
Step 6: Applying BOOLEAN operation: Now select (ProBoolean) (Create panel > Geometry > Compound Objects > ProBoolean) if you are using 3D Studio Max 09, 2010 or 2011! Or if you are using any lower version of 3D Studio Max then select (Boolean) (Create panel > Geometry > Compound Objects > Boolean) , while cylinder 02 is selected. Now click (Start Picking) and subtract spring from Cylinder 02. As shown in figure:
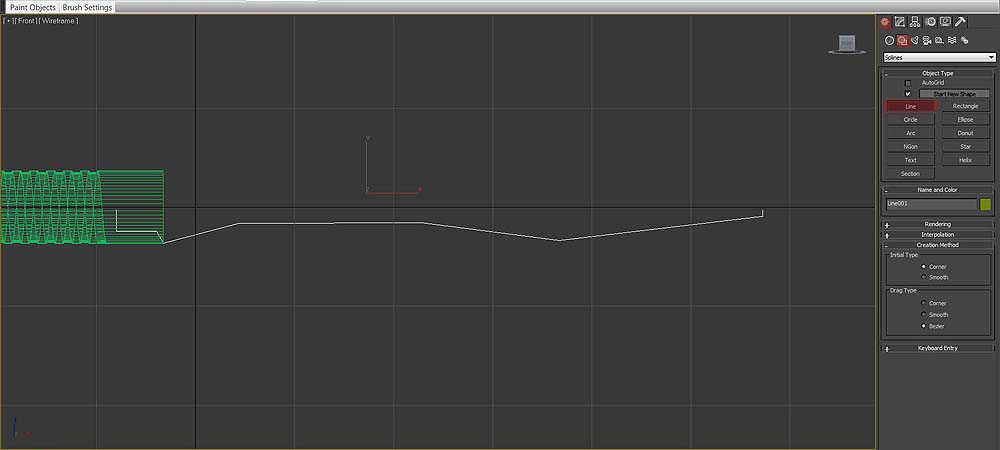
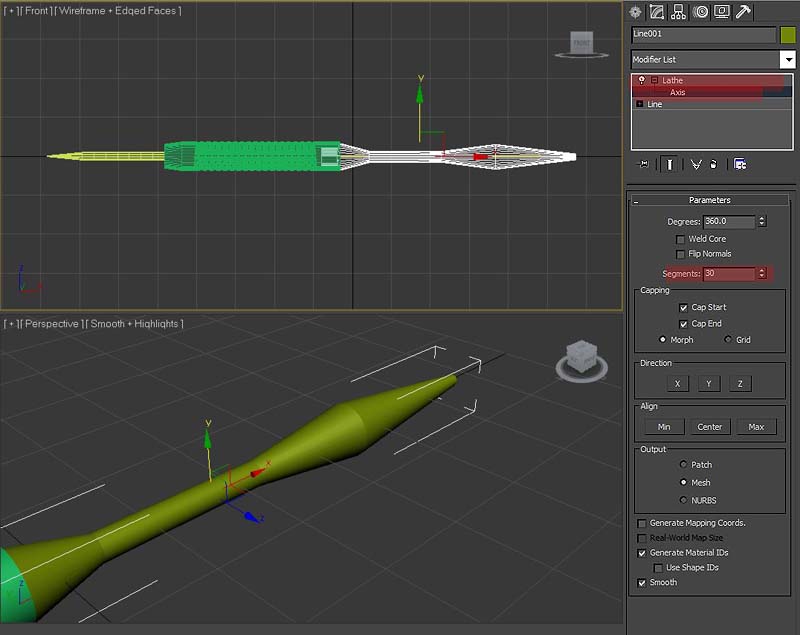
Creating SHAFT: Step 7: Creating shape of SHAFT by using Splines: Now it's time to create the SHAFT of a dart, select (Line) (Create panel > Shapes > Line) and create a shape in (Front view) as shown in the below figure: Step 8: Applying modifier: After creating a shape like that, apply (Lathe) (Modify > Modifier List > Lathe) or (Modifiers > Patch/Spline editing > Lathe) modifier from the drop down list, with the following parameters:
Everything else remains the same. Now click on the plus sign made on Lathe modifier, and select (Axis) as shown in the following figure, now drag the "Y" axis with gizmo in the front viewport, until you get the image like mine.
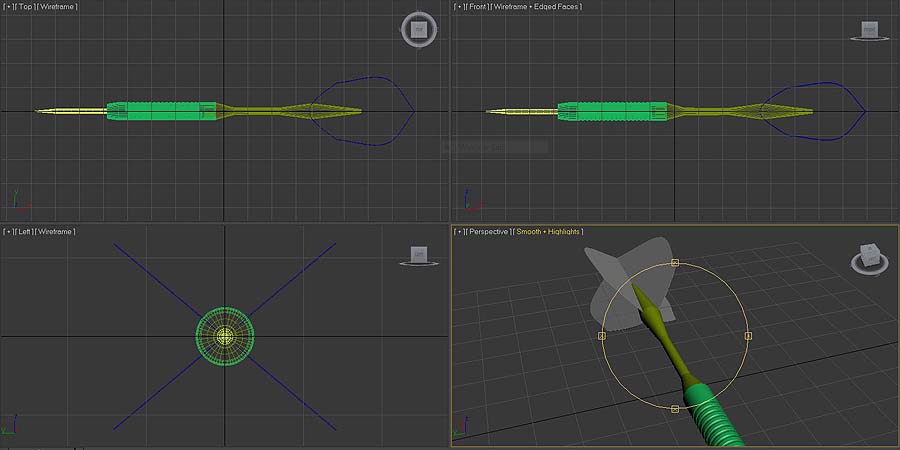
Creating FLIGHT of a dart: Step 9: Creating FLIGHT by using spline: It is the last part of dart modeling. To make dart FLIGHT, first create a line in the (Top viewport) (Create panel > Shapes > Line) and draw a shape like shown in the figure below: Step 10: Applying modifier: After creating a shape like that, apply (Extrude) (Modify > Modifier List > Extrude) or (Modifiers > Mesh editing > Extrude) and give it little thickness. After adding the extrude modifier, clone it by pressing shift key and dragging the shape, then rotate and position it as shown in the figure:

 Pages:
1 2
Dig this tutorial?
Thank the author by sending him a few P2L credits!


|