


Hey! First of all thanks for taking a look at my first tutorial on P2L on Mac OS X! If you like this one, maybe I'll make more!
Now you can either buy an OS Enhancer and spend a weeks wage on an App which will allow you to do the same thing you can do by hand, so to speak, with just a couple minutes of time! So, lets get started! Before we start, you're going to need to design your dock style. Now I have no tutorial made on how to do this, but this is my favorite website for dock images: http://leoparddocks.com/ From here you can download the images you need to replace the images on your dock! Lets Begin!  You want to go to your Mac's HD, mine is called Tom HD. In there you will find a folder called System that looks like this:  Once inside you'll find a folder on its own called Library, open up the folder. Now you will need to find a folder called "Core Services" which looks like this:  Now, look for Dock Once you have found it, CMD + Click it and select: Show Package Contents - > Contents - > Resources. You are looking for these files: scurve-l.png - scurve-m.png - scurve-sm.png - scurve-xl.png Select these files and make sure YOU HAVE BACKED THEM UP! if you have an external hard drive, I suggest your put them on there or somewhere safe on your HD! Also, in some cases you may need to back up seperator.png too. To be on the safe side, I back it up anyway! You're nearly there now! Go ahead and open the ZIP file you have downloaded from Leopard Docks, notice you have: scurve-l.png - scurve-m.png - scurve-sm.png - scurve-xl.png You need to select those files (And sometimes, if it comes with it, the seperator.png too!) Once you have them selected, go ahead and drag them into the Resources folder and overwrite the existing scurve PNG Files! You're done! All you need to do, is restart the dock. to do this, open up Terminal (CMD + Space - > Type Terminal - > Press Enter) Once you're in terminal, type: killall Dock 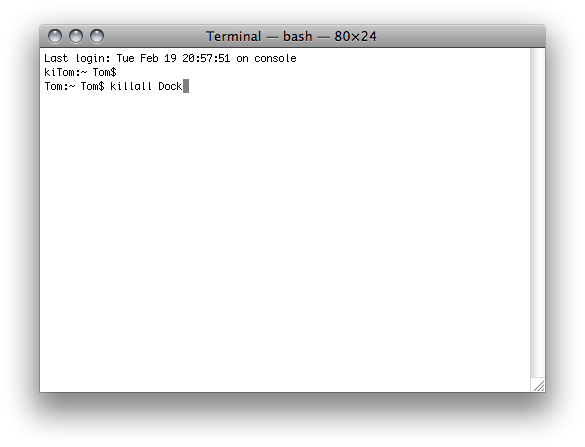 Once the dock has reloaded, you should have a sweet new dock! Enjoy the results! 
Dig this tutorial?
Thank the author by sending him a few P2L credits!

GreyApe
Naz. (Tom Hall) is a Mac Specialist from Essex, UK. Specialising in web design, graphic design, photography, PHP & General Mac programming, Tom is more than happy to help anybody out in the Pixel2Life community, so don't hesitate to PM him for help or ti 


|


