


Today we will learn how to add gratuitous amounts of weight to someone in your photos. I would recommend that you use the technique on picture of yourself, celebrities, Facebook/MySpace friends, or whoever you want to see with a bit more pudge. You should have a basic knowledge of Photoshop and the paths tool to complete this tutorial. Once you get a hang of it you can enlarge people in a matter of minutes.
 Step 1 � Find a Photo Find a photo of someone who needs a big more pudge. Higher resolution will work better, but are not necessarily required. Since we will be using the liquify tool, anything that is in front of the person�s body will also be distorted, so pick carefully. I will be using a picture of Steve Jobs in his Macworld garb for this tutorial. Picture credit goes to acaben at Flikr http://flickr.com/photos/acaben/541326656/ 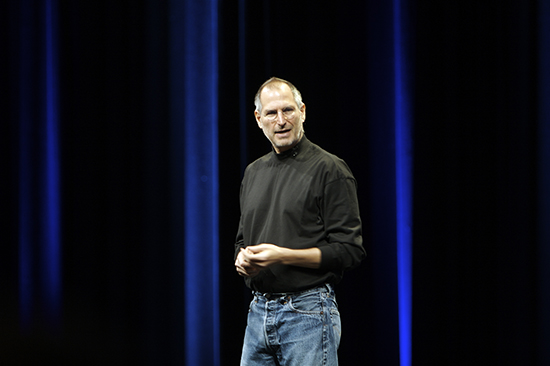 Step 2 � Preparation Open up your image in Photoshop and use the pen tool (or the marquee if you must) to isolate your subject. Duplicate the layer, then right click on the path with the pen tool selected and go to Make Selection. From there invert the selection (Shift-Ctrl-I) and press delete to clear the a background. This allows us to modify just the person and not mess up the background. Now you should have your subject isolated on a layer above the original. 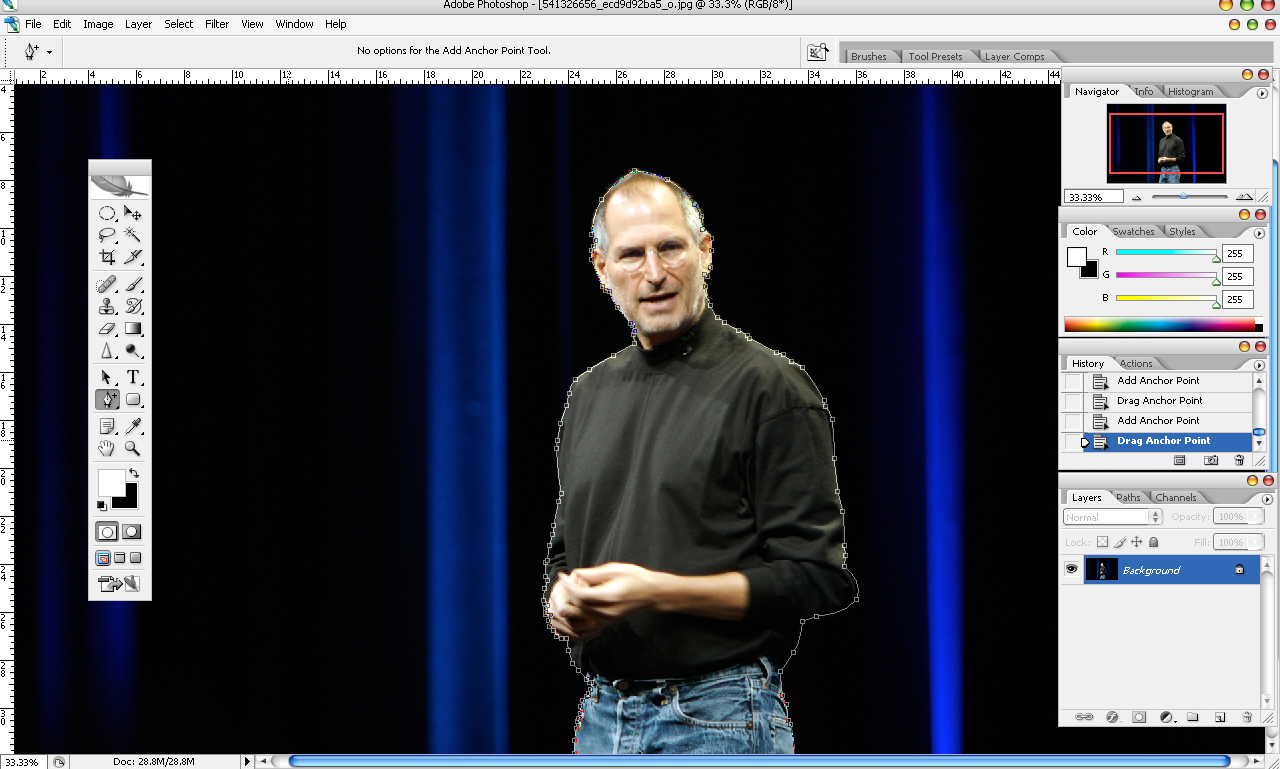 Step 3 � General Fattening Bring your subject into the liquify filter by going to Filters-Liquify. Set your brush to pretty weak settings, I have included the settings I used for this photo (you brush size may vary). 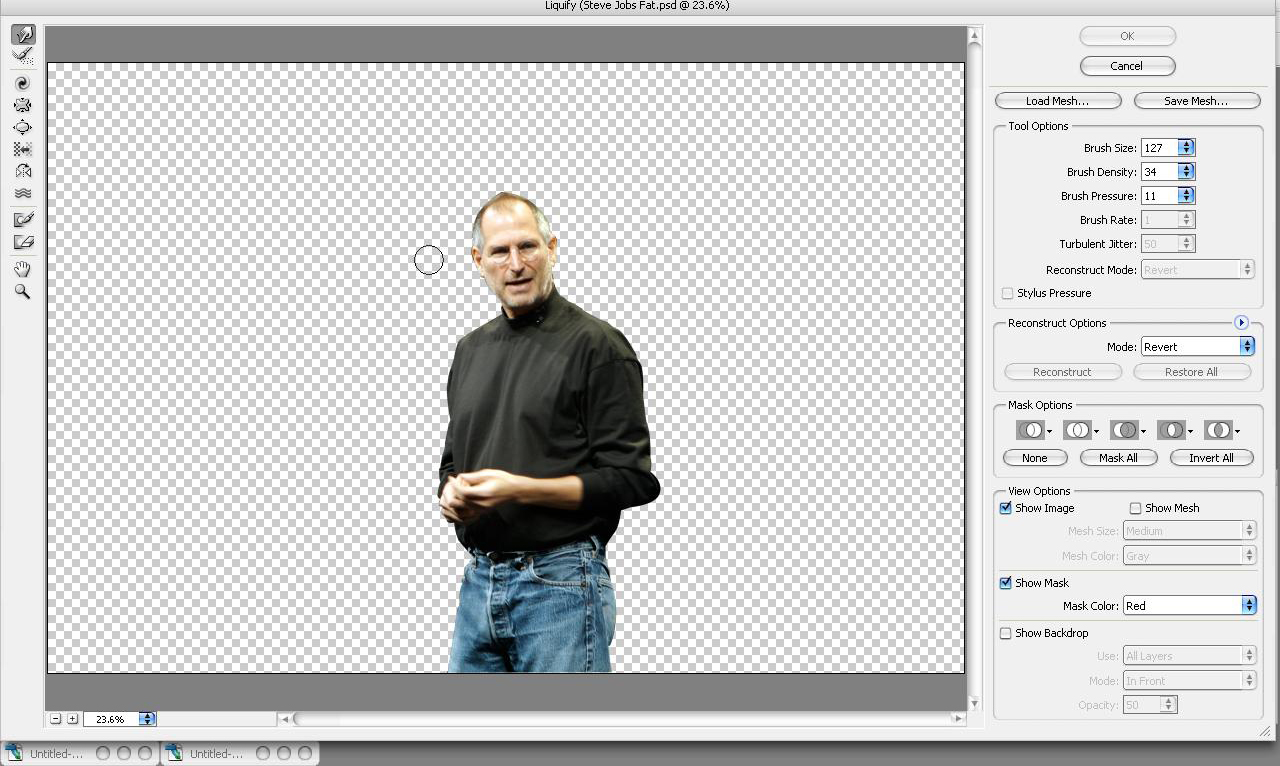 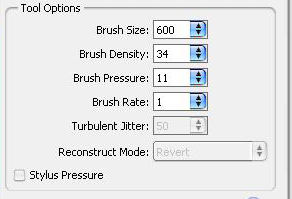 The idea is to use the Forward Warp Tool (W), and the Bloat Tool (B) to make the subject fat. If you are not familiar with the liquify filter, the warp tool is sort of like the smudge tool without the blur. You can move pixels around without distorting them too badly. The bloat tool will enlarge the area that you click on. When using both of these tools the key is to use short strokes. For the Warp tool you will want to go around the edges of your subject and pull them out. Start from a brush�s length inside the subject and pull out. You will want to set the brush size relatively large so the fattening appears uniform. With the bloat tool, you should just put your cursor over the place you want to be bloated and click once. If that is not enough, click again (and so on). You do not want to hold down the mouse button because the image becomes distorted quickly. I would recommend a large brush for the bloat tool too.  If there is a specific area you do not want to be warped, click on the Freeze Mask Tool (F), and paint over the area you want protected. Click on the icon below it to erase the mask. Go around you subject and start adding fat with the warp tool and enlarging their features with the bloat tool. 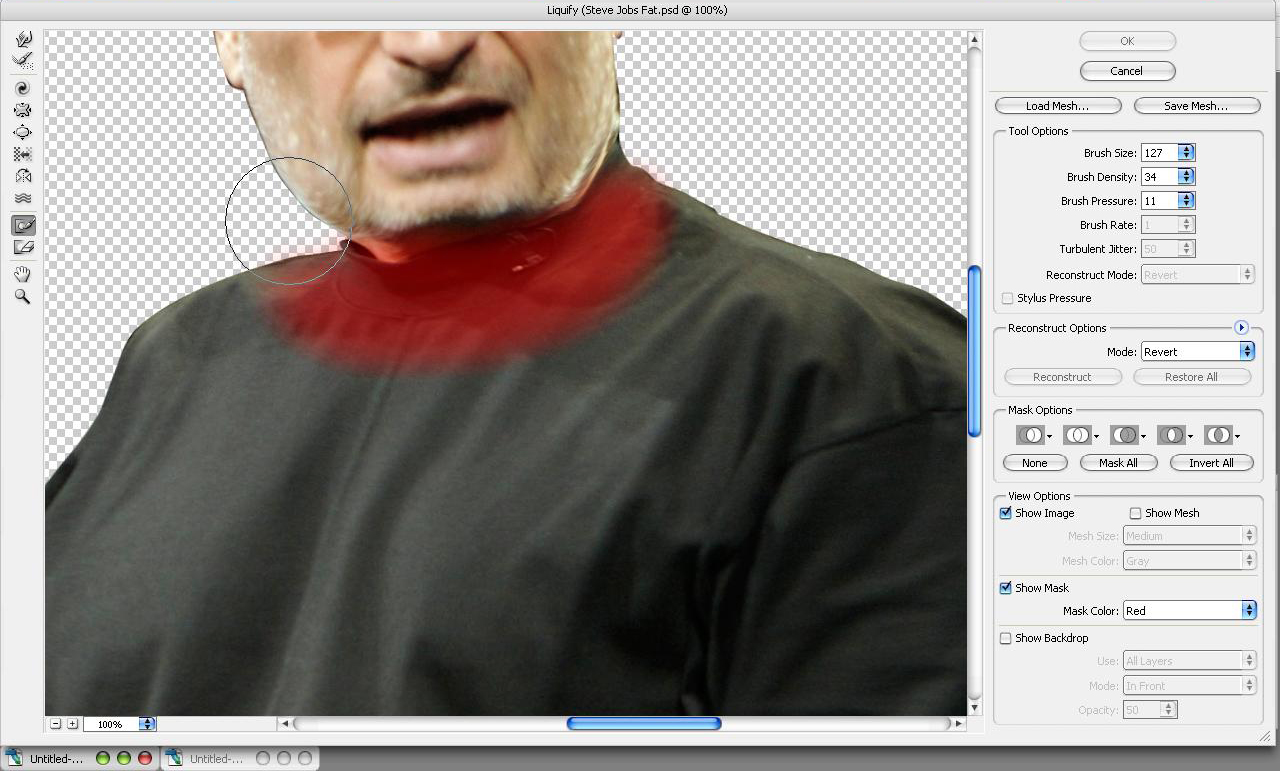 Step 4 � Feature fattening Once you have gotten the general shape of the body to the size you want, move on to the smaller details. On their face, I would suggest using the warp tool to create jowls. Start at the top of their cheeks and stroke down. Then get out the bloat tool and set the brush to a size the covers their head. Click a few times until their head looks sufficiently fat. I would encourage you to use the same technique on their cheek, and if your picture permits focus on the bottom of their torso to give them a beer belly. Around the hips, use both tools to make their hips wider then the rest of their legs. Love handles can be added with the warp tool. 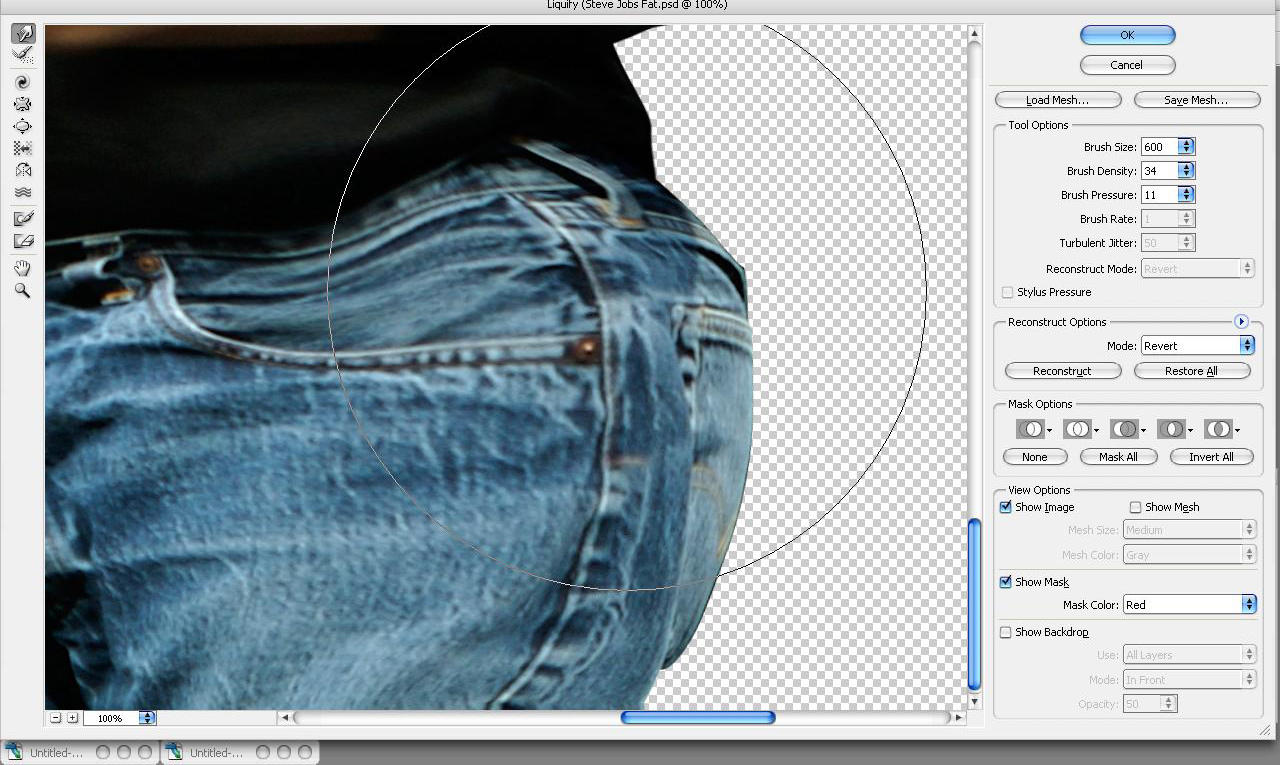 Step 5 � Clean up Once you feel that you have added enough fat, press okay and wait for the liquify filter to return the results. Clean up the edges if any of them were cut out too sharp.You can now either keep the subject on the original background, or put them in from of a different background by copy and pasting or dragging the layer into a new document. Now your subject should be fat! Enjoy! 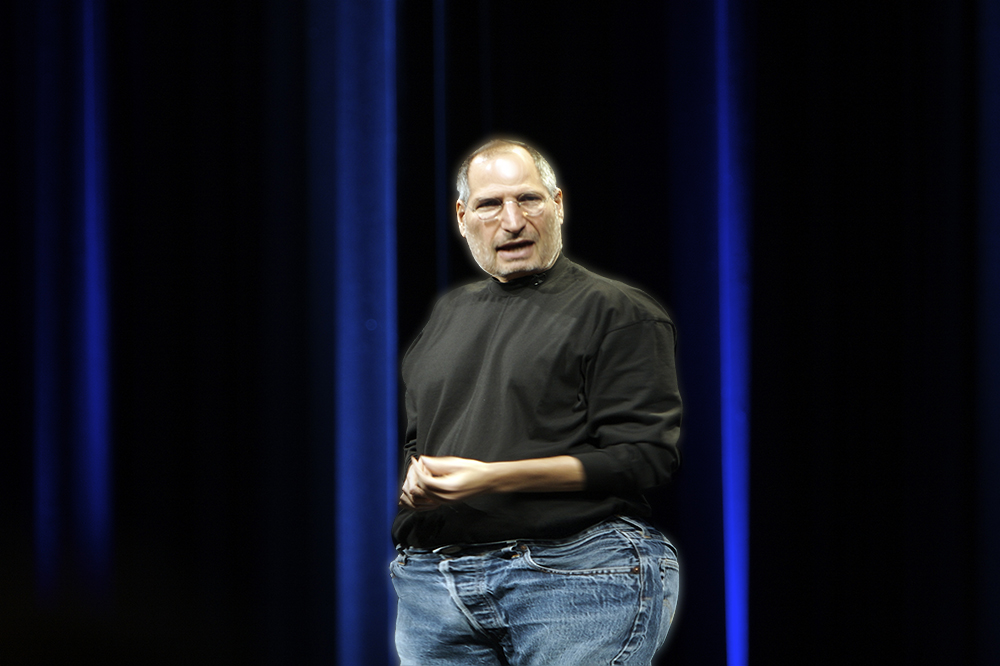 
Dig this tutorial?
Thank the author by sending him a few P2L credits!


|


