

In this tutorial, we will learn how to do a 3D illustration for a store display. You will be creating a three-dimensional object without using 3D tools. Also you will be creating a 3D SALE text for this illustration too. Let’s get started!
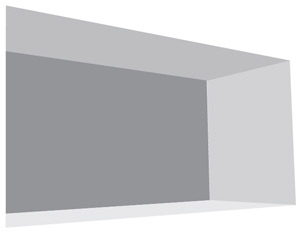
1. We start off by drawing the roof of the store, draw a shape using the Pen Tool. Fill the roof with a darkish gray color.

2. Draw the right wall of the building using the Pen Tool, as shown. Fill the wall shape with a bright gray color.

3. Draw the back wall shape as you did in step 2. Fill this wall with a color that is a shade darker than the roof and the right wall.

4. Draw the floor of the store. Fill in this shape with a bright gray color.
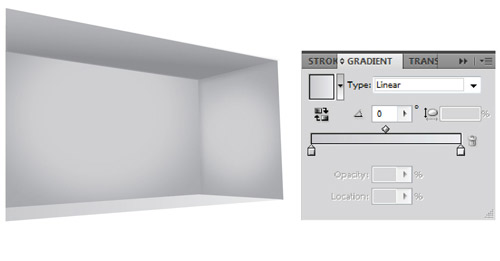
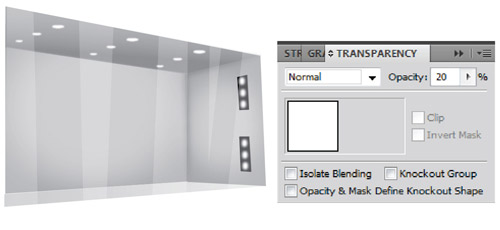
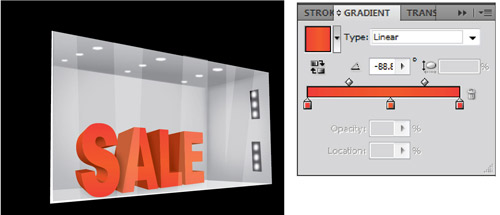
5. Draw a white rectangle on the right wall and fill it with an appropriate gradient (Radial type). Set the Transparency Palette as shown.

6. To blur the previous rectangle, go to Effect > Blur > Gaussian Blur.

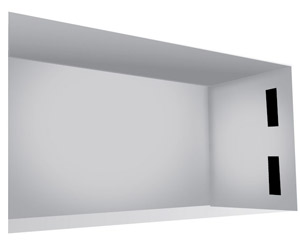
7. Holding the Alt key, move the rectangle of the right wall using the Selection Tool until a copy of it appears. Put the rectangle on the back wall and magnify it.

8. Fill the roof with an appropriate gradient.

9. Draw a black line at the right corner of the store using the Pen Tool. To sharpen its edges, go to Variable with Profile > with Profile 1.

10. To blur the line of the previous step, go to Effect > Blur > Gaussian Blur.

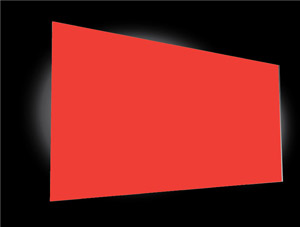
11. Take a copy of the roof and paint it with an appropriate gradient to make it look like darkness has descended at the end of the roof.

12. Fill the roof rectangle with an appropriate gradient.
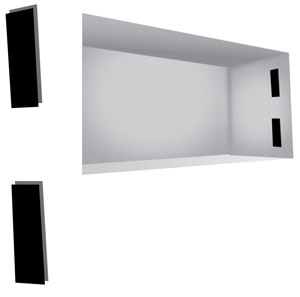
13. To create the frame of the store, draw two equal rectangles using the Pen Tool.
14. Take a copy from each frame and put it under itself. The location of this shape should be as shown. Go to Object > Arrange > Send to Back and send this shape to the back.
15. Draw three white circles on the each frame using the Ellipse Tool.
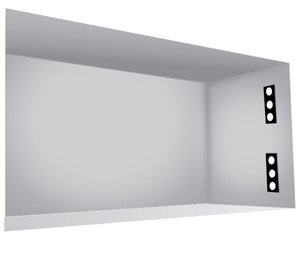
16. Select the circles and go to Effect > Blur > Gaussian Blur to blur the edges of them.

17. Draw some circles at the roof as you did in step 16. As these circles go to the background, they become gradually shorter. Blur them as you did in step 16.

18. Draw a rectangle the same size as the gate using the Pen Tool.

19. Select the rectangle. Delete some part of it using the Eraser Tool of Tool Box. Set the size of the eraser by double clicking on it at the Tool Box and define its diameter.
.
20. As the last step, fill in the remaining shapes with white and set the Transparency Palette as shown.
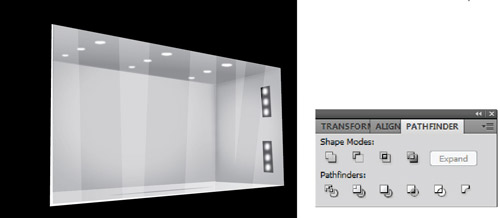
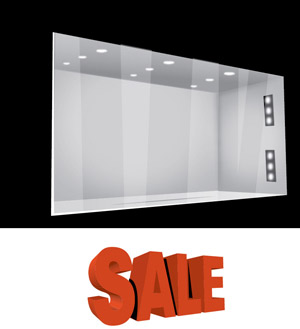
21. Draw a rectangle the same size as the store’s entrance using the Pen tool. Draw a bigger rectangle under last rectangle using the Rectangle Tool.
22. Go to Windows > Pathfinder. Select the drawings from step 21. Go to Pathfinder > minus front.
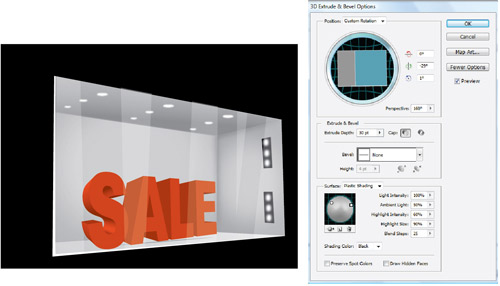
23. Type the term “SALE” with bold font such as Arial bold.

24. Select “SALE”. Go to Effect > 3d > Bevel & Extrude and set as shown.
25. Create shadows using the Pen Tool at inner part of the store, wherever it is necessary.
26. Go to Effect > Blur > Gaussian Blur and blur the shapes you have just created in step 25.

27. Select the shape and go to Object > Expand to exit from the special effects. Select the word. Use the Direct Selection Tool and fill in the shape with the appropriate gradient.
28. Draw the highlights of “SALE” which appears in the store window using the Pen Tool. Fill these shapes with white.

29. Select the shapes you made in step 29. Go to the Appearance Palette and set Opacity=50.

30. Draw an S in black using the Pen Tool. Fill in the inner part of the “S” with black.

31. For shape in step 30, go to Appearance Palette and set Opacity to 50. Draw the lettering location of the word “S” using the Pen Tool.

32. Fill in the shape from step 31 with the appropriate gradient. Go to Transparency Palette and set it as shown.

33. Select the words and drawings of the store window. Go to Object > Group. Then, go to Effect > Distort & Transform > Free Distort. Move the left bottom corner to give it some perspective and depth.

34. Draw a black shape so that it fits under the store title words using the Pen Tool.

35. Go to Effect > Blur > Gaussian Blur to blur last the rectangle. You’re done!

To download the source file for this tutorial, you will need to login as a member.
Sign up today to access all exclusive members content!
