Selective Color Photo Effect in Photoshop

Watch Video Tutorial
Download full HD videos and tutorial project files with a PanoPass. You'll also get instant access to everything on the site, including products, and more.
The selective color technique lets you highlight a specific area of an image while the rest remains in black and white. It's a popular way to enhance the look of certain photos, or save one that might otherwise be unusable.
There's a lot of software, including Apple and Android apps that create this effect automatically, but when you're on a computer and need more control, Photoshop is the way to go.
This tutorial will teach you how to easily colorize specific parts of your image, even if the object you want to colorize has multiple tints and shades.
Step 1
The video version of this tutorial uses the Color Range selection tool, but this time I'm going to use the Quick Selection tool because, in this case, it's much faster and just as accurate.
Open your image in Photoshop and zoom in to about 200%.
Choose the Quick Selection tool and start painting on the item you want to isolate in your image. In our case, it's the red couch.
We'll remove the pillows and extraneous pieces from our selection in the next step.

Step 2
With the Quick Selection tool still select, hold ALT and paint on the extra areas you want to deselect, like the kitchen counter, chair back, and the non-red pillows on the couch.
You may need to shrink your Quick Selection brush size, and alternate between adding and removing areas of your selection to make it more accurate.

Step 3
Add a Black and White Adjustment Layer to your image and it will automatically use your selection as a Layer Mask.

Step 4
Click the adjustment layer Layer Mask in the Layers panel and press CTRL + I to invert it so the couch is colored and the rest of the image is black and white.

Step 5
Add a Hue/Saturation Adjustment Layer. You can now adjust the color and saturation of your couch without affecting the rest of the image.

Final Image
Since this effect users Adjustment Layers and Layer Masks, you can go back and refine your masks and make adjustments without starting over from scratch.
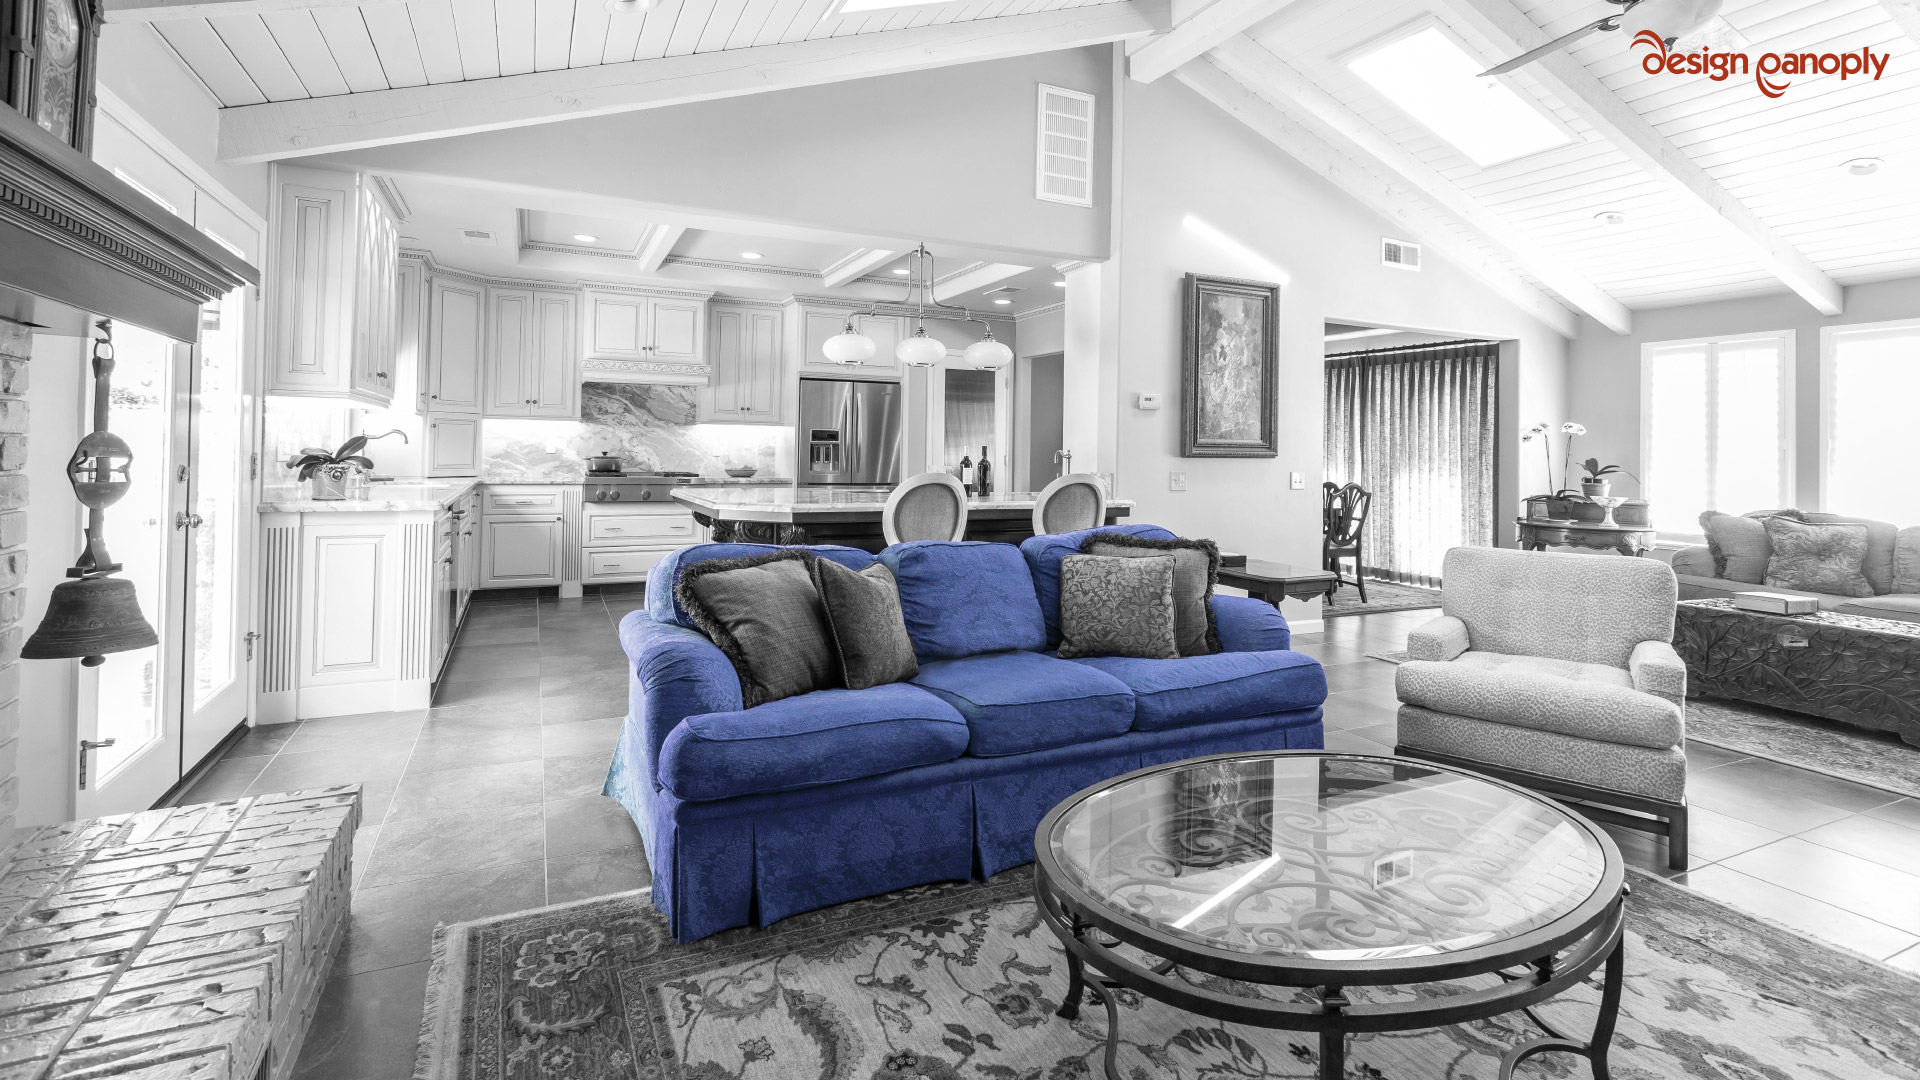
This image has a lot of color variation, so you can imagine how quick and simple this effect would be on a less detailed photo.
Have you successfully used this method before? Show us your version.