Photography is an art. Art is subjective. The one most important factor necessary in photography is light—quality light. Without light, there are no photographs. So, if you photograph your subject—whatever your subject may be: person, place, or thing—in quality light, you are likely to create art that people will subjectively view as “beautiful.” I’m not going to forge deeply into a physics lesson here or address camera techniques such as exposure, ISO, or aperture—that can come in another article. I simply want you to take time to concentrate on the most important factor necessary for photography: quality light.
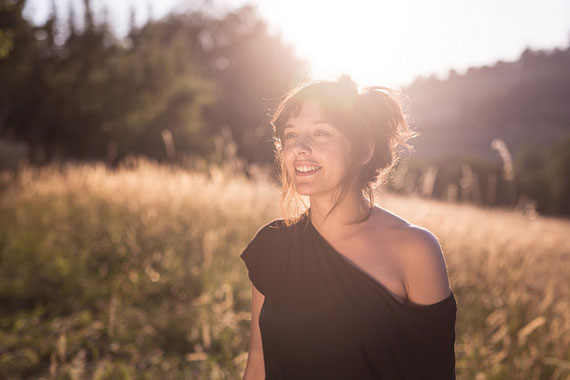
Photo by Roberto Taddeo; ISO 100, f/2.2, 1/4000-second exposure.
Seeing is critical in photography. “Seeing” light is even more critical than seeing. “What the heck does that mean?!” It means that it is necessary to see how light works and how it moves. If you are serious about photography and want to improve your photographic skills, then taking adequate time to slowly observe the subtle mechanics of how natural light exists will help you create better portrait or landscape photographs.
Master artists, painters, and photographers alike studied light. They were trained to see the subtle changes of shadows and brilliance cast from sunlight. Observe the paintings of Rembrandt van Rijn, and you’ll learn a lot about natural lighting, especially in portraiture! In fact, there is a lighting technique used in photography called the Rembrandt Triangle—a tiny triangle of light that falls beneath the eye of your subject on the shaded side of the face; it adds depth and dimension to portraits. You can learn a lot about light by observing art.

Rembrandt Triangle lighting (via Flickr/dollen)
But for now, I’d like you to take some time out of your busy day to sit and observe light. You can unfold your lawn chair and sit in your backyard, choose a vista, a field of flowers, or beach, but you have to commit to spending time and taking mental notes, at least. What? You say you don’t have time for such simple pleasures?! That’s too bad, because there is nothing like that exercise to help you see how sunlight changes colors and moves and changes the landscape as a result.
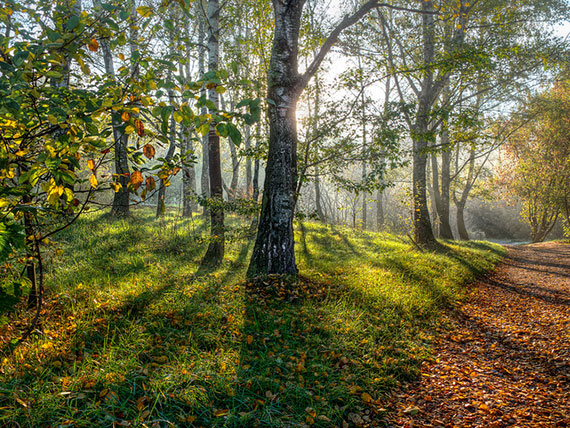
Photo by Alexey Kljatov; ISO 73, f/3.9, 1/60-second exposure.
OK, then go get an orange and set in on a table that is near a window with natural window light streaming in. You can see the light move and change inside your home as it hits the orange, too. Perhaps not so dramatically as in an open vista, but effective nonetheless. Watch how light wraps around your subject (the orange); if it’s direct natural sunlight, look at the intensity of the light and the chiseled shadows. Then, as the sun moves and changes the natural light from direct to diffused window light, observe the subtleties in the softer shadows, especially across the skin of the orange. Direct natural sunlight from a window source will intensify and saturate colors, but it can leave harsh highlights to deal with during exposure. Diffused natural window light will bring more natural colors and softer angles out in your subject with fewer harsh highlights or exposure issues.

Natural light from a window source. (via Flickr/Ed from Ohio)
There is nothing more effective in portraiture than using natural window light—so the orange might really be an effective way for you to observe how natural window light bends and shapes your subject. The important observation here is that you see the differences in highlights and shadows in direct or diffused natural window light. There is no better way for you to learn about how the tool of light works than taking time to observe light thoroughly through exercises of “seeing.” It takes an investment in your time, of course, but isn’t that what all learning is anyway?
Now I want you to experiment with a human subject! Put them in a chair about six feet away from your window and turn them slowly; watch the subtle changes that occur on the face. Take some shots at different positions and with different exposures—ISO 200 should work quite nicely with a 50mm lens and a shutter speed somewhere near 1/100 of a second. Let me know what your results were and what you learned!
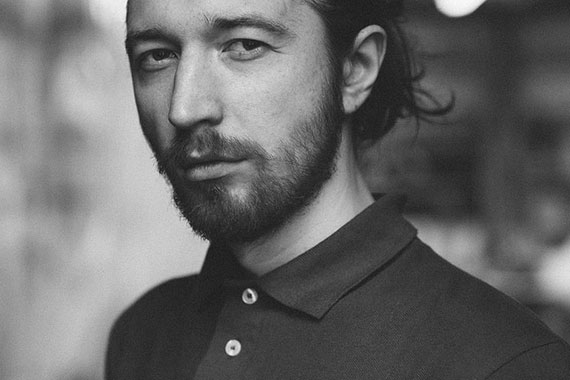
Photo by Maxim Mogilevskiy; ISO 2000, 1/100-second exposure.
About the Author:
Joanne is from Joanne Bartone Photography. Photography Workshops and Instruction: Zen Photography Workshops. Resources: Rembrandt van Rijn. Joanne has received recognition and multiple international awards for both her wedding and fine art photography.
Like This Article?
Don't Miss The Next One!
Join over 100,000 photographers of all experience levels who receive our free photography tips and articles to stay current:


Leave a Reply