

Trying to tell the story of speed in your photos can be a difficult task for a lot of photographers. We’re often left with either an extremely sharp photo or a blurry mess (and, of course, something in the middle).
The blur can help convey a sense of swift motion in your shot. On the other hand, a nice crisp shot of a moving subject can make it appear as if your subject has been frozen in time, but you lose that feeling of speed.
Fight the blur and capture clean action shots by using high shutter speeds. 1/500th – 1/1000th of a second is usually a good starting point for a lot of sports photography.
By using a photo editor like PaintShop Pro X9 from Corel, you can get the best of both worlds and mix a sharp subject with a blurry background to show off some intense speed.
So grab a photo you’ve taken that shows off speed, action or motion (I often find sports photos are some of the best for this effect) and let’s dive into this tutorial!
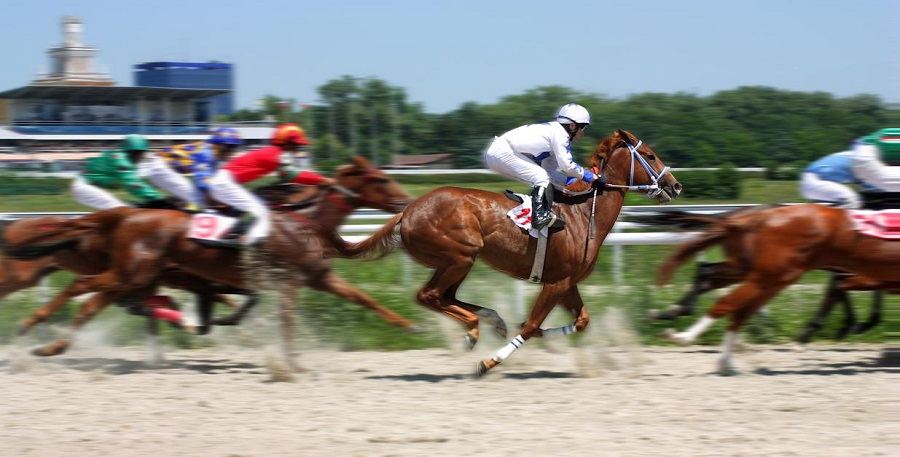
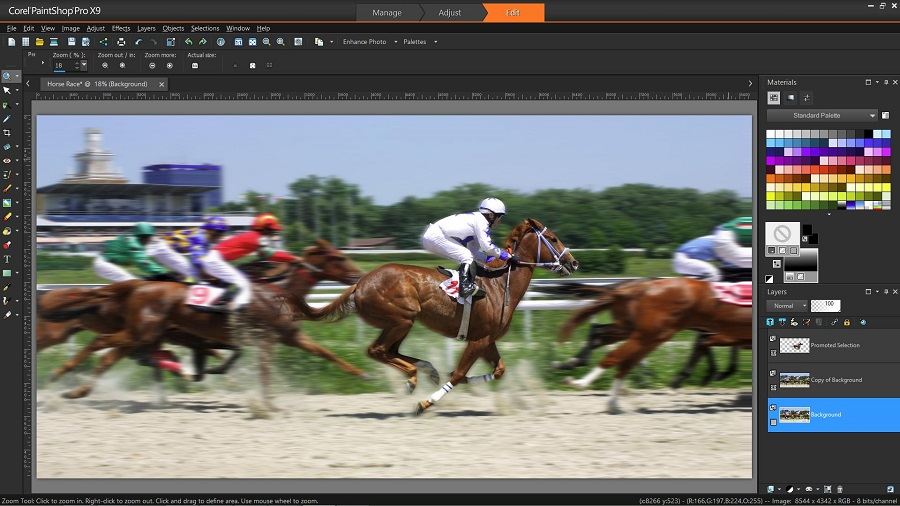
Take a look at this photo of a horse race I’ll be using from Shutterstock. We all know horses are fast so, rather than tell a story we’ve all heard before, let’s spin a bit of a different tale with this shot… How about the classic of how this horse in the middle is coming from behind to win it all?
With our photo open in PaintShop Pro, I right-click the Background in the Layers Palette and click Duplicate. I always make a copy of my background, just in case I mess up along the way and want to start over.
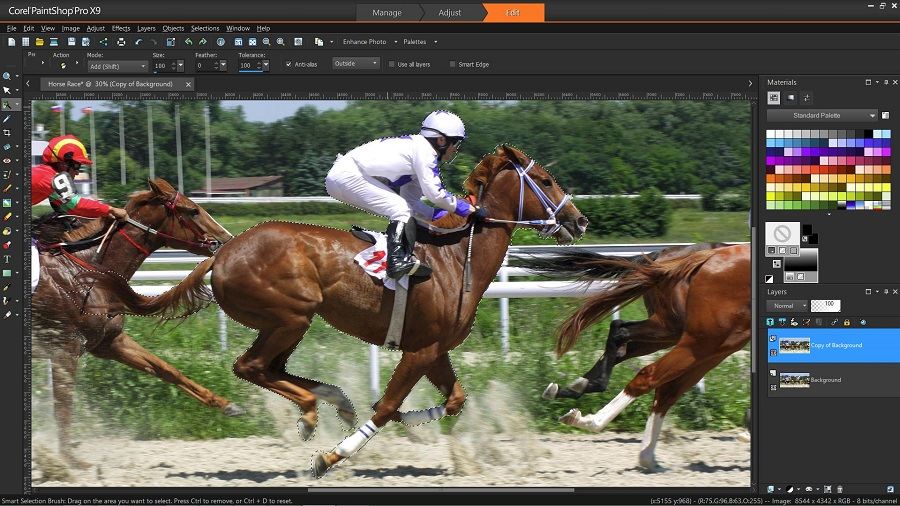
Next, make a selection around your subject. Any tool you’re most comfortable with will do — you could freehand it, use auto selection or try your hand at my personal favorite — the Selection Brush with Smart Edge. I turn Smart Edge on and off when selecting tricky areas, and use the Shift key when brushing on my selection and the Ctrl key to brush out a selection.
|
Make sure to zoom in while making your selection and get as close as you can. The more accurate you are now, the more time you’ll save yourself in a couple of steps. |

With a selection around our subject now complete, I’m going to go ahead and move it to its own layer so we can work with it separately without affecting the background.
To do that, head up to Selections menu and choose Promote Selection to Layer.

After promoting our jockey to a new layer, click on the Pick Tool (Pointer Arrow) and then grab the center of the new layer. Move it in any direction and a second promoted layer will be created.
You can delete one of these two layers, then hide the other by clicking the Layer Visibility icon (the little eye next to the layer) to hide it for now.
Now it’s time to apply the Motion Blur to our background so we can show off just how much faster the horse and jockey are from the rest of the pack.
Go up to the Adjust menu and find the Blur option and select Motion Blur.
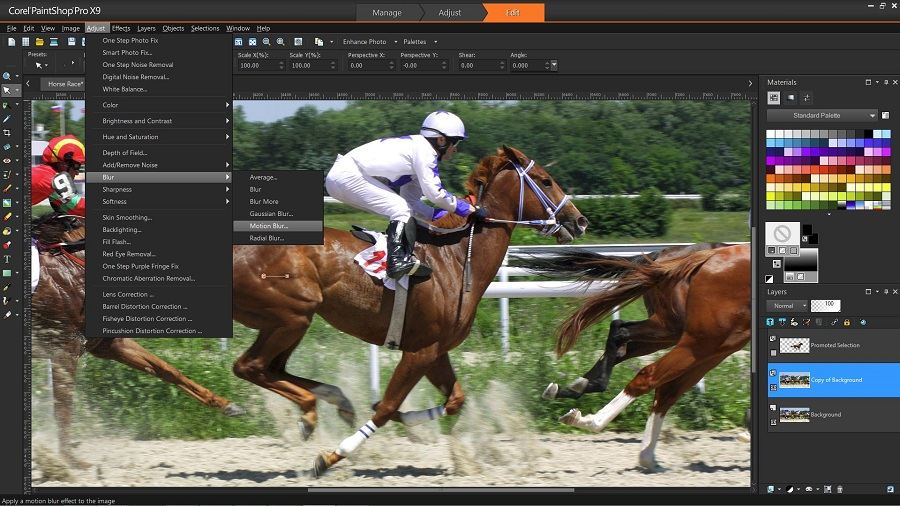
You’ll see a menu pop up with the options below.
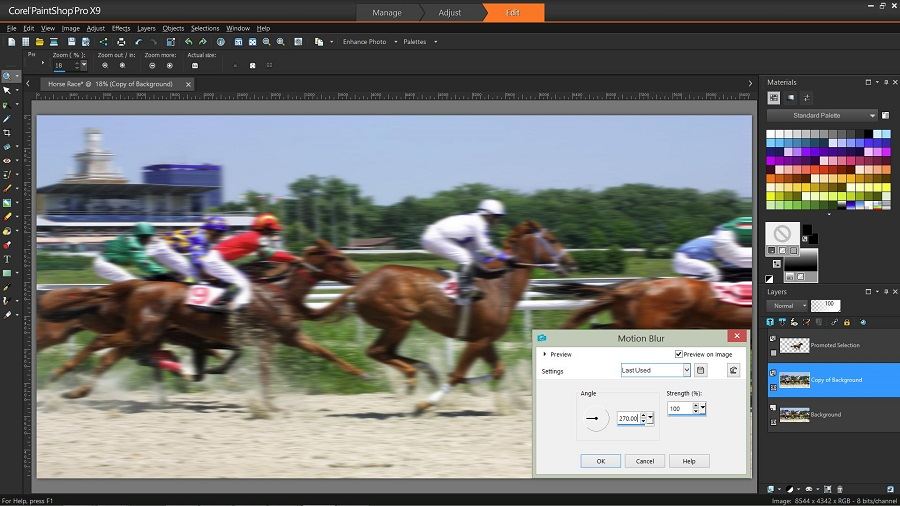
In my case, I set the Angle to 270 degrees because the action in my photo is heading left to right. I kept the Strength at 100% and applied the effect 3 or 4 times until I got a look I liked that showed the right amount of speed.
The amount of blur you need could be different for your photo and the number of times you apply the effect will vary based on the size of the photo you choose.
Now let’s turn one of our promoted selections back on so we can work on our speeding jockey.
We’ll need to clean up the edges of our selection so it blends properly with the background. To do this, I grabbed the Eraser, turned on Smart Edge and bring down the Hardness and Opacity.
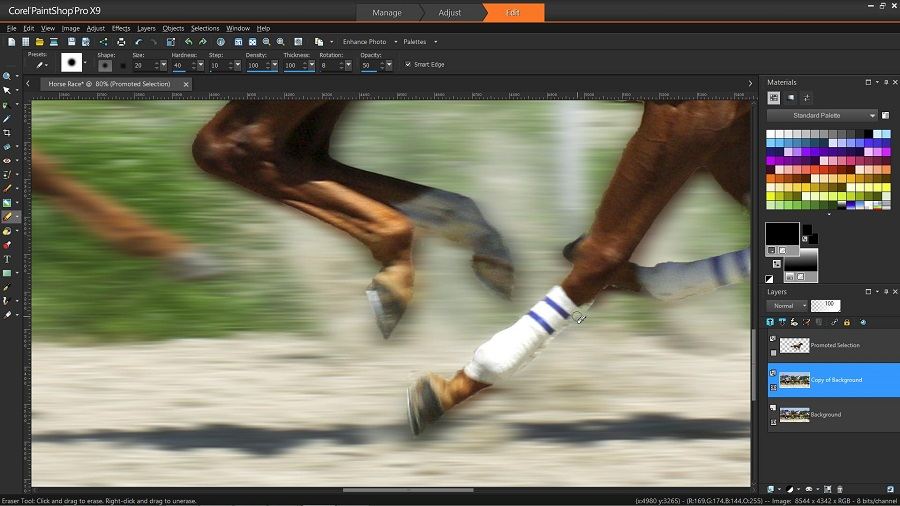
Zoom in and slowly work your way around the horse and jockey, removing all the traces of the background. When you’ve finished, just turn all the layers back on and have a look at what we’ve got.
When following these steps with your own photos, feel free to adjust the top layer as necessary to get a look you like against the background. Don’t be afraid to play around with it.
When you’re satisfied with the look you’ve created, go ahead and export a final jpeg. Head up to the File menu, click Export and go to JPEG Optimizer (or whichever format you’d like), choose your compression settings and set a destination folder. This technique is a great way to have some fun with your photos that can help you show off a real sense of speed when telling a story with your photos.

When you’ve found the perfect action photo you want to enhance, head over to PaintShopPro.com and download a free 30-day trial of PaintShop Pro X9 and give it a try!
Author –Melanie Hyde
10 years B2C and B2B marketing experience across a range of industries, and current Product Marketing Manager of Corel’s photo product lines. Corel’s photo software line-up includes Corel PaintShop Pro, for advanced photo editing and graphic design, and Corel AfterShot Pro for RAW image conversion, non-destructive photo editing and photo management software.
Leave a Reply