 by
by Here’s our step-by-step tutorial, on how to use a clipping mask in Adobe Photoshop:
1. Open Adobe Photoshop and create a new document by going to File > New…
2. Then, create two new layers in your document, use the “New Layer” button in the ‘layers panel’, or you can use the keyboard shortcut “Ctrl+Shift+N” if your a Windows user or “Cmd+Shift+N” if your using photoshop on a Mac.
3. Select the bottom layer from the layers panel, then choose a shape, which we’ll use as the mask. For this article, we’ll use a circular shape. Let’s go ahead and select the Circle Tool from the toolbar on the left. Use your mouse to draw a circle shape on the bottom selected layer.
4. Select the top layer and place the image or object, which you want to apply the mask to. For this example, we’ll use a photo of a sunset which we’ve licenced from unsplash. We’ll go ahead and place the photo, go to File > Place Embedded, and select the photo from your computer.
5. Next, let’s select the top layer we’ve created, and apply the image, right-click on the layer and select the “Create Clipping Mask” option from the drop-down menu. You can also use the shortcut keys, which are “Ctrl+Alt+G” for Windows or “Cmd+Opt+G” for Mac users.
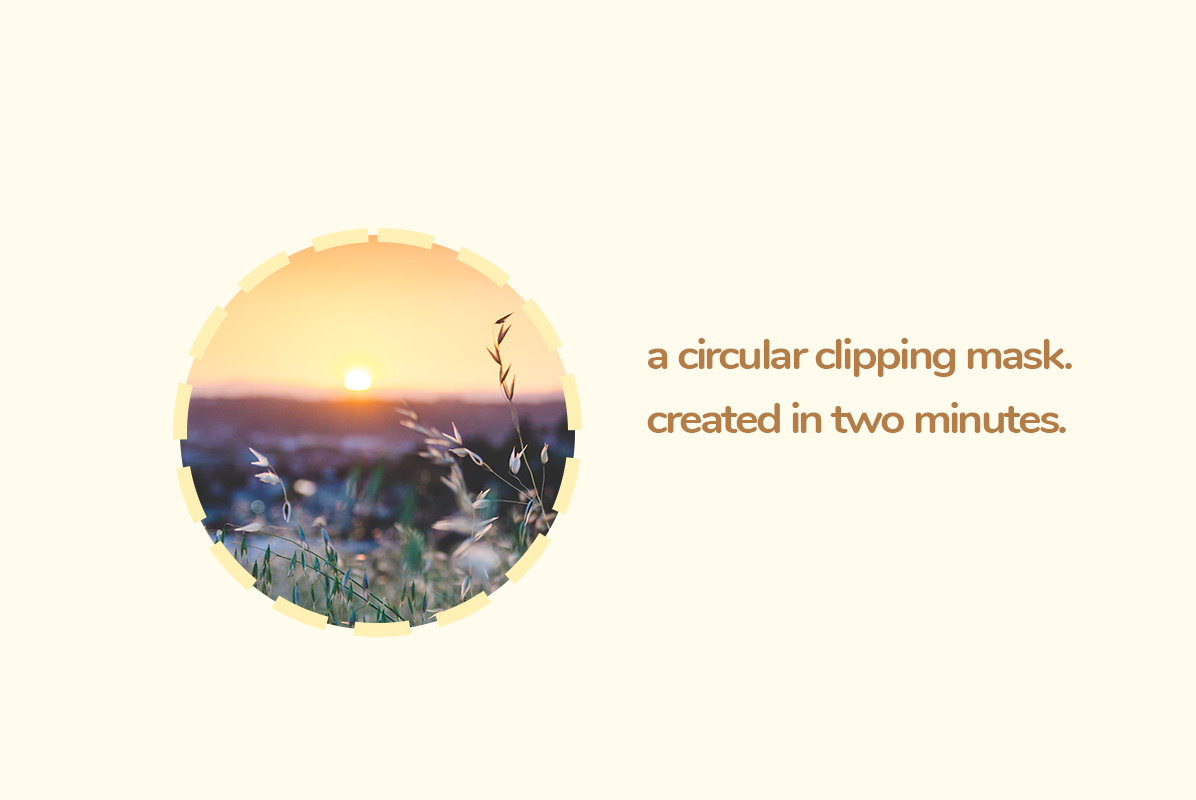
6. Using the mouse you can move the top layer around the canvas to adjust the position of the mask relative to the circle.
All done, a clipping mask created in two minutes in Adobe Photoshop.