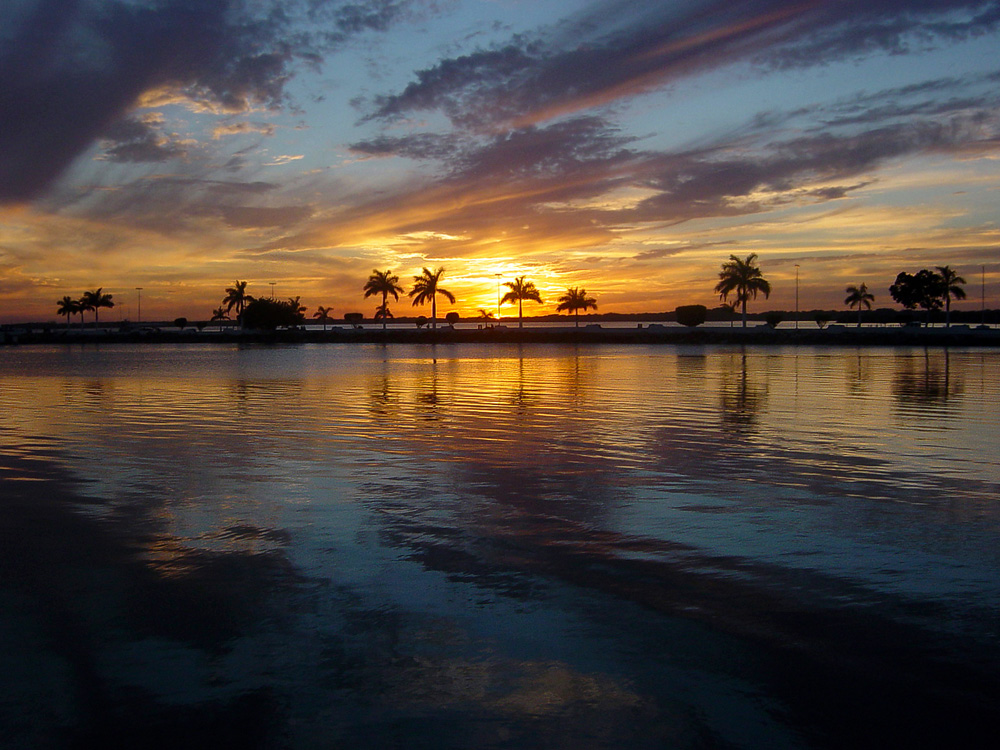
This tutorial is going o teach you how to turn most n photo into a watercolor-like painting. Example Before:
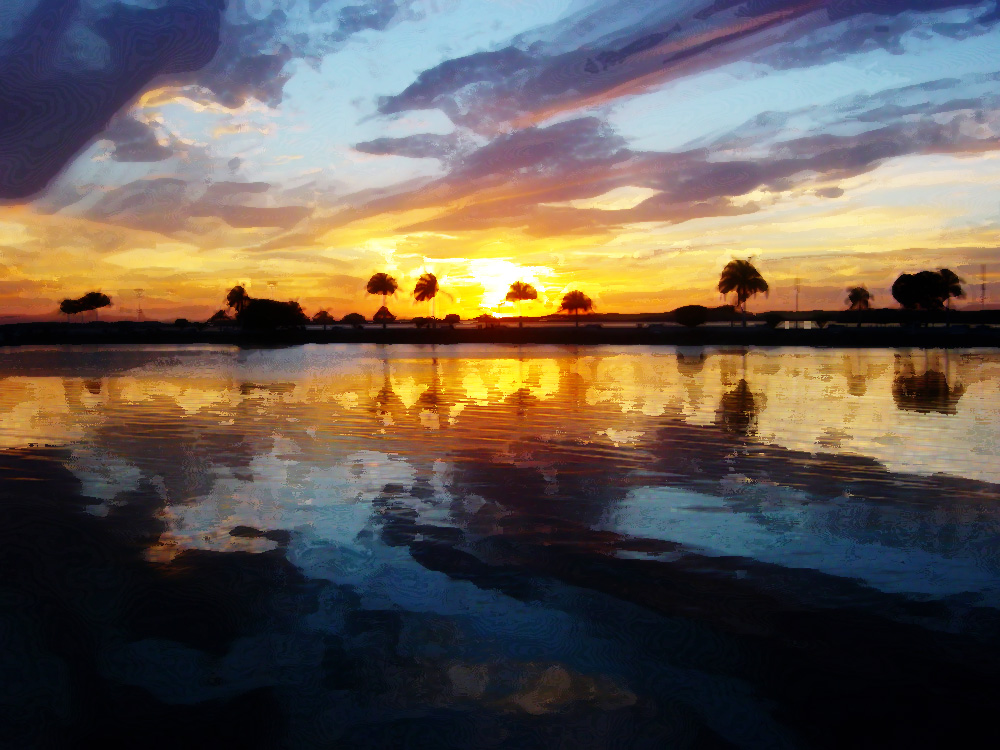
After:
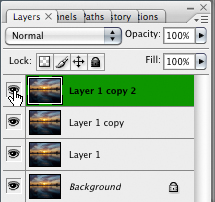
Step 1: Open up your image in Photoshop, fairly simple. Step 2: Once you have your image open, duplicate it three times (Ctrl+J on PC, Command+J on Mac) This will give you a total of four layers: Layer 1 copy 2 Layer 1 copy Layer 1 Background
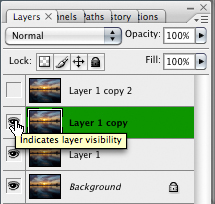
hide the top two layers (Layer one copy 2, Layer 1 copy)
Step 3: Select the third layer down (Layer 1)
Apply a Cutout filter (Filter>Artistic>Cutout)
Adjust these settings: (Number of Levels to 4, Edge Simplicity to 4, and Edge Fidelity to 2) and click OK Set the layer's Blend Mode to "Luminosity"
Step 4: Unhide ad select the layer above this (Layer 1 copy)
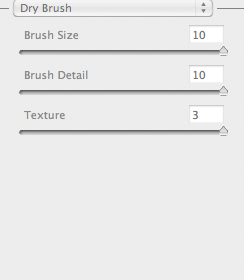
Apply a Dry Brush filter (Filter>Artistic>Dry Brush)
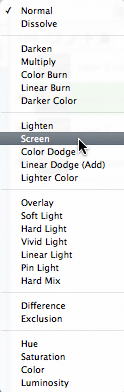
Adjust these settings: (Brush Size to 10, the Brush Detail to 10, and the Texture to 3) Set the Layer's Blend Mode to "Screen"
Step 5: Unhide and select the final layer (Layer one copy 2)
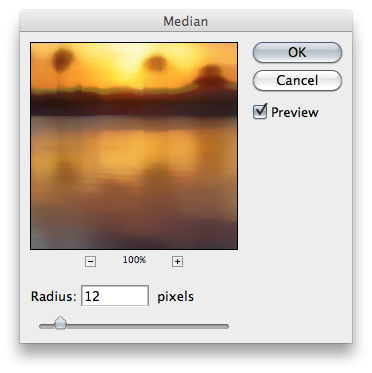
Apply a Noise Median filter (Filter>Noise>Median)
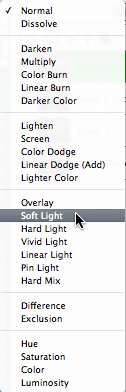
Adjust the Radius to 12 Set the layers Blend Mode to "Soft Light"
� Once step 5 is complete, you image may, or may not be done. If you are unhappy with the results,try adjusting the opacity levels of the layers,sometimes a three second tweak, can make, or break your image. That's it for this tutorial, I hope you found it helpful, and have inspired new ideas! 
Dig this tutorial?
Thank the author by sending him a few P2L credits!


|