Hello and welcome to this Photoshop Tutorial, here I'll be teaching you how to create a simple yet neat Glassy Text Effect.
So let's get started!
Step 1: Open a new document, i'll be using 750x500 for the size.
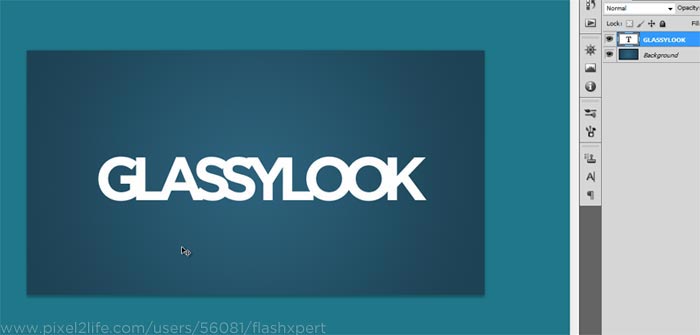
Step 2: Using your Gradient Tool, select Radial as the gradient option - colors I've used are #2c627c at Location 0% and #1d4254 at Location 100%
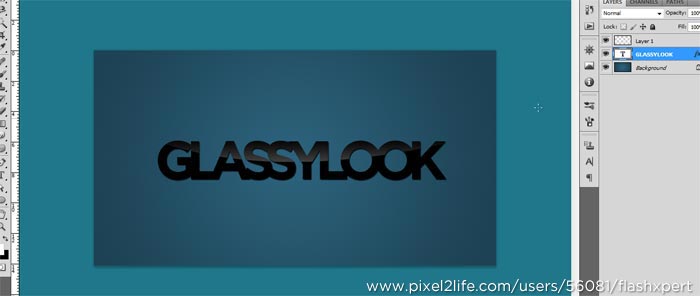
Step 3: Once you've added your background color, switch to your Text Tool and type in something with black as the color as shown below.
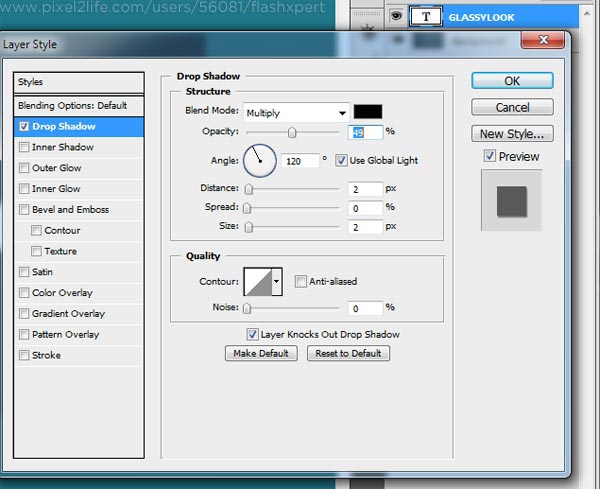
Step 4: Open the Blending Options for the Text Layer and add the following settings for Drop Shadow
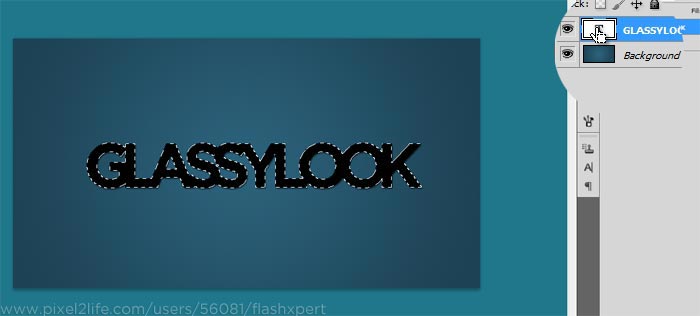
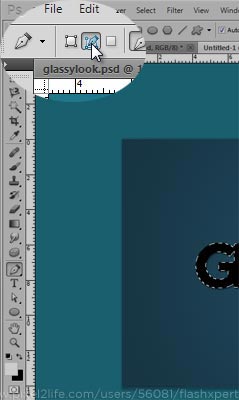
Step 5: Now create a New Layer and make a selection of the text you just typed, you can do this by holding your Control Key click on the thumbnail of the Text Layer as shown below.
Step 5: Now with your Pen Tool select make sure you have paths on with draws only paths without any shape
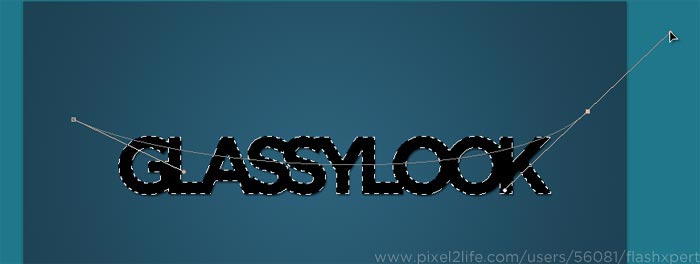
and starting from the far left side of the text set a point and make another point to the far right to create a curved path which cuts the Text, see below screenshot. Continue the path downwards until you go all the way around the text without having the Path at the top side of the text (make it go down) and end the points.
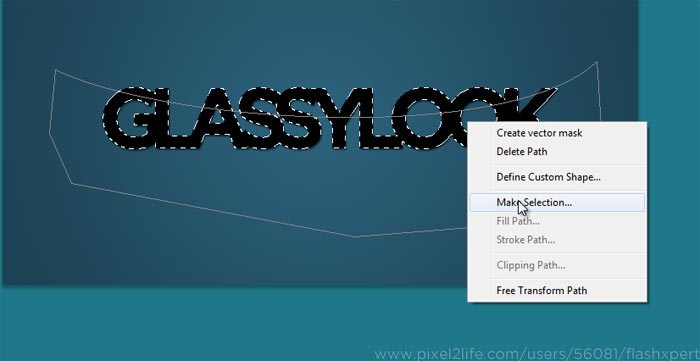
Step 6: Now with your pen tool still selected right click and select "Make Selection"
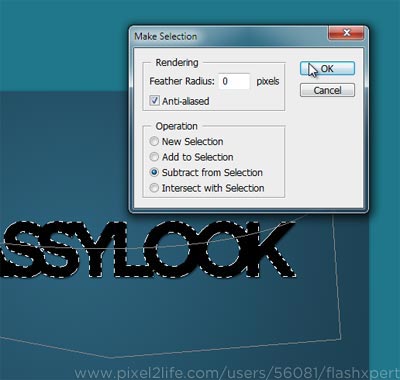
and choose "Subtract from selection" leaving other options default (feather: 0) click on OK
Step 7: What you must have now is a Curved Selection at the top of the Text. Something like the below Screen-shot.
Step 8: Now again using your Gradient Tool make sure you have White to Transparent as your Linear Gradient and click from down to top to add the shine.
Step 9: Lower the Shine layer's Opacity to 25%, you're all done ;)
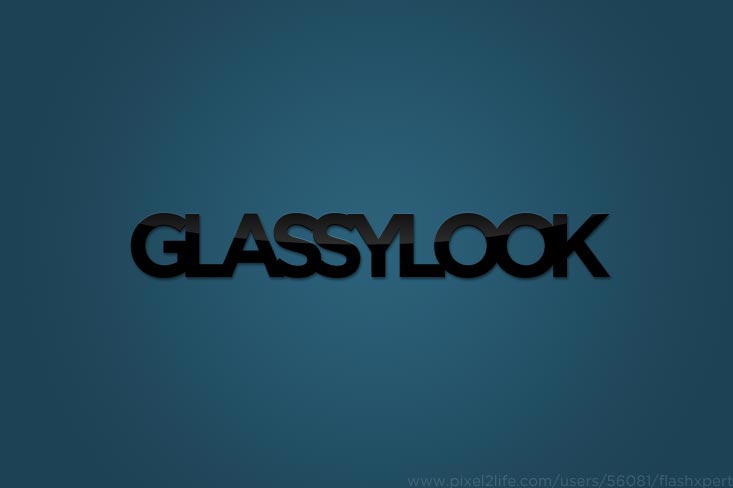
Here's our Final Result...
Hope you've learnt something new from this tutorial, any questions feel free to ask. Thankyou, 
Dig this tutorial?
Thank the author by sending him a few P2L credits!


|