In this opportunity we'd like to introduce you the quickest way to create an audio podcast without the need to know any skill.
Part I
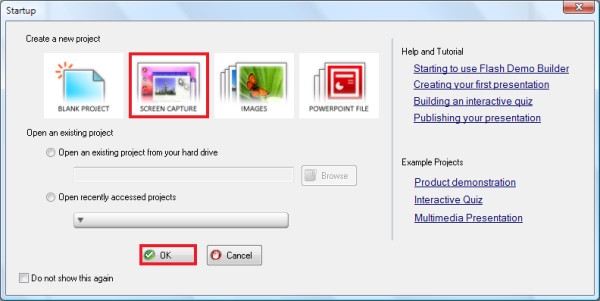
Step 1Make sure to plug your microphone in your PC. Step 2Install and Run Flash Demo Builder from here Step 3From Startup menu, choose "Screen Capure" and click on the "OK" button
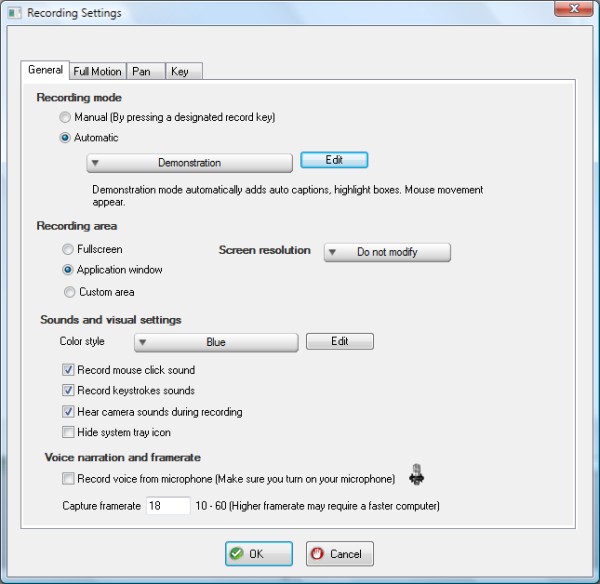
Flash Demo Builder will show you a Recording Settings window as shown below
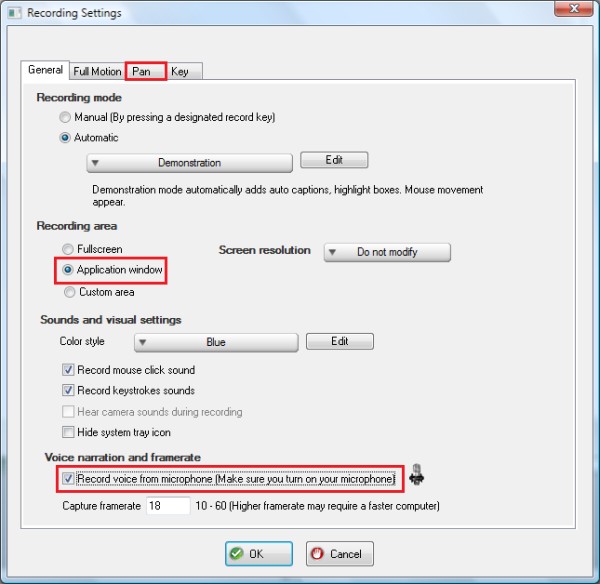
Set Recording Mode to Automatic, Recording Area to Application window, and leave Voice Naration checked under General tab menu.
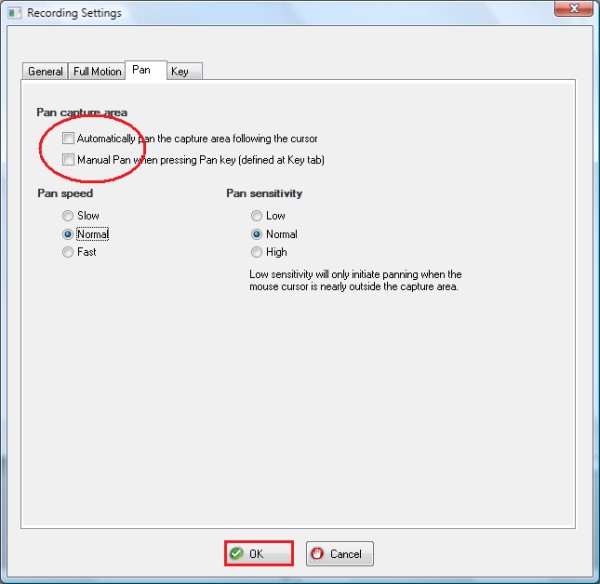
Step 4Under Pan tab menu, at Pan Capture Area, make sure to leave off Automatically pan the capture area.
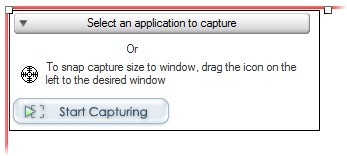
Let the rest of the settings to be default. Step 5Adjust the Recording area as needed and click on the "Start Capturing" button.
Flash Demo Builder will ask you to choose the project dimension. Choose "Same as Capture Area".
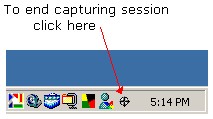
Step 6After you click OK, the recording will start, run through your demonstration and speak to the microphone while it is being recorded. At the end of capturing process, click on the icon on the taskbar as shown below.
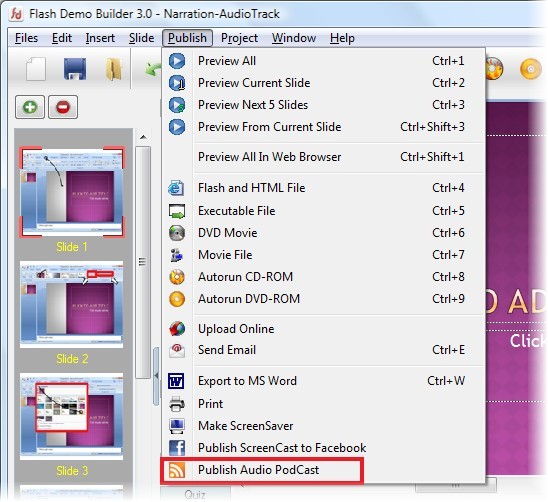
Step 7To publish it into Audio PodCast, At the main menu, click on Publish then choose Publish Audio PodCast.
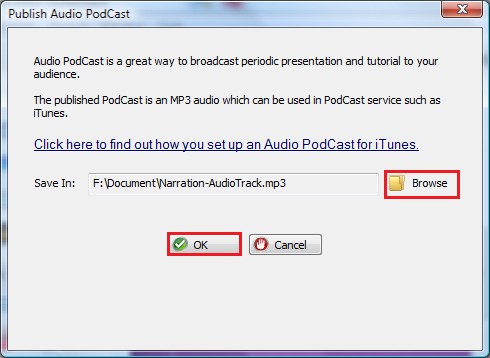
Find the folder to save in your mp3.
Your mp3 has been generated. You can upload it into your iPhone/iPod/iPad by now.
Part I I
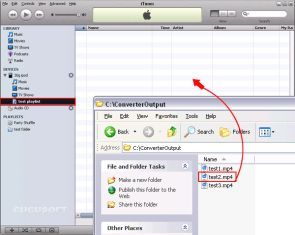
Step 1Run iTunes after you connect your iPhone/iPod/iPad with the PC.Create a new playlist by click menu ’File->New Playlist’ to storage the iPod/iPhone mp3 files that you want to importinto iPhone/iPod/iPad.
If the files has already been imported in iTunes library, you can drag it to the playlist directly. Step 2Find the iPhone/iPod/iPad mp3 files you have converted and drag it into the playlist you just created.
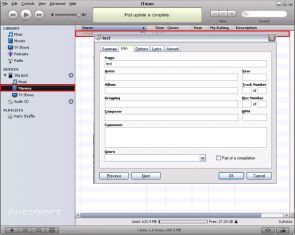
Step 3After the update is completed, you can find the file in your iPhone/iPod/iPad. You can also right click the file -> select 'Get info' -> change the file name in the tab 'Info'.
Step 4Now you can listen your mp3 on your iPhone/iPod/iPad.
You can click here to see the final result 
|