This time we'd like to show you how to create animation e-card, using two software.
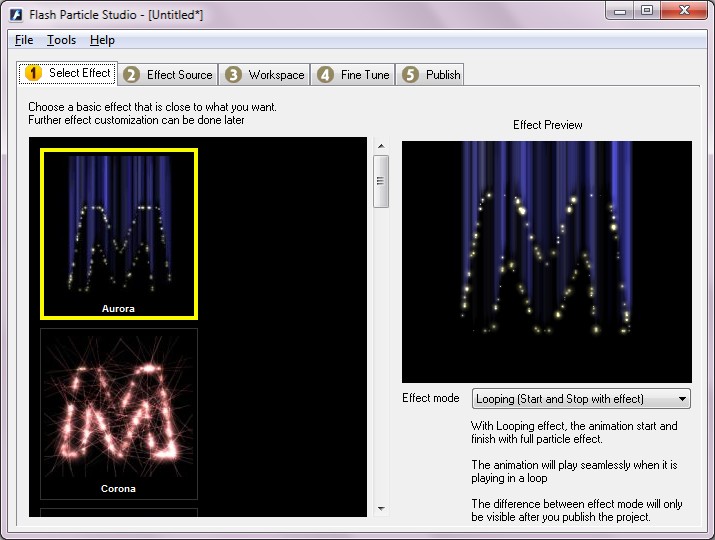
Part I, Create a video animation. Step 1 Install and Run Flash Particle Studio from here Step 2 Under Select Effect menu, You can select the effect. For this tutorial, we use "Aurora" effect.
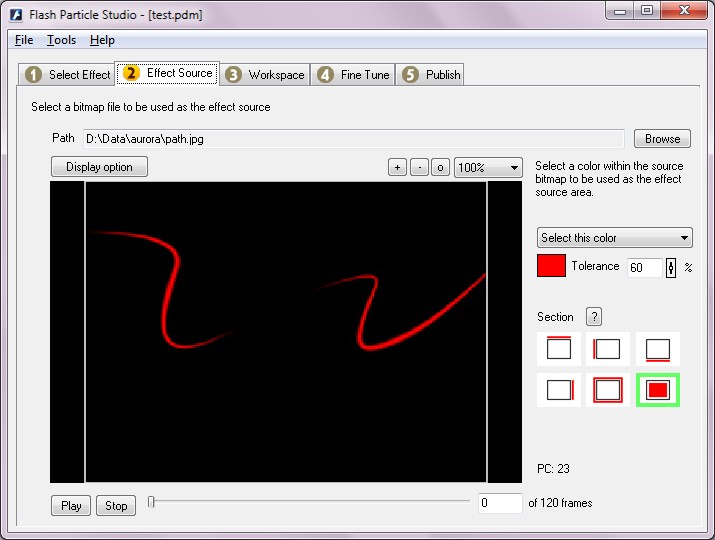
You can choose the select mode. There are four select mode, Intro, Ending, Intro & Ending, Looping. Step 3 Go to tab 2, Effect Source. Select a bitmap file to be used as the effect source.The maximum bitmap size supported are 256x256. Any bitmap bigger than this dimension will be resize to fit 256x256.In this tab, you can select a color & the sections.You can select more than one section at once. (Eg: left and right, top and bottom, etc).
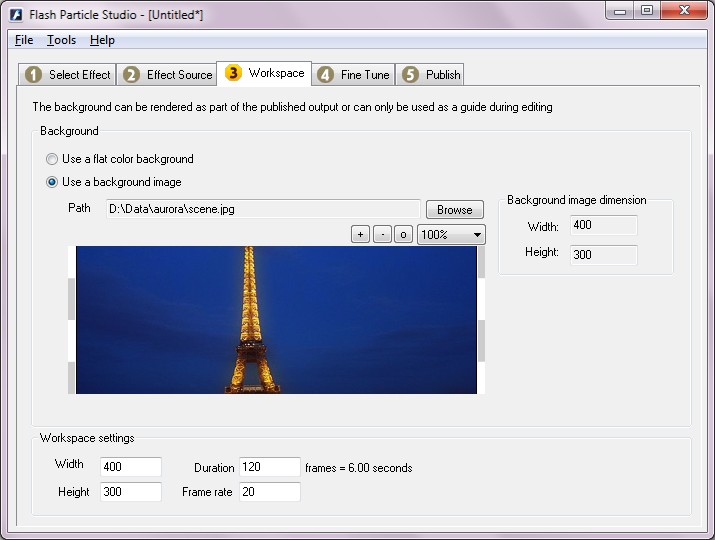
we use red color((255, 0, 0), when you hit play button, you will see, there are aurora effect. We set the tolerance into 60. Step 4 Next, click on tab 3, Workspace. Here you can set the project background, dimension, frame rate and duration.You can use a single/flat color background or a background image. For this tutorial, we use a background image.
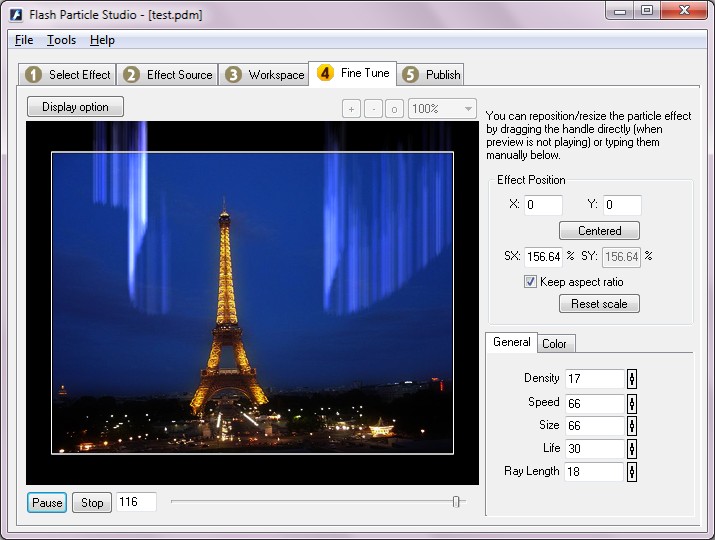
Step 5 Click on tab 4, Fine Tune. Here you will customize the behavior of your particle effect to suit your need.On Tab General, we change the density, speed, etc. For tab Color, we change the alpha into 0.
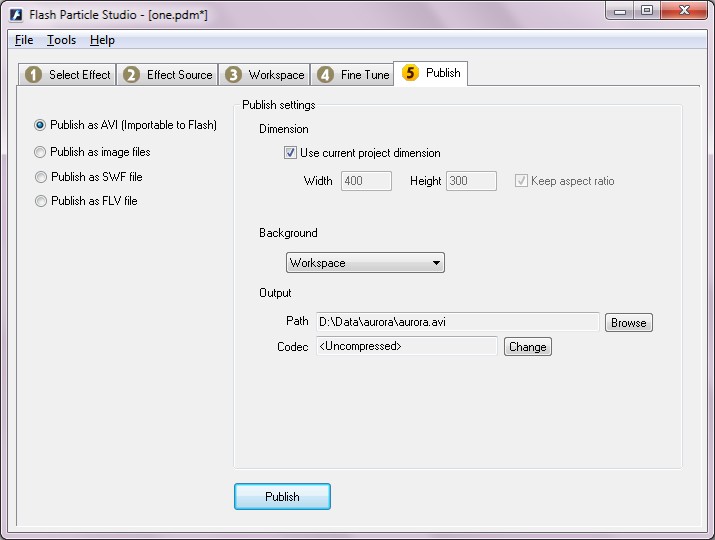
Step 6 Last, click on tab 5, Publish. You can select how you want to publish your project. We want to publish as avi.
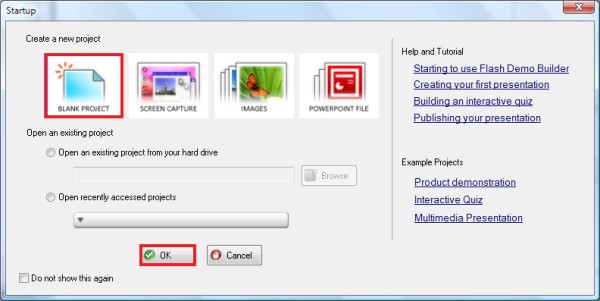
Part II, Create animation e-card. Step 1 Install and Run Flash Demo Builder from here Step 2 From startup menu, choose "Blank Project" & click on "OK" button.
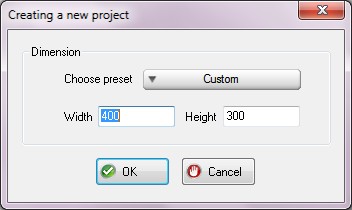
Flash Demo Builder will show windows to choose the dimension. For this tutorial, we use 400x300.
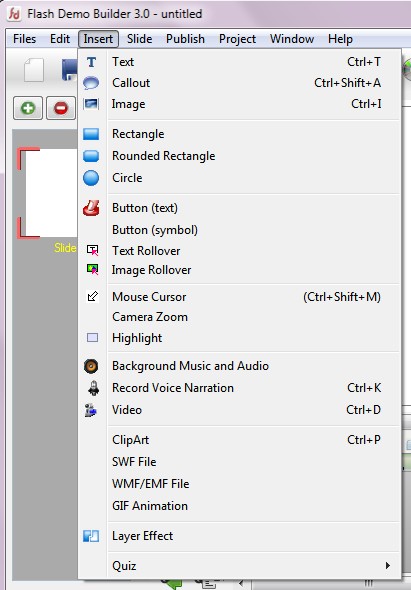
Step 3 For this tutorial, we want to insert the video file that have made with Flash Particle Video. click Insert => video.
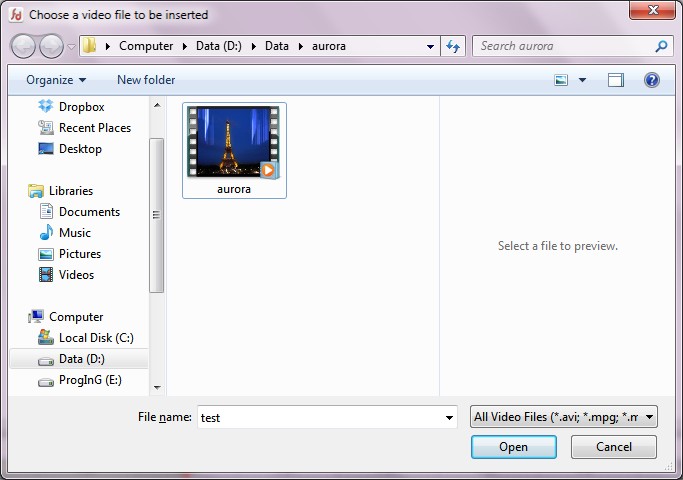
click browse to open your video file.
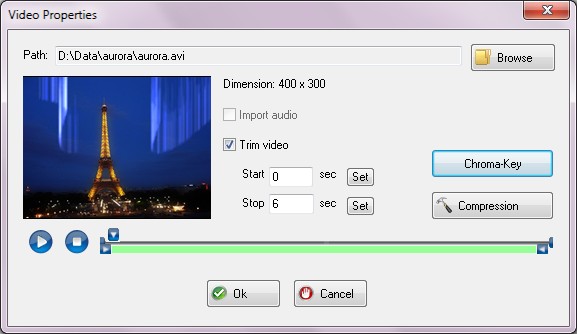
You can change the properties of video, like chroma key, compression, etc.
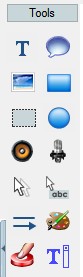
For this tutorial, we leave it as default. Step 4 We want to insert text. You can find tools on the left side. Click on insert a text.
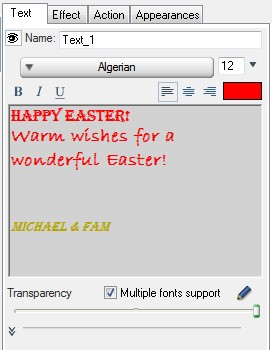
You can type it what do you want to write.
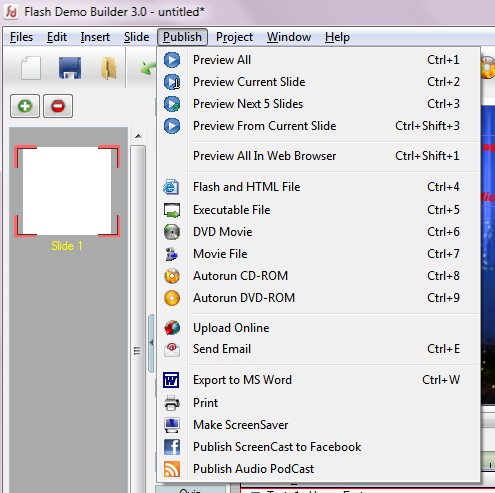
Step 5 Last, We want to Publish e-card by email. So your friend will be easily to find out.
Step 6 Congratulation! Your animation e-card is done.
Click here to play the flash file 
|