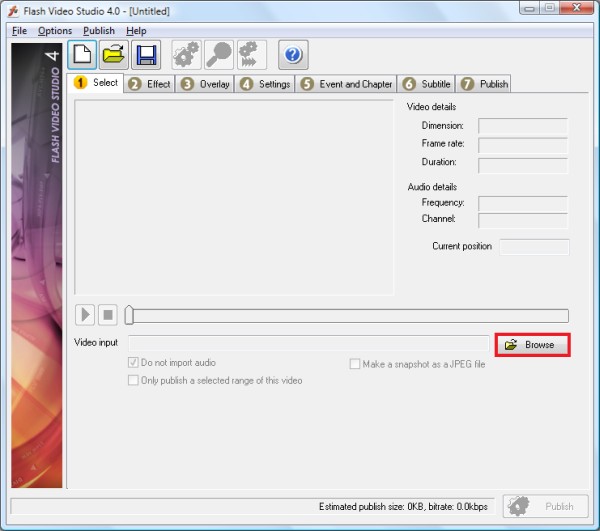
It is now possible to add subtitle into your video. Multi language channels are supported. Meaning you can add more than one language channel which can be selected by viewer at playback. Step 1 You can start to add the multi language channels by downloading the trial version from here Step 2 Run Flash Video Studio. Step 3 From menu, click on "Browse" button to open your video file.
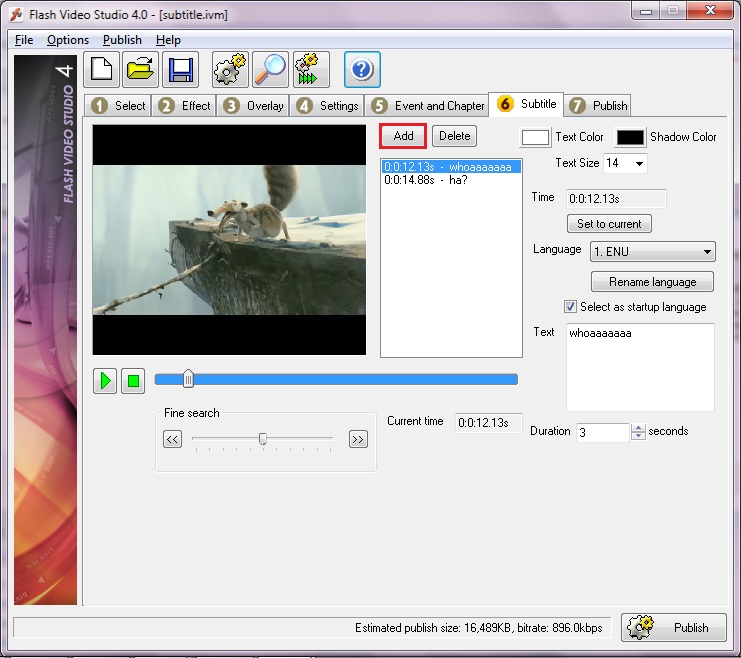
Step 4 After the video is opened, you can change "effect", "overlay", "settings", etc. For this tutorial, we will add substitle with multi language channel. Then go to tab 6 "Subtitle". To add a subtitle, simply drag the video playback slider to your desired timewhen the subtitle will occur and click Add button. To move the video playback sliderat a higher acuracy you can use the Fine search bar. Drag it left to slowly movethe video playback slider backwards and vice versa. The further you drag thefine search bar, the faster the video playback slider will move. Note that youcan only have one subtitle at one time. However each subtitle can have more than1 text channel. Adding a new subtitle at the same time will overwrite anexisting event.
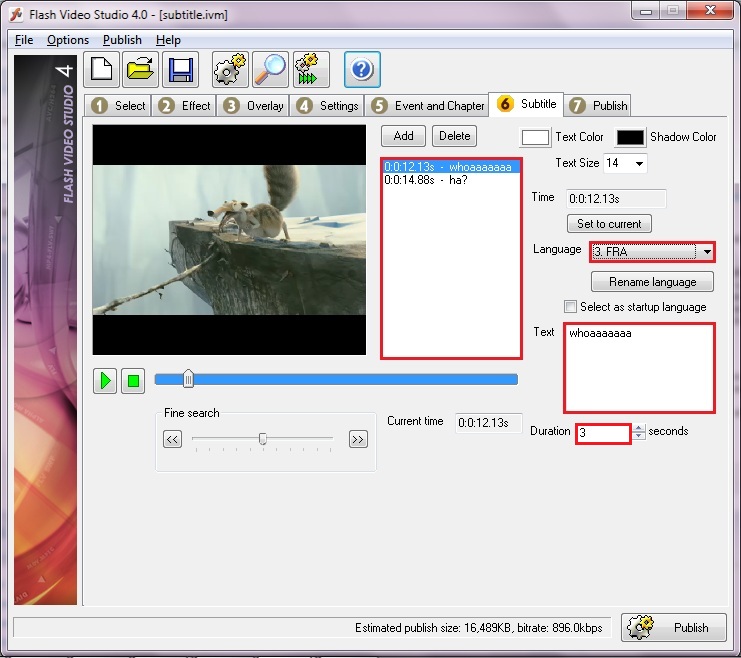
To select subtitle language channel, click the language listbox to select the language channel. You can have more than one language channel per subtitle. When you select a language channel, the Text textbox will automatically show the text for that particular language channel.
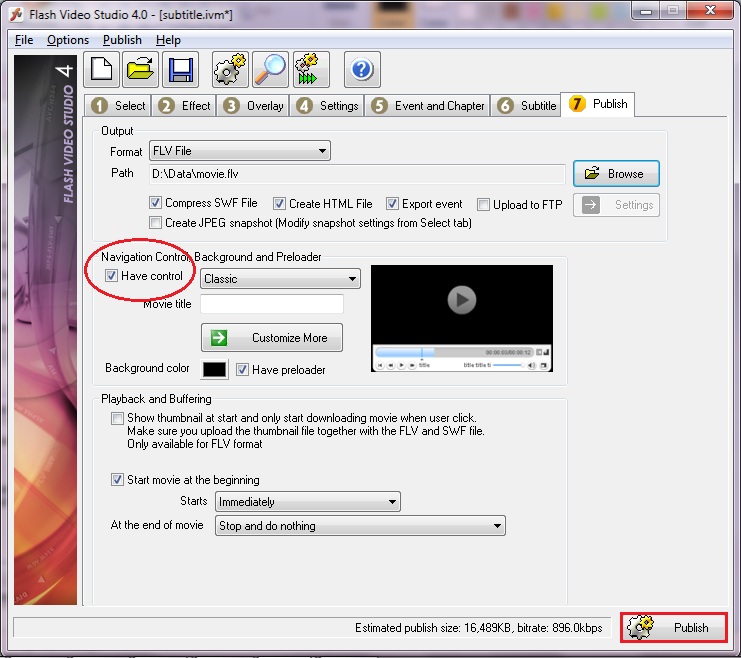
You can change the duration of the current subtitle too. Step 5 After you have finished the subtitle, you can publish your video. Go to tab 7 "Publish". Don't forget to check "have control" to make your subtitle appear.
Step 6 Congratulation, your video is done. You can upload the HTML, SWF and FLV files into your website.
Here is the result:

|