Photoshop tutorial: Create a surreal “handful of nature”
Once again, welcome back to surreal world. Creating something out of our imagination is always a challenge and interesting. In this tutorial you will learn to create a miniature world which can fit in a hand.
Final Image:

So, lets get started to achieve the above result. Following are the images I used for this tutorial.
Image sources
Step-1
Take the hand image

Select polygonal lasso tool and tick “Anti-aliased” for smooth edges.
![]()
Select hand and delete rest of the image by inversing the selection (ctrl+Shift+I)

In the above image, you can see mustaches of chumpkin and also its partial body in between fingers. No need to remove them, because we are going to cover it up with lot of things later.
Step-2
Now, I’m going to color balance it a little. First, select the hand image and go to “adjustment layer option” you can see it at the bottom of the layer palette.

From this adjustment layer options, select color balance and set the following parameters.

You might be wondering why I gave these parameters, simply because I just want the hand to be little greenery to tune with nature which I will be adding later. One more thing, by pressing “alt” click between adjustment layer option and hand image layer, so that the color adjustment can effect only hand image.

Step-3
Select the land image.

Select and copy the image in following way, so that it can fit in the hand.


Step-4
Select the smudge tool, set the strength to 50% and drag the edges of the land down side as shown in the above image.

Add drop shadow to that land: It gives the impression that, the land belongs there in hand.

Step-5
Now, lets add greenery to the fingers. For this, I took the following image.

In the above image, you can see the bumpy area which can fit on the fingers perfectly. Copy and paste it over the little finger

Step-6
Now, select eraser with following brush style and set opacity and flow 100%

Erase the edges unevenly, with “Clone stamp tool”(s) clone the grass and cover the whole finger, darken the one side of the grass with “burn tool”(o) and finally add drop shadow. You get result something like this…

Step-7
Similarly, repeat the same process to rest of the fingers.

Step-8
Now, I’m going to add water falls from the following image.

Select polygonal lasso tool, set the feather value to 1 and select one of the falls from the above image. And add the falls wherever it is needed.

Step-9
Adding a palace and trees.

Step-10
Lets add clouds from the following image.

Remove the grass.

Step-11
Go to “select” and select “Color range”.

In the “color range” panel, select “add to sample” option.

From the sky image, select two colors: light blue and dark blue to remove blue color completely.
Now, add the clouds in the following way.

Step-12
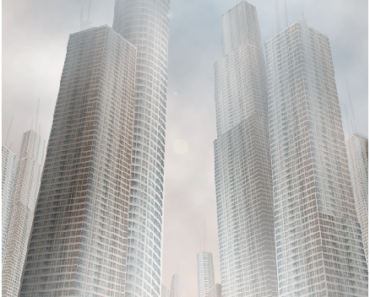
Add, suitable cloudy sky.

Step-13
Finally, add birds to the scene to get the final image.