In this tutorial, you will learn to create cloud typography from the scratch effortlessly. For this, we are going to use simple basic tools and technique.
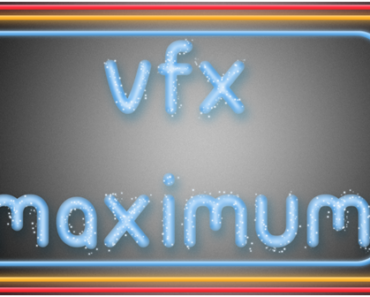
FINAL RESULT :

Step-1
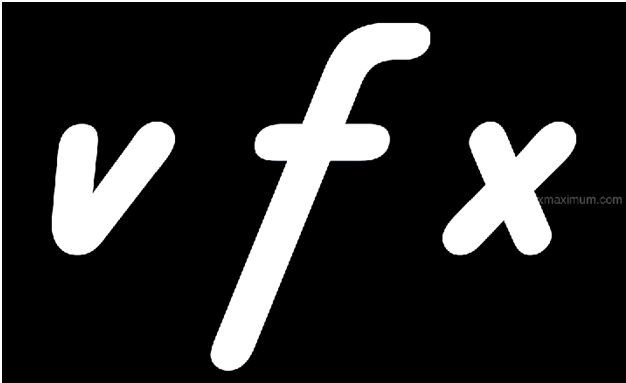
Type text of your wish. (Here we use “VFX”)
You can use any font style. However bold type font would be better for this effect.
Step-2
Rasterize the text and make selection.

Step-3
Pick the following color : #657790

Select soft rounded brush with opacity 10%.

Brush the right side edges of the text in the following way.
The reason for right side brushing is to give lighting for left side of the text and darkness to right side of the text.

Step-4
Deselect the text (Ctrl + D)
Select “Smudge Tool (R)” with following properties.

Smear the edges of the text slowly bit by bit.
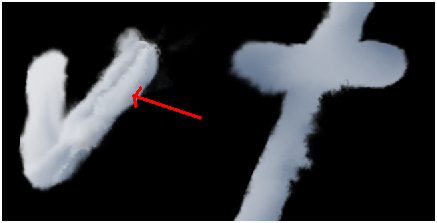
Also smear along the red lines shown in the image below. The red lines were placed at the color transition(white to blue).
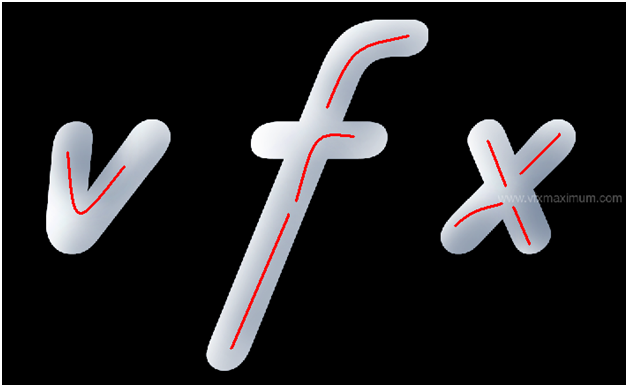
You get result like this.

Step-5
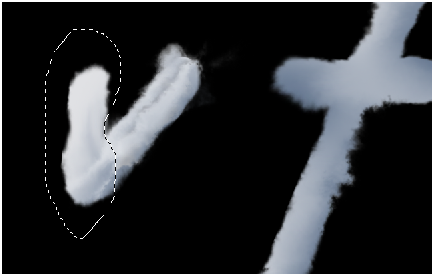
Select piece of the text in the following way , copy and paste it in new layer.
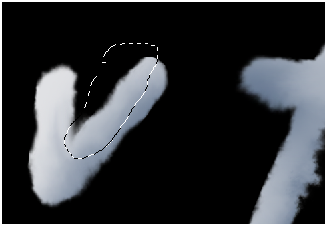
Smudge it in the following way.

Step-6
Repeat the “step-5 “ several times to different parts of the text like this….
Make selection, copy and paste it in new layer.
Smudge it.
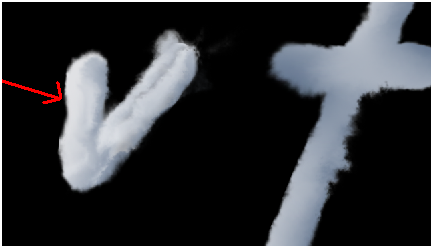
Repeat the same process to rest of the letters.
Step-7
Finally you get result like this.
I hope you find this tutorial use full.
Enjoy!!