This tutorial is written exclusively for PSD Vault by Mohammad Jeprie.
In this tutorial, we will draw a retro radio from scratch in Photoshop and Illustrator. We will start by drawing its wireframe in Illustrator and then export the path to Photoshop where we will continue to polish it. This is extra long tutorial with a total of 131 steps! If you think you’re up to the challenge, dig in now!
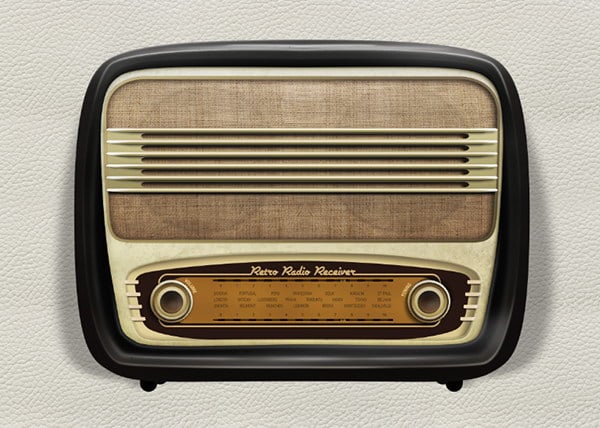
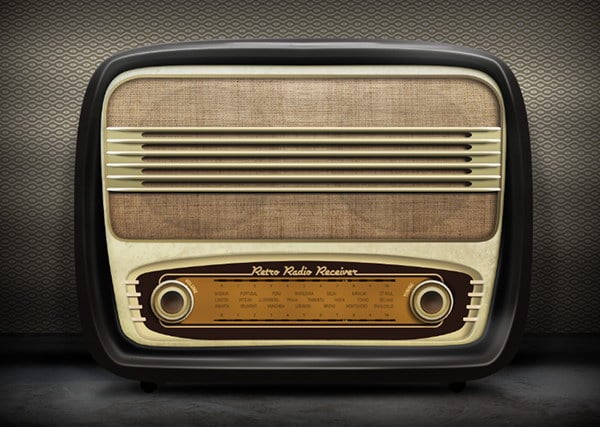
Final Image Preview

PSD File Download
You can download the PSD File for this tutorial via the VIP Members Area for only $6.95/Month (or less)! You will not only get this PSD File, but also 250+ other PSD Files + Extra Goodies + Exclusive Photoshop tutorials there. Signup now and get exclusive :) Find out more about the VIP Members Areas

Assets Used in This Tutorial
Here’s some resources used in this tutorial:
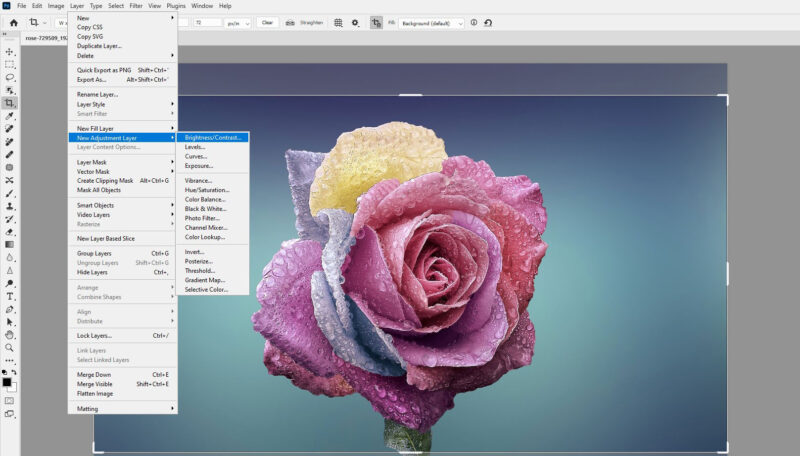
Step 1: Wireframe
We will start by drawing its main body. Draw a rectangle using Rectangle tool.

Step 2
Select top left corner and then drag it using Pen tool to convert it to a rounded corner.

Step 3
Repeat same process to the lower left corner.

Step 4
Add one more point between the corners and then arrange its position until we get following shape.

Step 5
Keep working on until we have several shapes. See picture below for reference.

Step 6
Select all the shapes we have just made. Right click and choose Transform > Reflect.

Step 7
Click Copy from the next dialog box.

We will have duplicated the shapes. Hit right arrow a few times until we can put them in separate position.

Step 8
Select two outmost shapes. Hit Unite from the Pathfinder panel.

Both shapes will be united. You may need to fix some unneeded point on the new shape.

Step 9
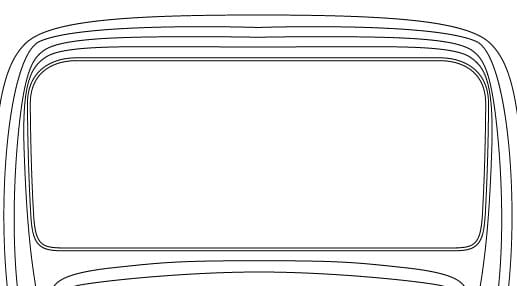
Repeat this to the other shapes until we have following basic shape. I guess now you understand the reason we have made half rounded rectangle earlier. We did that to get a perfectly simetrycal shape.

Step 10
Draw four rounded rectangle under the shape. We are going to use it for its feet.
Step 11
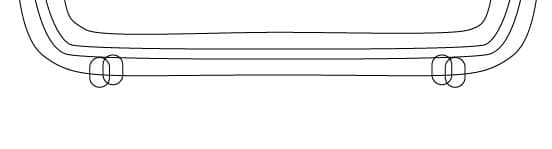
Draw following shapes. We can use previous techniques, making a half rounded rectangle and then mirrored it.

Step 12
Add some rectangles on left side of the shapes.
Step 13
Repeat this to the other side.

Here, we have rectangles on both sides.

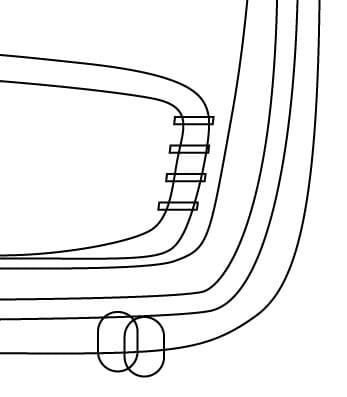
Step 14
Draw an rounded rectangle and two rectangles on its top and bottom.
Step 15
Add some texts between the rectangles. On top and bottom, add numbers, from 0 to 10.

Step 16
Activate Star tool. Double click its icon on the toolbox. Add following parameter.

This is the shape we get.

Step 17
Add smaller circle inside the star. These star and circles will be used for radio button.

Step 18
Duplicate the button and place it on the other side.

So far, this is what we have.

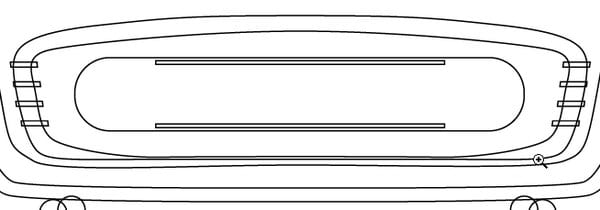
Step 19
Add two rounded rectangles on top.
Step 20
Draw a thin rounded rectangle.Alt-drag to duplicate it. hit Ctrl + D a few times to repeat the duplication process.

Step 21
Add smaller rounded rectangles between the previous shapes.

Step 22
Add small rounded rectangle. See picture below for reference on its placement.

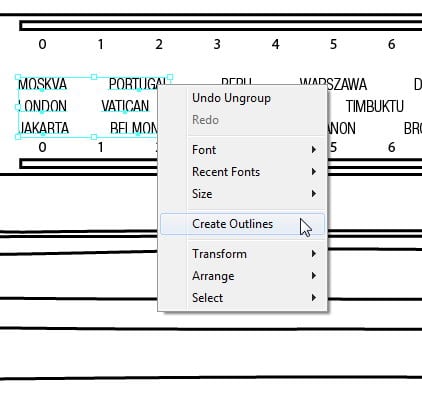
Step 23: Convert Text to Outline
Right click on the text and then select Create Outlines. These texts will turned into a shape and no longer editable. Make sure all the text is written correctly before you turn them to shapes.

Step 24: Exporting Paths to Photoshop
Select all the path in Illustrator (Ctrl + A). Hit Ctrl + C to copy them to Clipboard.

Step 25: Working With Wireframe in Photoshop
Open up Photoshop. Make new file with size 4.400 px × 3.300 px. I personally prefer big canvas file because this way there are many wiggle room to experiment. Then finally, we can resize it to smaller size if necessary.
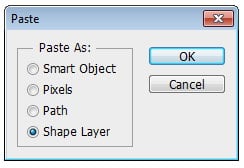
Hit Ctrl + V to paste the path onto Photoshop. From the dialog box, select Shape Layer and then click OK.
Step 26
To help us working easier, separate each path onto separate layer by selecting the path and hitting Ctrl + Shift + J to move them to new layer. From this step forward, you will only need to bring back the shape and then modify it.


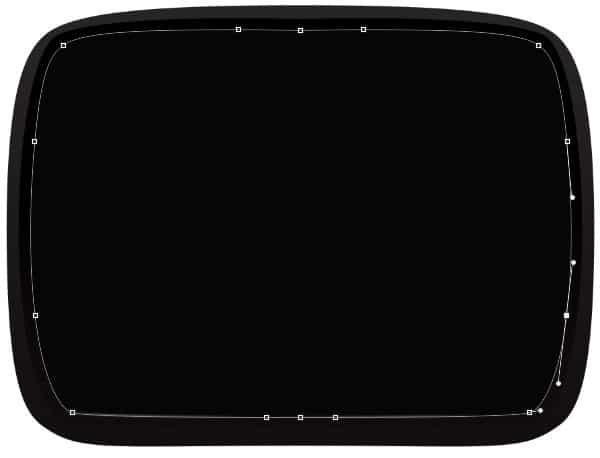
Step 27: Basic Shape
Star drawing its main shape. Set its color to #14100f.

Step 28
Add Gradient Overlay with following settings onto the basic shape.

Here’s the result we have.

Step 28
Add another shape underneath it. Set its color to black.

Step 29
Draw smaller shape, use slightly lighter color, #060606.
Step 30
Ctrl-click to make new selection based on its shape. Make new layer and then select Stroke. Set its width to 2 px with white as its color.

Step 31
Soften it by applying Gaussian Blur (Filter > Blur > Gaussian Blur).

Step 32
Add layer mask onto the stroke line. Paint black to hid part of the line. Use big brush with 0% hardness.

Step 33
Repeat this to add more lighting onto the shape. To get different result, apply bigger Gaussian Blur or thicker Stroke line.

Step 34
Keep adding another lighting on its outer shape. Use same techniques we’ve used earlier.

Step 35
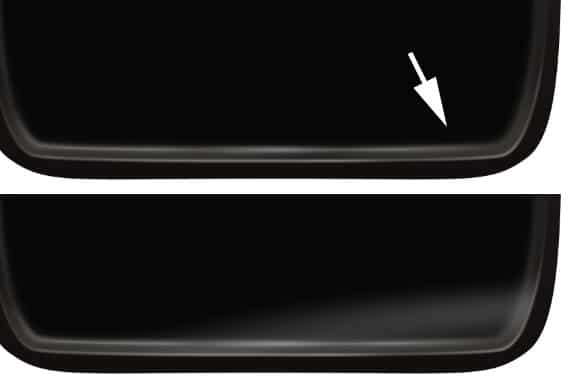
Add new layer and then paint white for subtle lighting on the radio lower right corner. Use very big and soft brush. If the result is too harsh, you can reduce the layer’s opacity.

Step 36
Add another lighting on the area indicated below.
Step 37
Keep adding more highlights onto the other areas.


Step 38: Radio Front Face
Add another shape using color #e7deb7.

Step 39
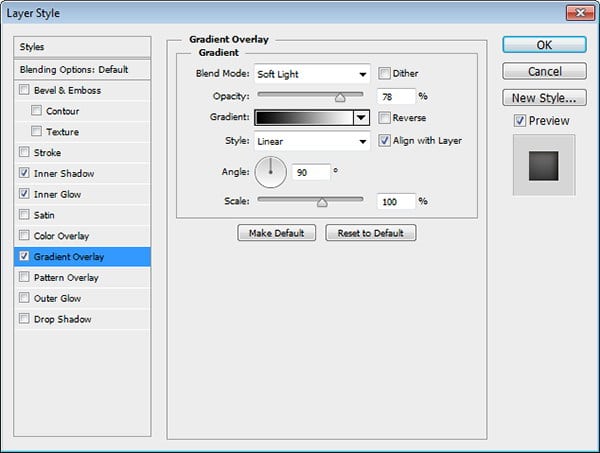
Double click the shapes and then apply Inner Shadow, Inner Glow, and Gradient Overlay from Layer Style dialog box. Use following settings.


Here’s the result we have.

Step 40
Grab dirty texture. You can use concrete texture, such as this one.

Step 41
Ctrl-click radio basic shape layer to make new selection based on its shape. Click Add Layer Mask icon. The texture will goes inside the radio.

Step 42
Change its mode to Darken and reduce its Opacity.

Step 43
Add radio’s feet. Use dark color, #130f0e.
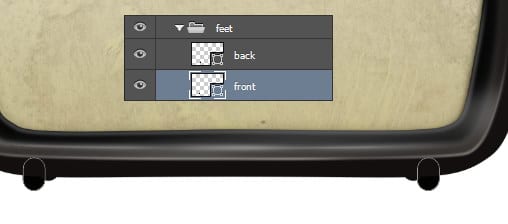
Step 44
Use Brush tool to paint shadow behind the radio. Make sure to use very soft brush with 0% hardness.

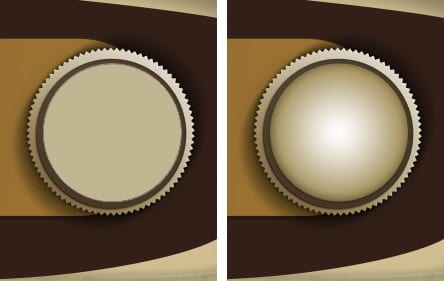
Step 45: Speaker
Add another. Use darker color, #8c7762.

Step 46
Double click the layer shape. Add Inner Shadow, Inner Glow, and Gradient Overlay with following settings.


Step 47
Here’s the result after Layer Styles are added. We have just gave it embossed effect.

Step 48
Grab free fabric texture. Paste it on top of the previous shape.

Step 49
Hit Ctrl + Alt + G to convert the layer to Clipping Mask.

Step 50
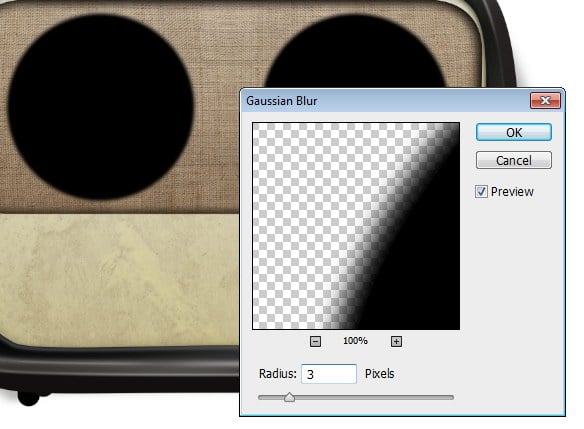
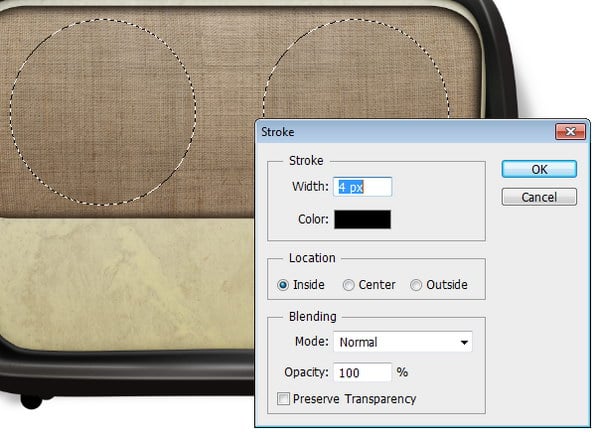
Make new layer and then draw two circular selections using Elliptical Marquee tool.

Step 51
Fill the selection with black. Hit Ctrl + D to remove selection. Click Filter > Blur > Gaussian Blur.
Step 52
Reduce its Opacity to 4%.

Step 53
Click Select > Reselect to reload selection we have just made earlier. If this command is greyyed out or you get selection shape, maybe you have made another selection earlier. Simply recreate the elliptical selection using Marquee tool. Right click and select Stroke. Set its width to 4 px and color black. Click OK.
Step 54
Remove selection (Ctrl + D). Apply Gaussian Blur (Filter > Blur > Gaussian Blur).

Here’s the result we have.

Step 55
Draw a rectangle with color #b2aa7c.
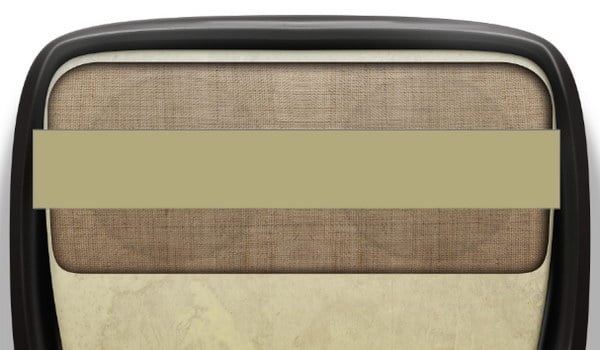
Step 56
Add rounded rectangle inside the shape and set its mode to Subtract. We are now creating holes inside the shape.

Step 57
Add layer mask onto the layer shape. Paint indicated areas below until it blends onto the radio body.

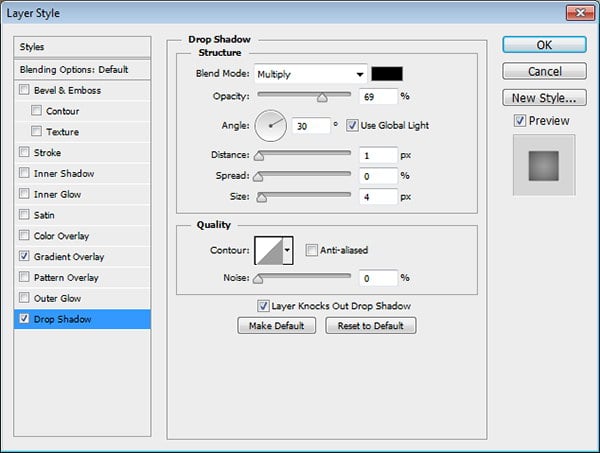
Step 58
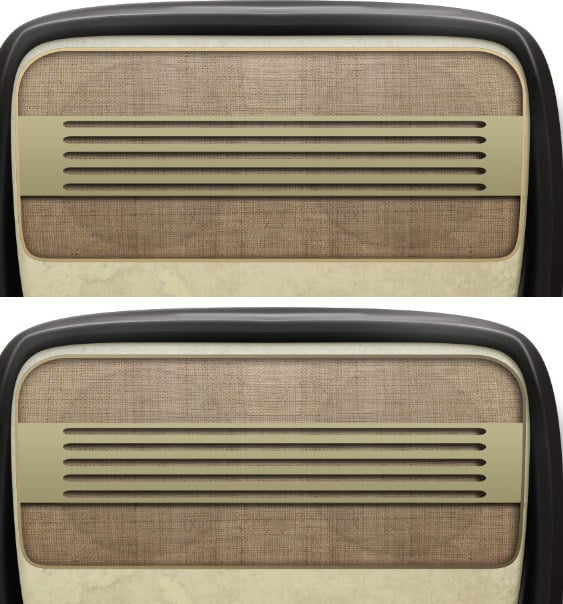
Double click the shape and add Gradient Overlay and Drop Shadow.


Step 59
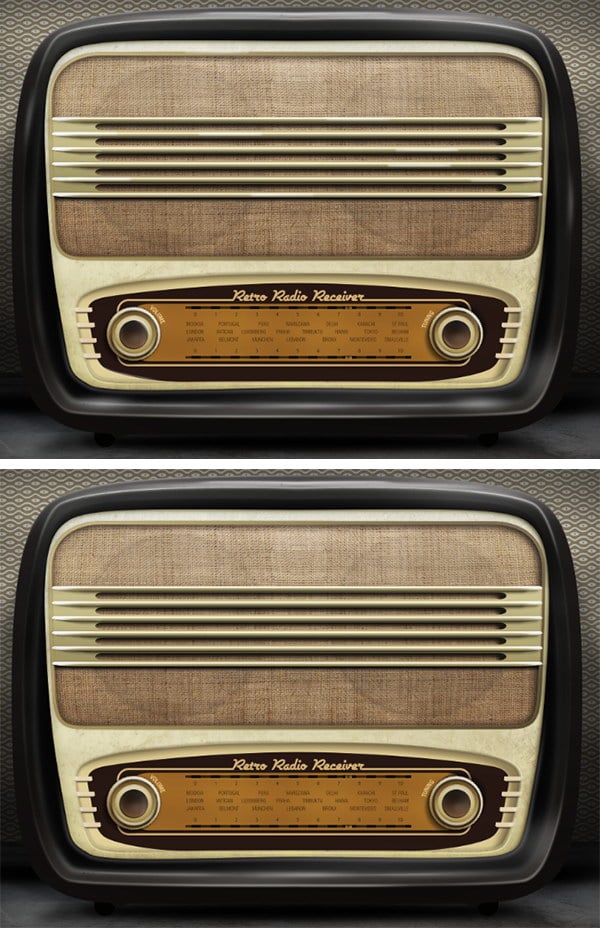
You may notice that some drop shadow will be on top of the radio shape. We can fix this from Blending Options. Select Layer Mask Hides Effects.

This is the difference before and after hiding the effect using layer mask.

Below, you can see the result we have.

Step 60
Add two rounded rectangle shapes.

Step 61
Set the inner shape to Subtract.

Step 62
Double click the shape and apply subtle Gradient Overlay.
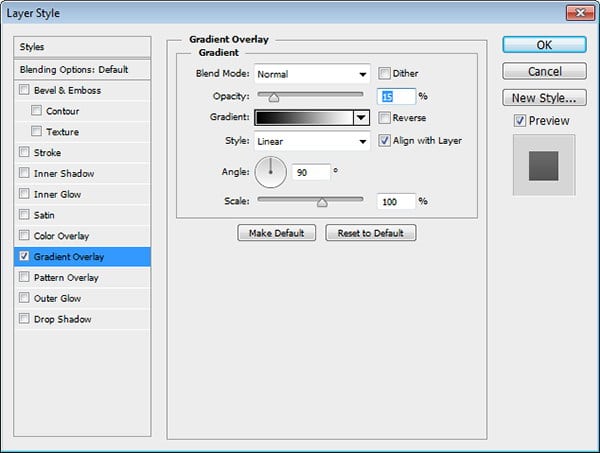
Below you can see the difference before and after adding Layer Style Gradient Overlay.
Step 63
Add a rounded rectangle between each hole. Use lighter color.

Below, you can see the shape position closer.

Step 64
Double click the shape to reveal Layer Style dialog box. Select Drop Shadow and apply following settings.

Step 65
In Blending Options section, activate Layer Mask Hides Effects.

Step 66
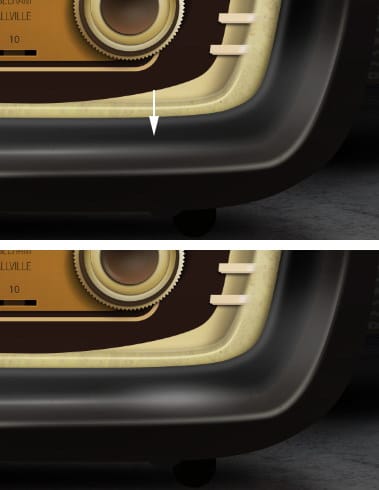
Add layer mask. Paint drop shadow on left and right edge of the shapes until it fades.

Step 67
Add new layer and put it above the shape layer. Paint highlight on top of the shapes.

Below you can see the result, before and after adding highlight.

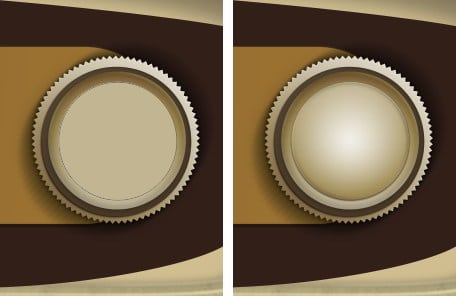
Step 68: Radio Frequency Panel
Add following Layer Shape. Set #321f18 for its color.

Step 69
Draw following shape, use color #d2bd8e, similar to the radio surface. Place it behind the previous shape.

Step 70
Double click the shape and then add Inner Shadow and Inner Glow.


This shape will become “holes” on the radio surface. Buat it is too sharp and not realistic. We still need to improve it.

Step 71
Ctrl-click the shape. While Marquee tool is selected, right click and choose Transform Selection.
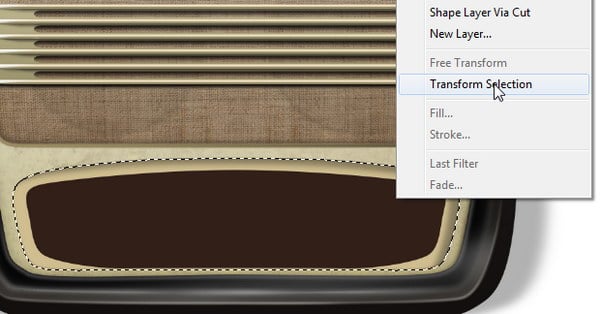
Step 72
Hold Alt + Shift and then drag its corner inward to make the selection smaller. When you’re satisfied with the size, hit Enter to accept the transformation.

Step 73
Without removing the selection, click Add Layer Mask icon. The layer shape size will be smaller because unselected areas is hidden.

Step 74
Click Filter > Blur > Gaussian Blur.
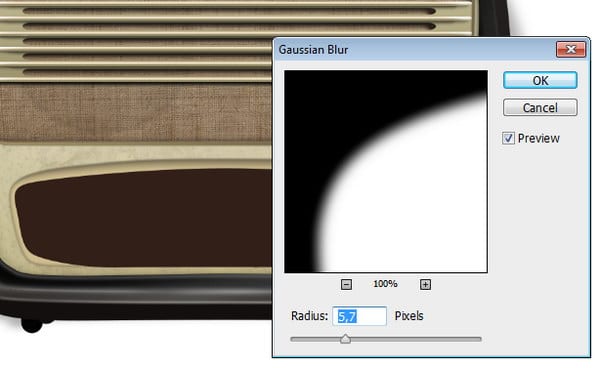
The shape edge will be much smoother now.

Step 75
Ctrl-click the layer mask. Add new layer and then click Edit > Stroke. Use white for its color.

Below is the result of our stroke line. We are going to use it as edge highlight.

Step 76
Apply Gaussian Blur to soften the stroke line.

Step 77
Add layer mask and then paint some of the areas with black to hide it. We want the stroke line turn into random lighting on the edge.

Step 78
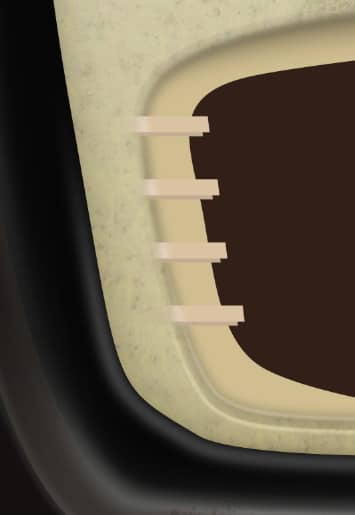
Add some small rectangles on indicated areas below. Use same color as the previous shape, #d2bd8e.

Step 79
Add layer mask and then paint its edge with black until it blends with the radio surface.


Below is the layer mask used in this shape.

Step 80
Repeat same process to the other side.

Step 81
Duplicate the shape by selecting its layer and hit Ctrl + J. Put the new shape behind the original. Move it left and down a few pixel until we have sense of depth. Double click the layer shape thumbnail from the Layers panel and change its color to a little darker.

Step 82
Repeat this to the other side.
Step 83
We still need to perfected the shape by drawing a triangle shape connecting previous shapes.

Below you can see closer on the shape we need to fix.

Step 84
Make new layer and place it behind the shape. Use Brush tool to paint shadow behind them.

Don’t forget its other side.

Step 85
Add a rounded rectangle. St its color to #976e30.

Step 86
Add new layer above the and convert it to Clipping Mask.

Step 87
Add two rectangles with color #4e3315 on upper and lower side of the rounded rectangle.

Step 88
Double click the shape layer. Add Stroke and Inner Shadow to add embossed effect onto the shape.

Step 89
Make new file (Ctrl + N) with size 120 × 1 pixels.

Step 90
Make new layer and hide background by clicking its eye icon. Select half of the canvas and then fill it with black.

Step 91
Select all the canvas by hitting Ctrl + A. Click Edit > Define Pattern. Add appropriate name to the new pattern and click OK. The pattern has been saved, you can close the file.

Step 92
Return to our radio file. Double click the rectangle shape we have just made. Activate Pattern Overlay and then select pattern we have just made earlier.

Here’s the result. The rectangle now is filled with pattern.

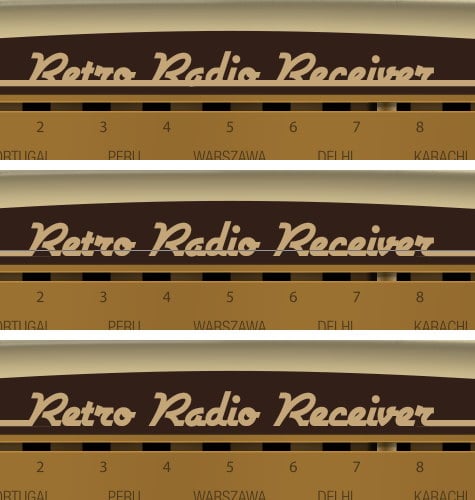
Step 93
Make new layer. Ctrl-click the rectangle shape layer. Draw a rectangle inside the shape. This will become the radio frequency indicator.

Step 94
Remember to place the texts.

Step 95: Buttons
Add stars with color #af9f7b. Double click the shape layer, apply Gradient Overlay and Drop Shadow with following settings.


Step 96
Ctrl-click the shape to make new selection based on its shape. Make new layer and then fill it black. Place it behind the button. This is going to be the button’s shadow.
Step 97
Soften it by adding Gaussiab Blur filter.

Step 98
Duplicate the shadow, this time add Motion Blur filter (Filter > Blur > Motion Blur). Make sure to adjust the angle with the lighting position. In our case, the light source comes from top right, so we use approximately 28° for its angle.

Step 99
Use Eraser tool delete unneded shadow in upper right corner.

Step 100
Add new layer above the button and dab with Brush tool to add big black spot above it.

Step 101
Change its blend mode to Overlay.

Step 102
Add smaller circle above the button. Use #4a3925 for its color. Double click the shape layer, apply Inner Shadow, Drop Shadow, and Gradient Overlay.


Step 103
Add smaller circle with lighter color, #c2b592. Apply Inner Shadow, Drop Shadow, and Gradient Overlay.


Step 104
Make new layer on top of the shape and set its blend mode to Overlay. Convert it Clipping Mask by hitting Ctrl + Alt + G. Now, everything we paint in this layer will goes inside the circle shape. Paint black on areas indicated below.

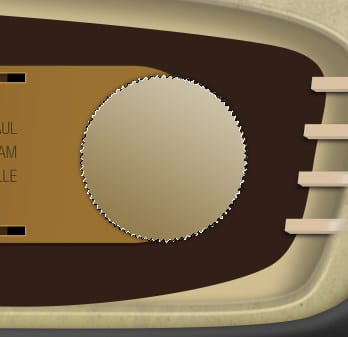
Step 105
Draw another circle with color #c2b592. Apply Gradient Overlay and Drop Shadow.

Step 106
Add even another smaller circle. This time use #553b20 for its color. Double click the layer shape, add Gradient Overlay and Drop Shadow.


Step 107
Add new on top of the shape and convert it to Clipping Mask. Set its mode to Overlay. Paint with black and white to add subtle lighting onto the button. We want to make it as realistic as possible.

Step 108
We’re almost done with the button. Last step is addding its label. Draw a circular path using Ellipse tool. Click right on the path using Type tool. Type tuning.

Step 109
Now, we can just copy and paste the button onto the other side of the radio. Make sure to change the label and then rotate it.

Step 110: Radio Label
Just for fun, let’s add label onto the radio surface. Type the radio name. I use a very cool looking font, Airstream. For the text color, use #caad85.

Step 111
Draw a rounded rectangle and place it under the button. Use same stroke color as the text. Set its stroke size to 3 pt. For its fill, set its to none.

Step 112
Make sure the line is right across the lower part of the text. Add layer mask onto the text and then paint black on line segment which collided with the text. Make sure the line is naturally blended with the text.
Step 113: Background and Shadow
Grab leather texture. Put it underneath the radio and its shadow.
Step 114
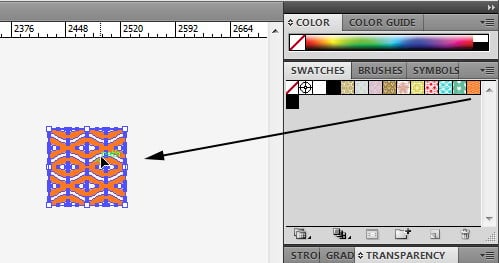
We are going to add retro pattern onto the background. I use this retro vector pattern from Shutterstock. Since this is a vector pattern, we will need to convert it first to Photoshop. Open the file in illustrator. Make sure to delete all elements or objects inside the file, we will not need it. Select all (Ctrl + A) and then hit Delete. From swatches panel, grab one of the pattern and then put it on canvas.
Step 115
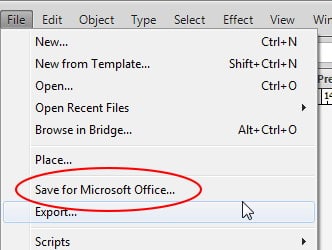
Click File > Save for Microsoft Office.
Step 116
The pattern is saved as a png file. Open the file in Photoshop and click Edit > Define Pattern. We are going to save it as a Photoshop pattern.

Step 117
Give appropriate name and then click OK.

Step 118
Make new layer above the previous leather texture and then click Edit > Fill. Select Pattern in Use option and choose pattern we have just made earlier.

Here’s the pattern applied onto the background.

Step 119
Add Black & White adjustment layer above the pattern.

Step 120
Add new layer and then draw gradient, black to white. Black should be on lower part of the background.

Step 121
Change its mode to multiply.

Step 122
Grab a concrete texture.

Step 123
Another concrete texture behind the radio.
Step 124
Paint black where both textures collide. This will help them blends perfectly.

Step 125
Make new layer. Use Brush tool to paint shadow underneath the radio.
Step 126
Make another new layer and then fill it with radial gradient from grey to black.

Step 127
Change its mode to Multiply and then reduce its Opacity to 10%.

Step 128
We want the lighting to be very realistic. We can do this by adding irregular shadow. Start by making a new layer and then paint several black lines using brush tool.

Step 129
This is the secret. Blur the lines by applying a very big radius of Gaussian Blur filter.

Step 130
Simply reduce the layers Opacity.
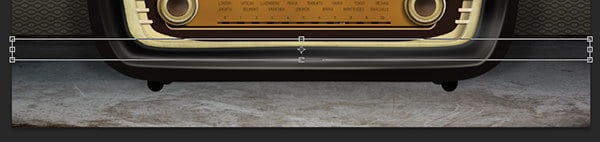
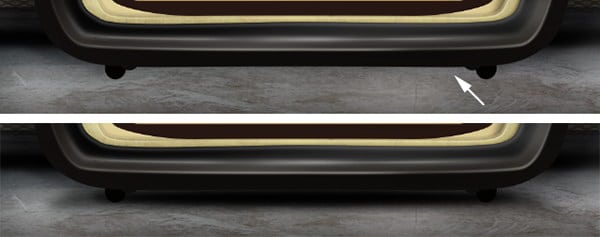
Step 131: Highlights
To add more realism onto the surface, paint white on edges using soft Brush tool. See below for sample of the result.

Here’s another one.
Below is the difference before and after adding manual highlights onto the edges. Very subtle, but it helps to add realism onto the radio.
Final Result
Here’s our final result. I hope you enjoy this long tutorial and can pick up some useful techniques.