
Copyright 2016, Jim Austin Jimages, all rights reserved. Making panoramas, you can improve your framing and editing skills by combining Photoshop and Lightroom. Jim Austin, photo coach, shows you how to do this successfully, in 7 clear steps.


Using Lightroom And Photoshop To Create Panoramas
If you have a version of Adobe’s Lightroom (LR) and also have Photoshop (PS), making a panorama is easy. Not all cameras have an auto stitching panorama option, so here are 7 steps to get you started. . .
START*SETUP: Charge your camera battery. Set the camera to ISO 200, 400 or 800. Choose your lens. You may want to choose a focal length in the range of 35 to 70mm, depending on your subject. Use a tripod if you can for sharper results in print. Pick your favorite exposure mode. Mine is aperture priority.
STEP 1: Compose
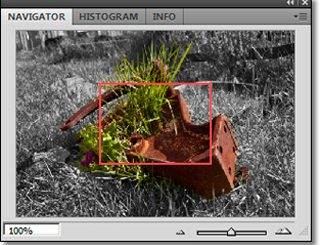
Begin your series of shots at right or left, whichever you prefer. Study the right and left sides of your image, and decide if you want to start left and move to the right, or vice versa depending on the light and your subject matter. I use a method I call “bookends,” which helps locate the panorama frames from the myriad of other Lightroom previews on screen from other shoots. I move my fingers into the shot, for the very first and last frames. I don’t do this to include these two shots in my final panorama, but instead to show, among many Lightroom Library preview images, that these shots are the boundaries or bookends for a panorama series (See Illustration 1) so that I can find them easily.

STEP 2:
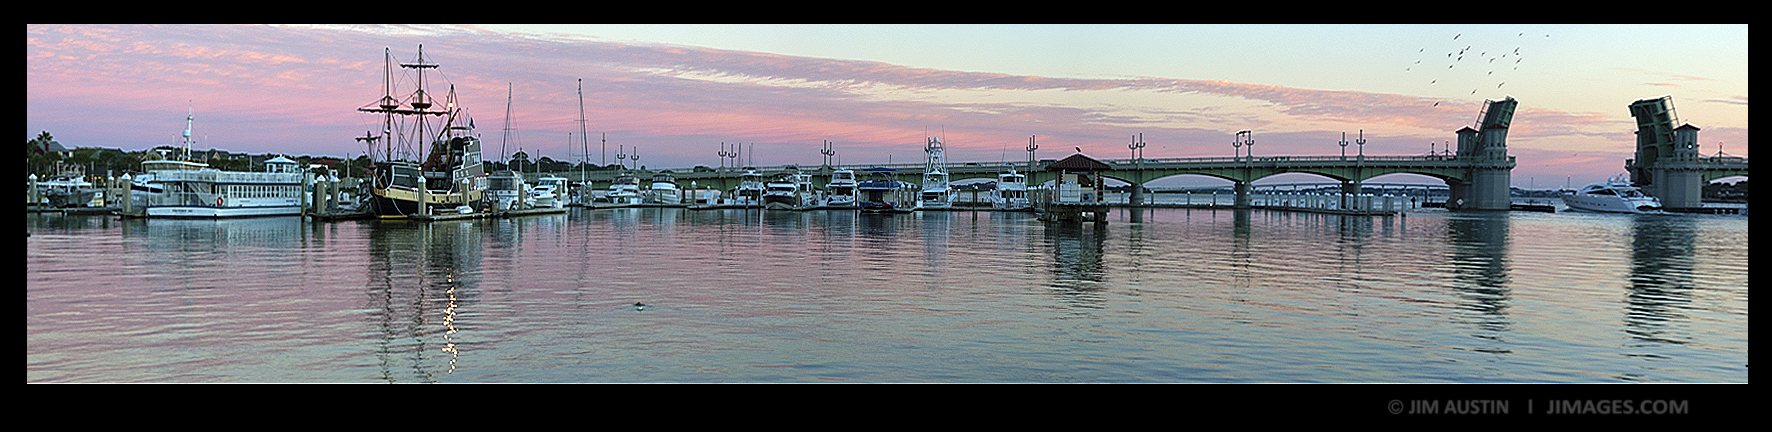
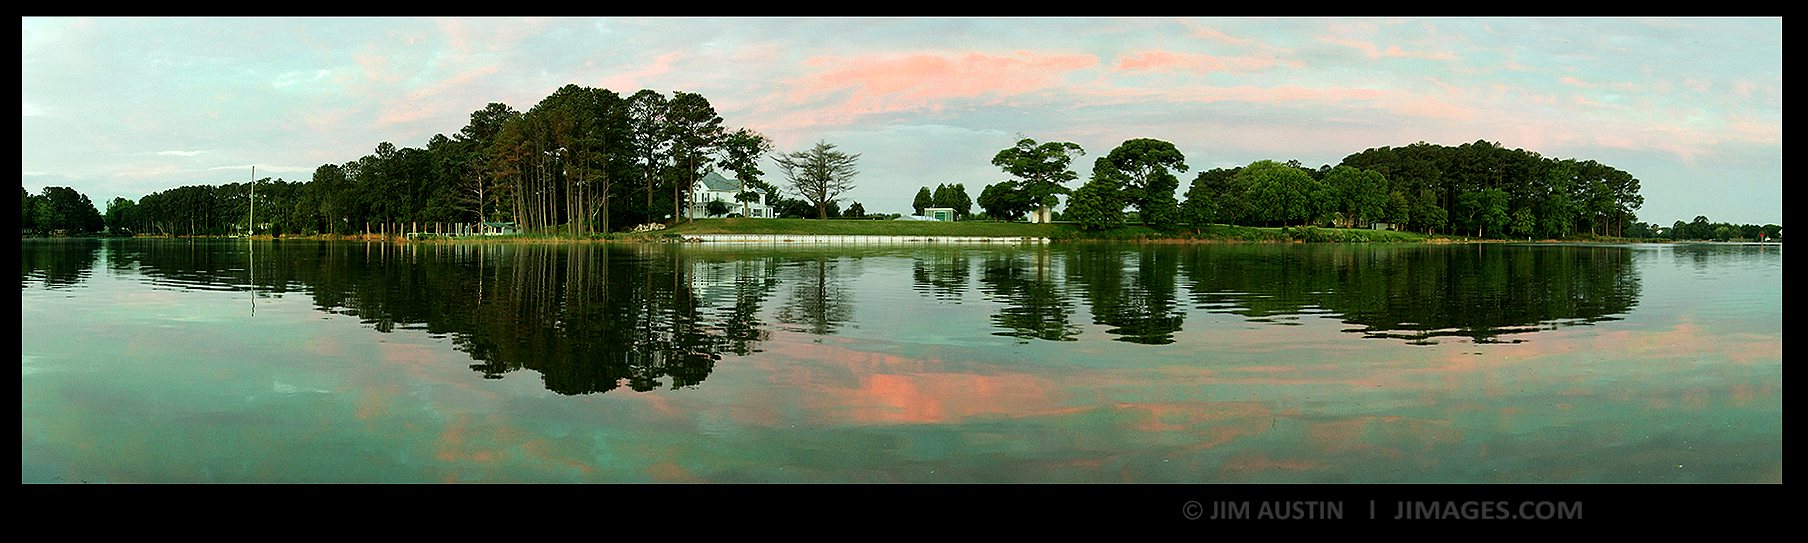
Shoot Take a series of 3 to 20 frames. You may want to repeat the series for better alignment or composition. Be flexible depending on your subject and available light. For the bridge panorama above, 7 frames were taken and the camera was turned for portrait framing. When I have a 50 mm or shorter focal length lens, I use landscape framing most of the time. With a 70 mm focal length, I use portrait framing. Why? Portrait framing includes more sky, landscape framing keeps more ground in the scene and can make stitching the frames together an easier process.
STEP 3:
Open Lightroom l Import l Keyword and Tag
Back at your mobile or stable workstation, Import your images from your CF/SD card into Lightroom with your usual workflow (Blue-tooth, card reader, etc). Tag all your images in Lightroom’s Keyword Tags box by typing in all the relevant keywords and tags, including the word “panorama.”
STEP 4:
Select Previews Click on or drag across all the images in your pano series to make sure the previews are selected.
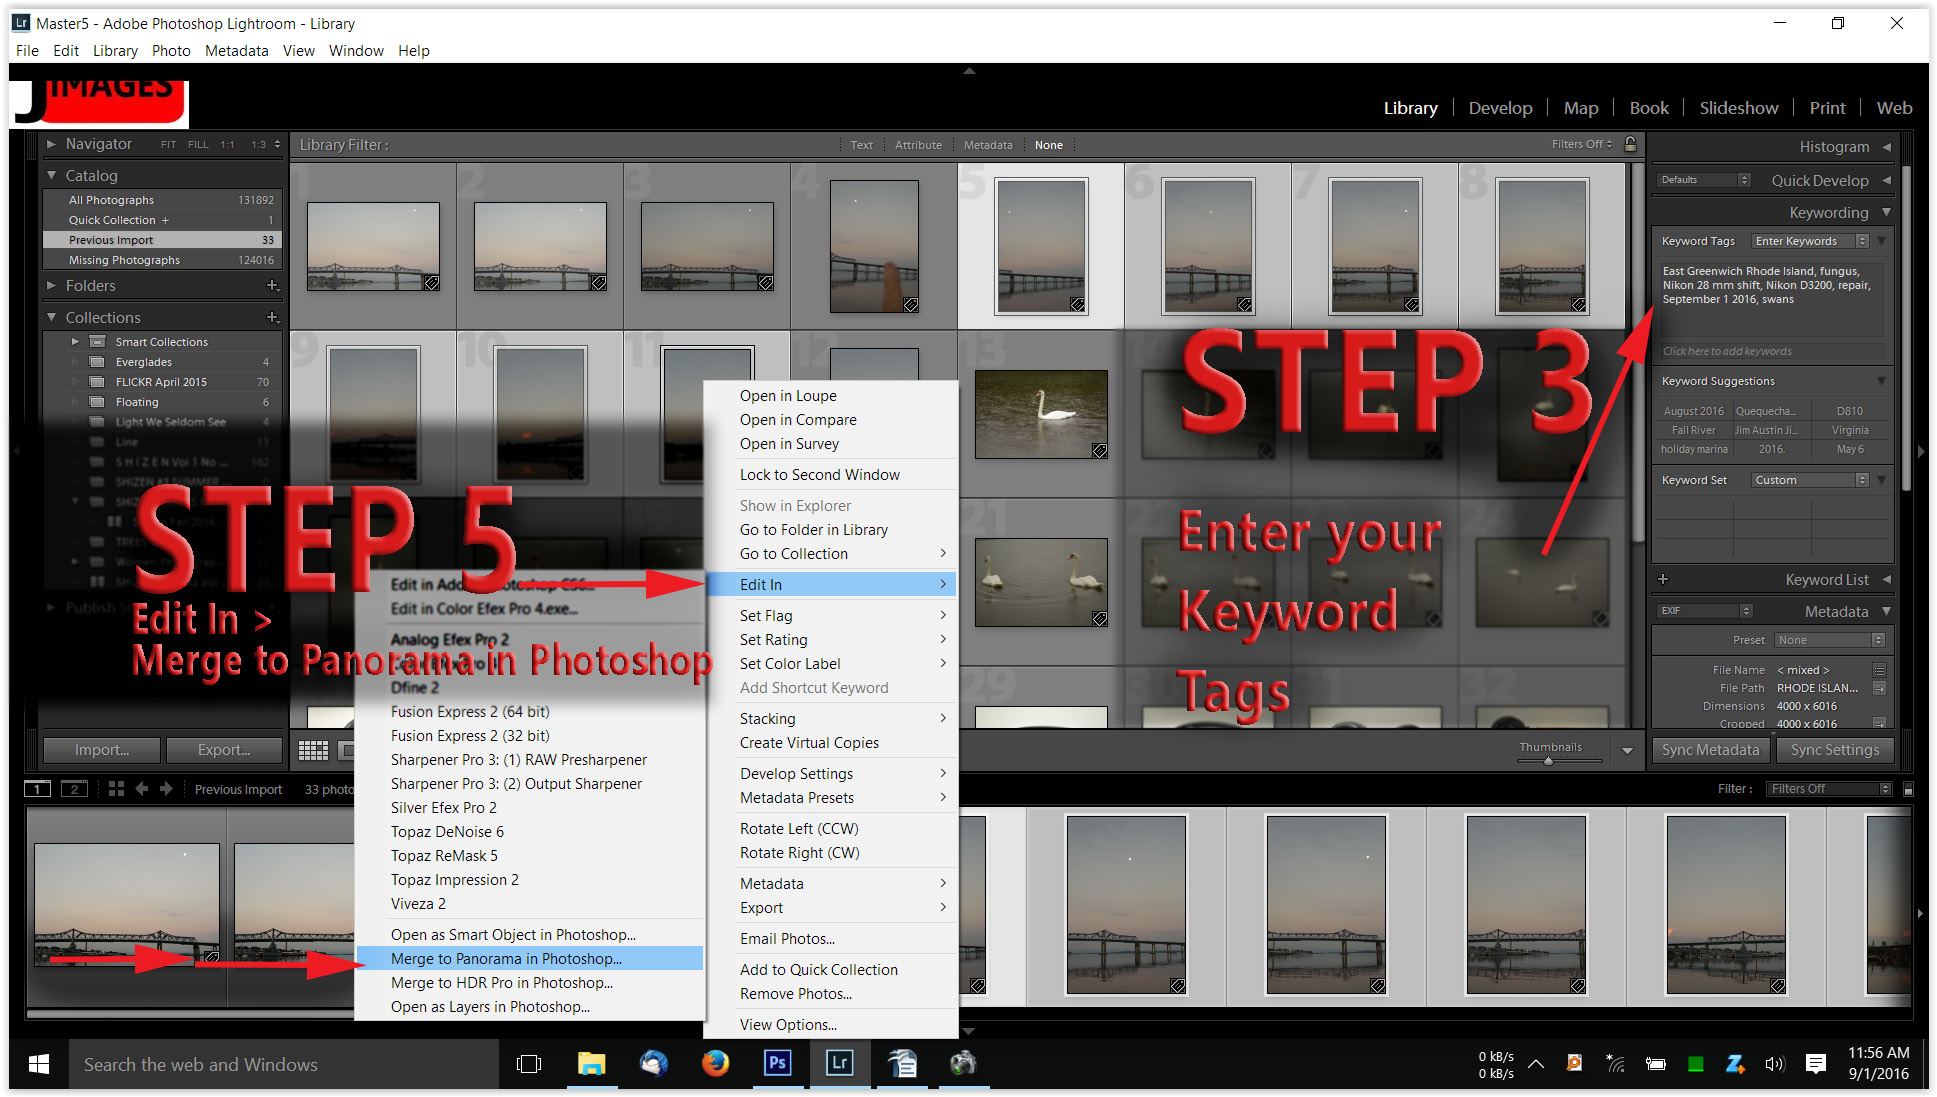
STEP 5:
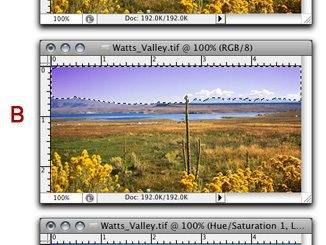
Photo Merge CMD Click (Mac) or Right CLICK (Win) the highlighted previews. From the drop down menu choose:
Edit In > Merge to Panorama in Photoshop…
(see Illustration 2).
Photoshop’s Photomerge Dialog will open and offer you several Layout options for merging the frames into a pano. From these, I usually check the Auto layout box. Then, if the result is too off-center, I back up and try other layout options.
STEP 6:
Save and Enhance Photoshop automatically transfers all of Lightroom’s preview images from Lightroom. The images are automatically put into the PS layers palette and stitched together. If you can’t see this, look at Photoshop’s top menu. Fine Window and Click: Window > Show Layers.
It’s a good idea to save a .PSD file to a folder in your drive at this point before going any further with your cropping, color and tone adjustments and final editing (File > Save As).
Editing Options: Crop your panorma. To adjust its dimensions when cropping the panorama, try Photoshop’s Edit > Transform process (In the Top Menu, click Edit > Transform>Skew/Warp).
The options for Skew and for Warp can be helpful to shift your panorama into its final position. Of course, follow your normal editing workflow for Levels, Curves, Adjustment Layers, Sharpening, Plug-In enhancements and final Sizing for Output. Save a backup, second .PSD or .TIFF file.
STEP 7 FINISH///:
After you finish your edits, Use File > Save for Web and save a jpeg file for web output.
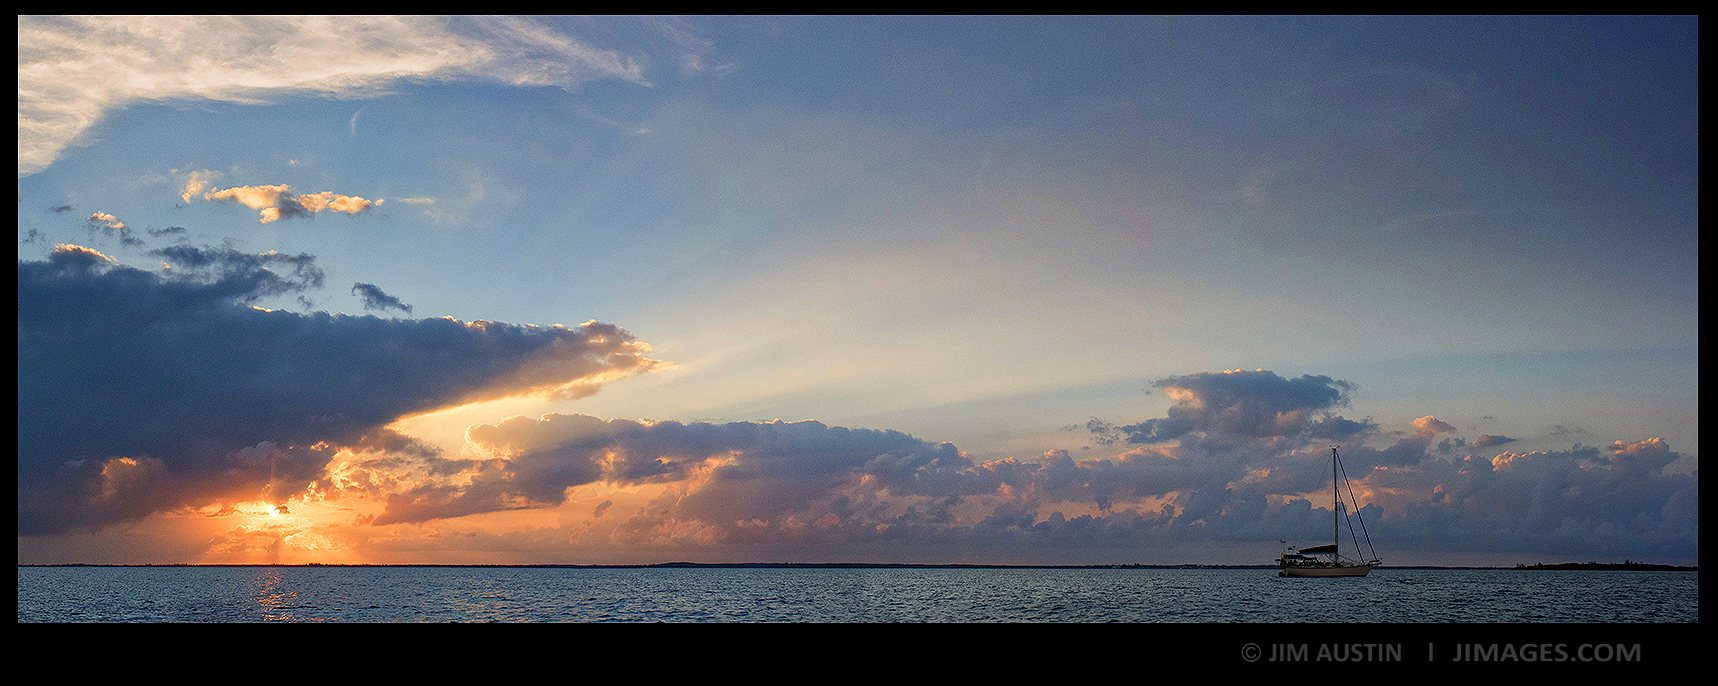
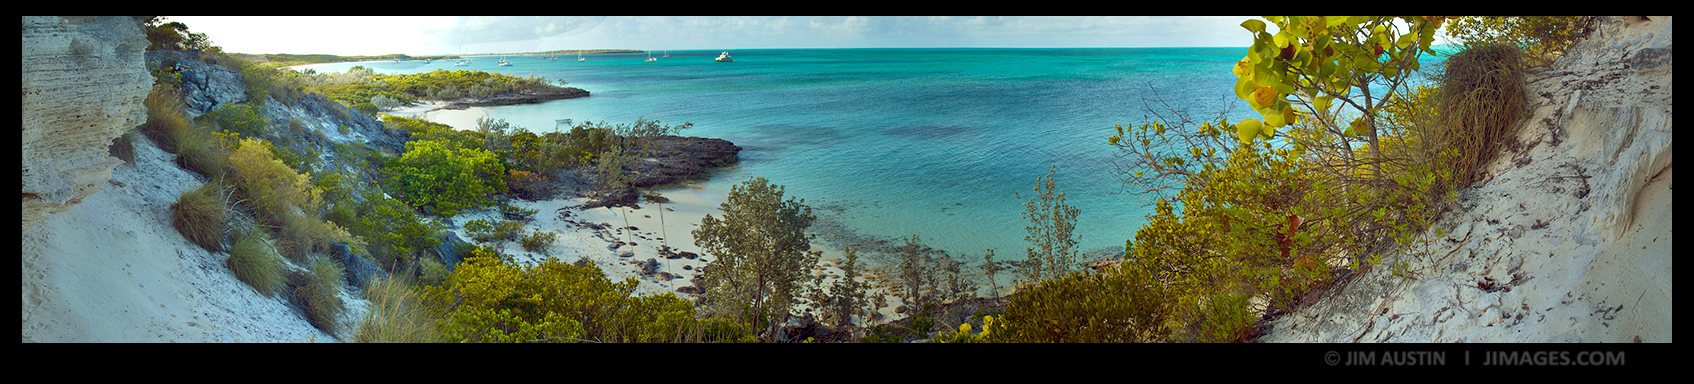
Composition Tip: Compelling panoramas tend to have interesting subject matter at the far ends of the final panoramic image.
Troubleshooting: If you do not have good results with Photoshop, download PT Gui (ptgui.com) and get yourself an excellent program for stitching Panoramas, especially those taken with wide angle lenses. So, take a wider view of your world and make a panorama on your next photo adventure.


Leave a Reply