Learn how to add the camera tool in Excel to the quick access toolbar. Watch the video or follow the steps below.
Adding Camera tool in Excel to the Quick Access Toolbar
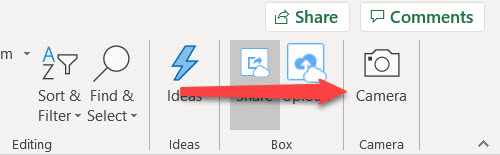
The Camera tool allows you to select a range of cells and literally insert a live picture into a spreadsheet. Any change to the range of cells will automatically update the image.
In order to use the Camera tool, we must first add it to the Command Bar.
Add the Camera Tool to the Quick Access Toolbar
In order to use the Camera tool, it first must be added to the quick access toolbar.

Total Time Needed: 2 Minutes
Required Tools:
– Microsoft Excel
Adding the Camera tool.
Step 1 : Right click on anywhere on the Quick access Toolbar
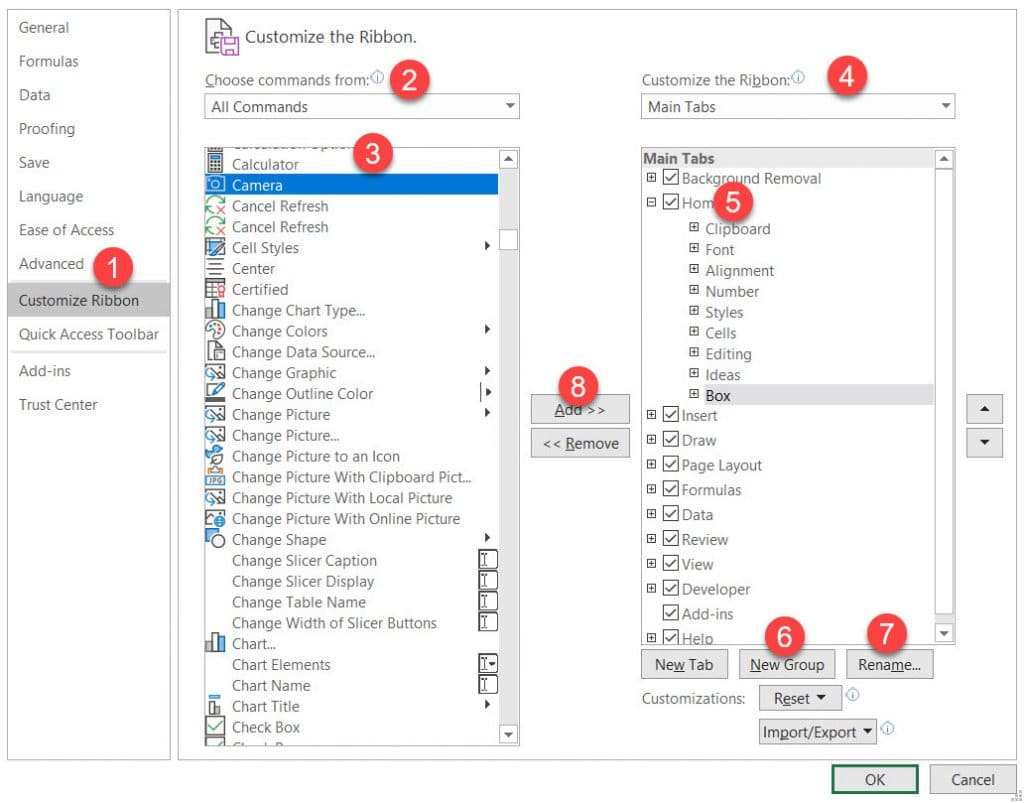
To begin, you need to right click on the Quick Access Toolbar and select “Customize the Ribbon”
Step 1.5 : Select “Customize Ribbon”
Step 2 : Select “All Commands” from the drop down menu
Step 3 : Select “Camera”
Step 4 : Under “Customize the Ribbon”, select “Main Tabs”
Step 5 : Pick “Home” or any other Section
Step 6 : Create a “New Group”
Step 7 : Rename the “New Group” ie “Camera”
Step 8 : Click Add the Ok
The camera tool is now added to the Quick Access Toolbar.