Flash Game Development with Flex and Actionscript - Gettings Started
Getting Started
With Flash Player and the Flex SDK Adobe has supplied everything you need to start creating your own Flash games. Creating a Flash game using Flex has several advantages like:
- Cross platform compatibility – there is a flash player for every major platform
- Easy deployment – publishing the game is as simple as uploading the swf file
- (Almost) zero installation requirements – an end user only needs a web browser with the Flash player plugin installed
- Free tools - all you need is the free Flex SDK and a text editor
This article series will step you through the process of creating a 2D Flash game using Flex, with the result being a complete game in the style of the old school top down shooters.
To get started you will first need to download the Flex 3 SDK from https://www.adobe.com/products/flex/flexdownloads/. The SDK contains all the tools you will need to compile the source code presented here into a SWF file that can be added to a web page. You will also need a decent text editor. I quite like Textpad, which can be downloaded from https://www.textpad.com/. Finally you will need to download a Flash debug player from https://www.adobe.com/support/flashplayer/downloads.html. The debug player will allow you to open up a SWF file directly without having to create a web page to contain it. With these three tools you are ready to start coding.
The graphics used in the game are courtesy of spritelib, which you can download from https://www.flyingyogi.com/fun/spritelib.html.
Creating the Application
Conceptually Flex splits up an average program into two sections: the GUI and the Actionscript code. The GUI is created in an MXML file, which is an XML file that contains user interface elements nested in tags very similar to HTML. Note that the MXML file can contain Actionscript code inside an mx:Script tag, but the main focus of the MXML file is to define the user interface.
The top level tag of an MXML file is the mx:Application tag. This Application object is the entry point of the Flex application, and is the most logical place to start.
main.mxml Actionscript Source Code
<mx:Application
xmlns:mx=“https://www.adobe.com/2006/mxml"
layout=“absolute”
width=“600”
height=“400”
frameRate=“100”
creationComplete=“CreationComplete()”
enterFrame=“EnterFrame(event)">
mx:Script<![CDATA[
public function CreationComplete():void
{
}
public function EnterFrame(event:Event):void
{
}
]]></mx:Script>
</mx:Application>
We start by defining some of the properties of the Application object. These properties can be set through attributes in the mx:Application tag. This should look familiar to anyone who has written HTML.
width and height
Specify the screen size of the program in pixels.
framerate
Specifies a limit on the frames per second. The default is 24, but since we want the game to run as fast as possible it’s best to override this with a much higher number. Note that just setting the framerate to 100 doesn’t guarantee that the frame rate will always be 100 (or even get anywhere near it). This property just sets a ceiling on what the frame rate could be.
creationComplete
Attaches a function to be called when the Application has been created. We use this as the entry point in the program.
enterFrame
Attaches a function to be called every time the screen is redrawn. We will use this to repaint the screen with the next frame of the game.
The mx:Script tag gives us a place to write some Actionscript code. The [CDATA[ ]] tag just means that any special characters inside the mx:Script tag will be interpreted as text rather than XML characters. Inside the mx:Script tag we need to add the two functions which match the values for the creationComplete and enterFrame properties.
Compiling and Running
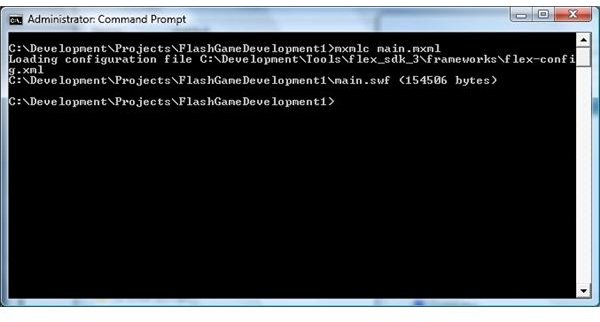
To compile the program you need to run the command mxmlc main.mxml from the command prompt. You can then open up the resulting main.swf file in the Flash debug player through File->Open.
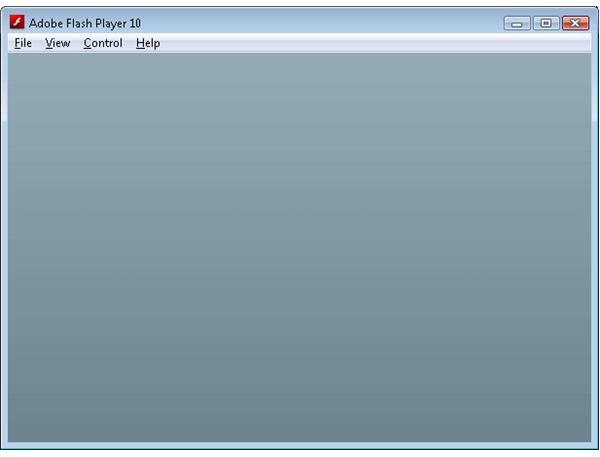
And the end result? A blank screen that does nothing. Not terribly exciting I’ll admit, but it is a start. We will build off this code in part 2 of the series to start drawing to the screen.
Go back to Flash Game Development with Flex and ActionScript
Related Files
Images
Related Article

Creating a platform game with Flixel and Adobe Flex
This tutorial series shows you how to use the Flixel ActionScript game engine to create a simple platform game.
This post is part of the series: Game programming with Flex
Learn how to create a Flash game using Flex with this step by step series.
- Flash Game Development with Flex and Actionscript - Getting Started
- States & Double Buffer Rendering in Flex 4.0
- Flex & Actionscript Tutorial: Adding Game Actions
- Creating an Interactive Animated Background With Flex and Actionscript
- Adding Weapons to Your Game: Flex & Actionscript Tutorial
- Collision Detection With Actionscript
- Adding Bitmap Animations With Flex and Actionscript
- Adding Music and Sound FX With Flex and Actionscript
- Defining Levels: Game Design With Flex and Actionscript
- Actionscript Tutorial: Add a Scrolling Tiled Background