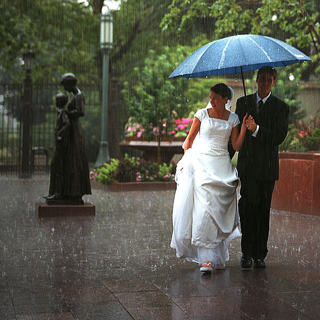
Hello to everyone. Have you always wanted to make that great photo you had into a drawing. Give it vivid colors and have that "professional" touch. Well now you'll learn the trick on how professionals do this. Its very simple. You will only need 3 Steps. STEP 1 The first step is selecting the picture. I selected this picture that I found in google:
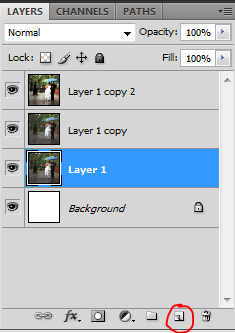
� � After having your picture selected. Copy the picture into photoshop and duplicate the layer twice. So now you'll have 2 layers and a copy of the picture in each layer. Here I show you the button to duplicate the layer and the final result of the 3 layers.
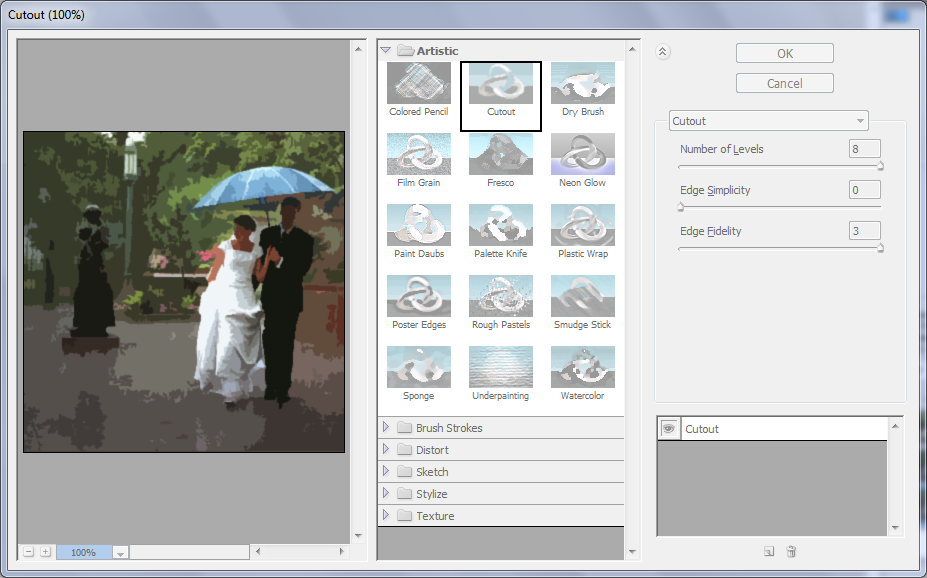
STEP 2 The second step is applying in each duplicate layer 1 effect. In the "Layer 1 copy" we will apply the Cut Out Effect. Go to Filters -> Filter Gallery - > Artistic -> Cut Out. Use this settings:
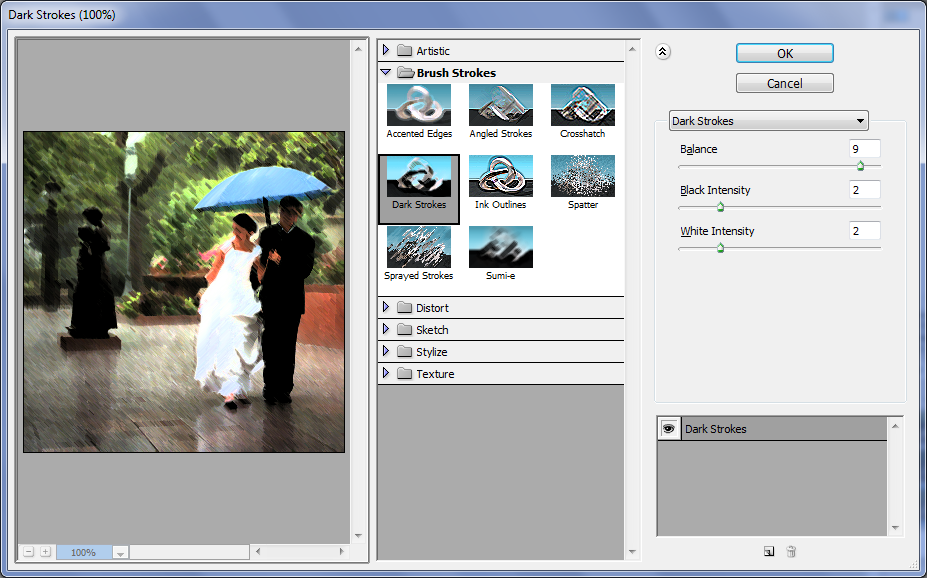
For the other duplicate layer�"Layer 1 copy 2" we will apply the Dark Strokes Effect.�Go to Filters -> Filter Gallery - > Brush Strokes -> Dark Stroke. Use this settings:
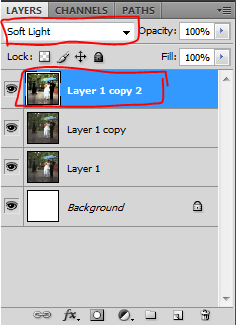
STEP 3 We are almost finish. For the last step we will give the layer�"Layer 1 copy 2" a Soft Light effect.
Original Picture:
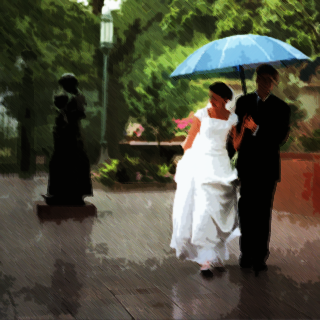
Final Result:
Please feel free to leave any comment and/or suggestion. I hope you enjoy the tutorial and thank you for watching and reading it. See you next time. LeX0712 � � � � � � 
Dig this tutorial?
Thank the author by sending him a few P2L credits!


|