One useful feature of Windows is that you can connect to your desktop from another location to remotely manage your computer. Fortunately, major Linux distributions also offer this feature and Ubuntu is one of them. If you want to connect to your Windows computers from Ubuntu remotely, you can use the default RDP client found in it, called Remmina. Here is how to create, configure and establish a remote desktop connection from Ubuntu to Windows:
NOTE: This tutorial was created on Ubuntu 18.04 LTS (Bionic Beaver). However, it works in other versions of Linux too.
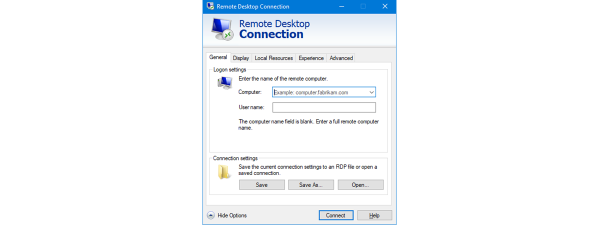
Step 1: Enable Remote Desktop Connections on your Windows PC
If you want to allow other computers to connect remotely to your Windows PC, you must first configure it to accept remote desktop connections. To learn how to do it, read this tutorial: How to enable Remote Desktop Connections in all versions of Windows.
Step 2: Launch the Remmina Remote Desktop Client
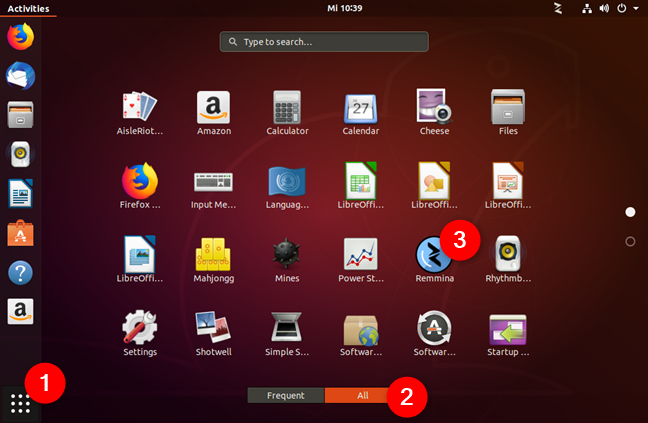
By default, Ubuntu comes with a remote desktop client app that supports the Remote Desktop Protocol (RDP) used by Windows operating systems for remote connections. You can find it in Ubuntu's Apps list.
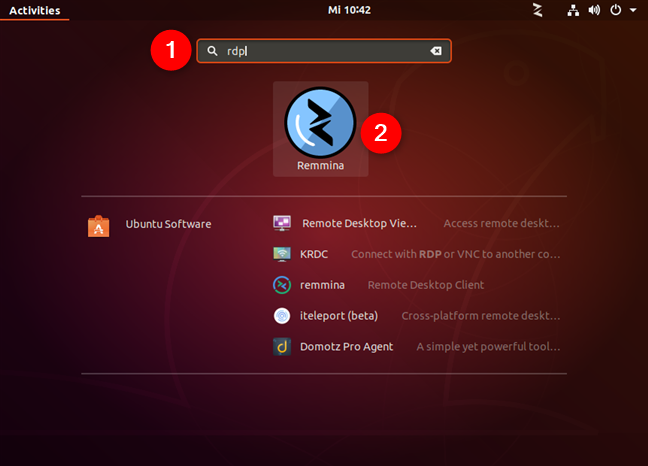
If you prefer to search, you can find the default Ubuntu RDP client by using the RDP search term.
Step 3: Configure and establish the Ubuntu remote desktop session to Windows
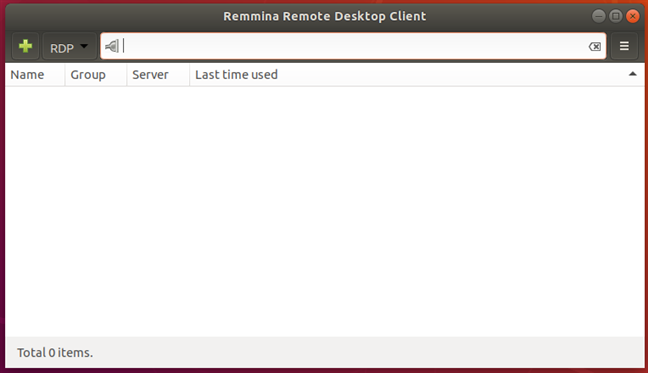
Once you open the Remmina Remote Desktop Client, you should see something like this:
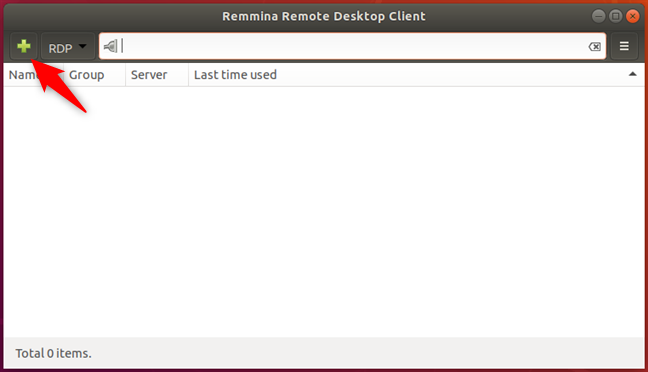
Click the "Create a new connection profile" button.
Its icon is a green plus sign which is easy to spot in the top-left corner of the window.
The previous action opens a window called Remote Desktop Preference. Here you can configure the remote desktop Ubuntu to Windows connection that you are going to establish.
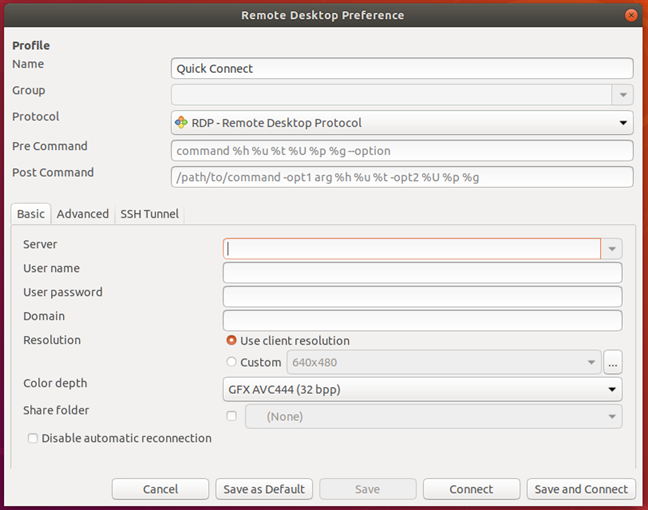
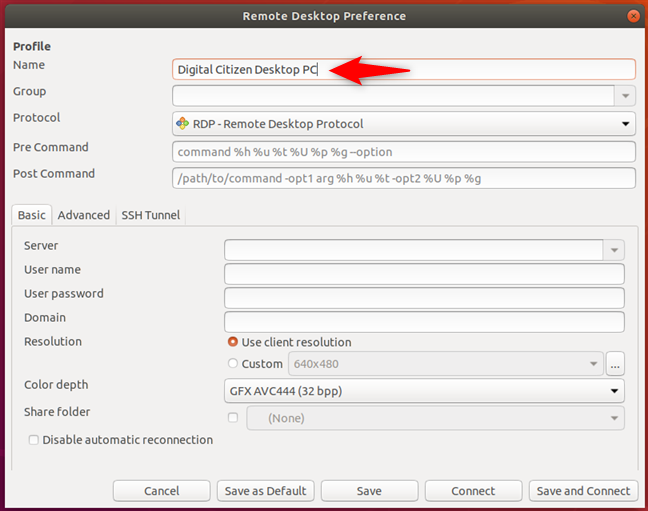
In the Profile section, type the Name that you want to use for the connection. It can be anything you wish. Leave the other settings from the Profile section set to their defaults.
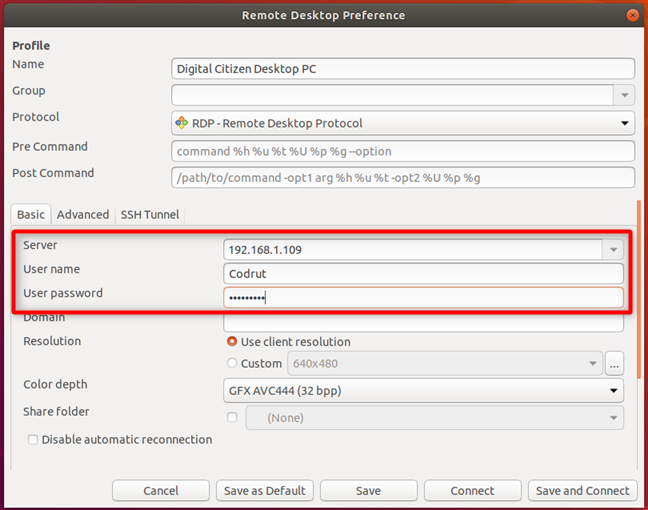
In the Server field from the Basic tab, type the IP address of the Windows PC to which you will connect. Enter the User name and User password for the user account that you want to use on the remote Windows PC. That user account needs to exist on the Windows PC.
If you are using a Microsoft account on your Windows PC, it is OK to fill in your email address and password. If your Windows PC is part of a domain, enter it in the Domain field, otherwise, leave this field empty.
Next, you can set the Resolution and the Color depth that you want to use for your remote desktop connection. By default, the remote desktop profile is set to use the "Use client resolution" which means that the connection uses the same resolution as the Windows computer to which you connect. The Color depth is also set at the highest quality possible. However, selecting a smaller desktop resolution and color depth can improve the performance of your Linux to Windows remote desktop session. If you experience lag when connected to the remote Windows desktop, try reducing the color depth or resolution.
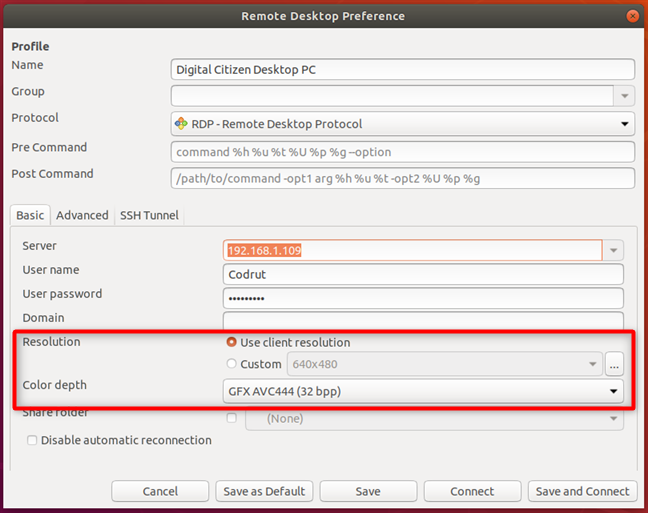
If you want to share a folder from your Ubuntu computer with the Windows PC, check the Share folder box and select it.
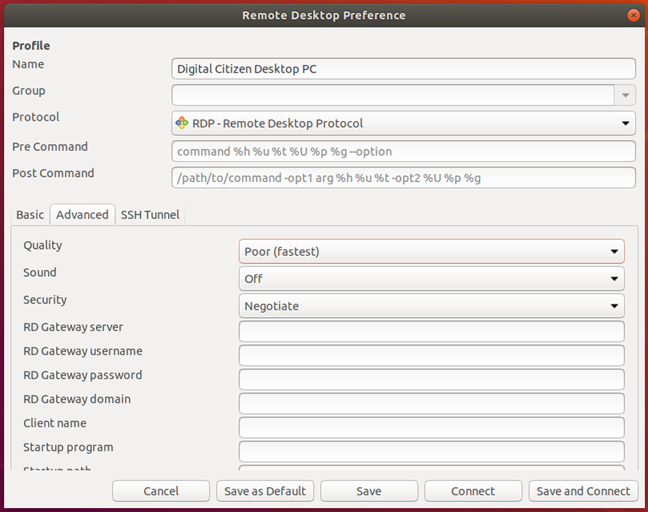
Also, for more advanced settings, go to the Advanced tab. There you can turn the sound on or off, share printers, disable clipboard synchronization, and so on.
Once you finish configuring all the details, click Save and Connect. This saves your connection profile and then initiates an RDP connection to the Windows PC.
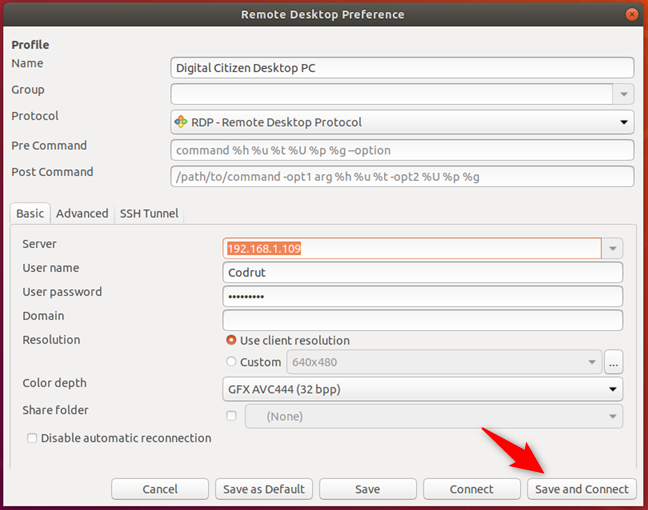
In a matter of seconds, you should have a running remote desktop connection established to your Windows PC.

You could also Connect to the remote Windows PC, without all the personalization steps shared earlier. However, that means that you have to reconfigure the remote desktop connection profile the next time you want to remote control your Windows PC.
Do you use Ubuntu to remote control Windows PCs?
As you can see, it is easy to establish a remote desktop connection from Linux to Windows. The Remmina Remote Desktop Client is available by default in Ubuntu, and it supports the RDP protocol, so connecting remotely to a Windows desktop is almost a trivial task. Did you use it? How did it work for you? Also, if you have any questions or if you need help, feel free to leave a comment below.