How to make synchronize voice with presentation? It's not easy for a beginner. You need a software which can help you to create it easily. We will show you how to shows a synchronized voice narration recorded from microphone playing throughout the presentation. Audio track is synchronized throughout presentation even thoughyou manually navigate the slide backward and forward using navigation control. We will show you how to make a presentation using screen capture with Voice Narraction.
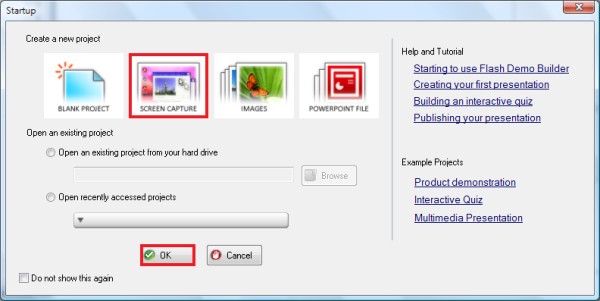
Step 1 Install and Run Flash Demo Builder from here Step 2 From startup menu, choose "Screen Capture" & click on "OK" button.
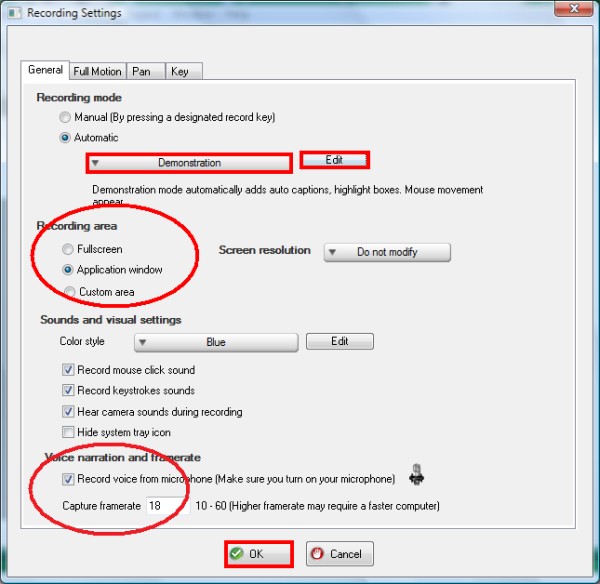
Flash Demo Builder will show a window to choose the record settings.
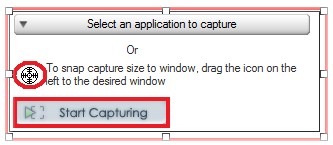
Choose "Automatic" for recording mode. At the dropdown, choose "Demostration". Automatic is recording mode toautomatically takes a screenshot, insert an auto caption, a mouse click highlight and a mouse movement depending onthe keyboard and the mouse activities. A Demostration automatically adds a mouse movement, an auto caption and a mouseclick highlight.You can click "edit" button if you want to change the setting. Don't forget, You have checked the voice narration.Please make sure you have your microphone turned on and activated through the Windows Volume Control. If in doubt,run Windows Sound Recorder from Start => Program => Accessories => Sound Recorder to try recording a sound frommicrophone to test whether you have setup your microphone correctly. When it is enabled, whatever sound heard by yourmicrophone during capturing will be recorded. This sound will be imported as a synchronized sound after the capturingprocess is finished. The rest we use default. Then click "OK" button. Step 3 A capture window will show. You can either select a running application window by clicking on Select andapplication to capture button, resize and drag the red capture window manually or by dragging the smart snap cursorinto any window.
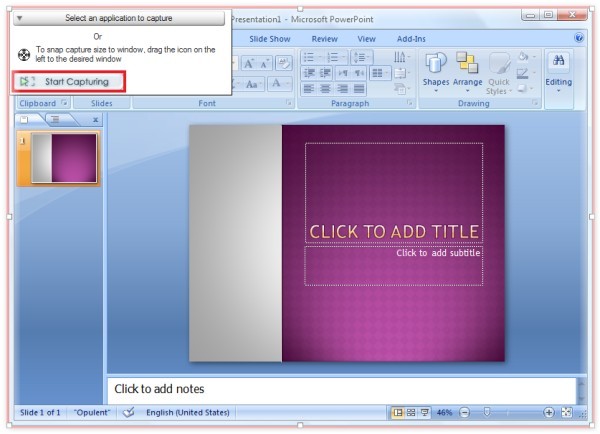
For this tutorial, we drag the icon. To start capturing, click on "Start Capturing" button.
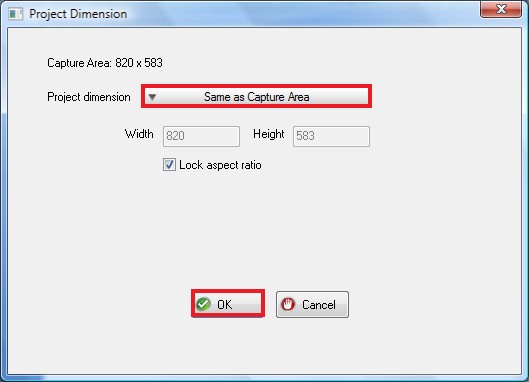
Step 4 Flash Demo Builder will show a window to choose the project dimension. We choose "Same as Capture Area".
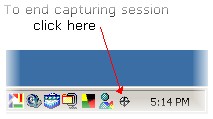
Step 5 Now, time to make a demontration. You can end the capturing session by clicking on the icon at the bottom right cornerof your desktop as shown below or by pressing a Ctrl + End button. Throughout the capture session, a mouse movement, an autocaption and a mouse click highlight will be added.
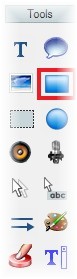
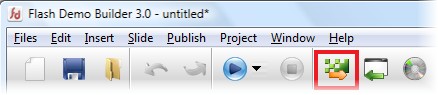
Step 6 You can insert some object that you need to make your presentation looks more user firendly. For this session, we addsome component. Click on "Insert a rectangle" from side toolbar.
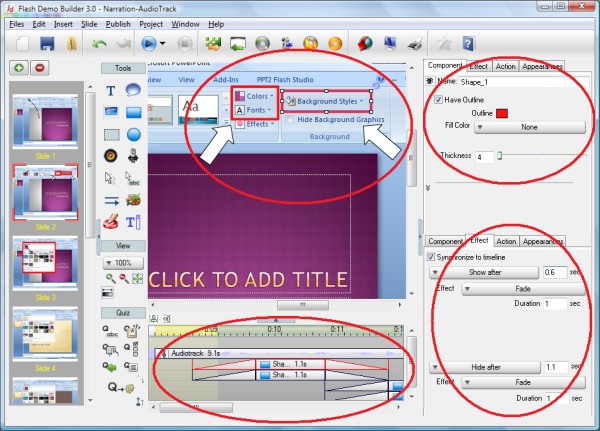
Example, we add a rectangle component, Change the outline's color to "red", thickness type "4" and change the effect setting.
Step 7 Your flash presentation is done. You have to publish this project into a flash file before upload it into your ownwebsite.
Here is the result:
Click here to play the flash file 
|