Design A Sharp Brushed Metal Nameplate Background

This tutorial will teach you how to design a sharp brushed metal nameplate background using a combination of textures, layer styles, and Photoshop filters.
We will use dimensions that make it great for a desktop background, but you can also crop and resize it to make avatars, signatures, and many other types of graphics.
What We Will Be Making
Step 1
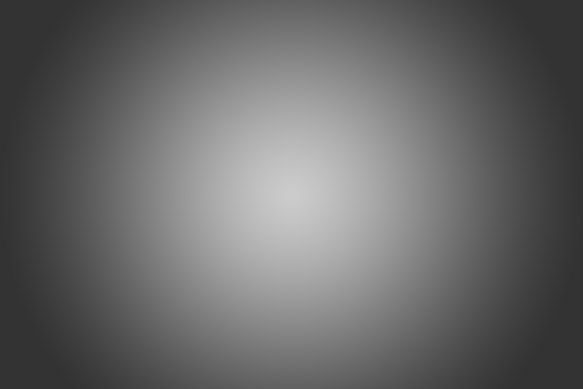
Create a new document with dimensions of 1920 x 1280 pixels. Double click the background layer to unlock it, then double click it again to open the Layer styles dialog. Apply the following settings to create a radial gradient.
You should end up with something similar to the image below.
Step 2
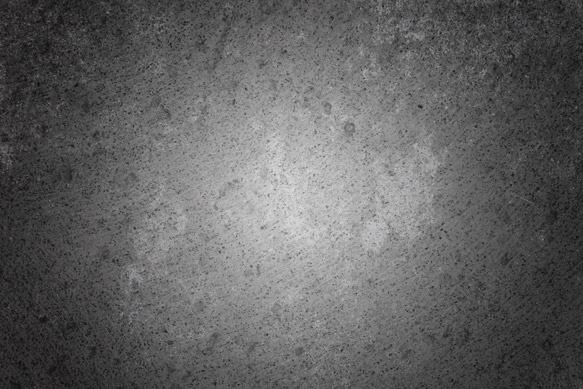
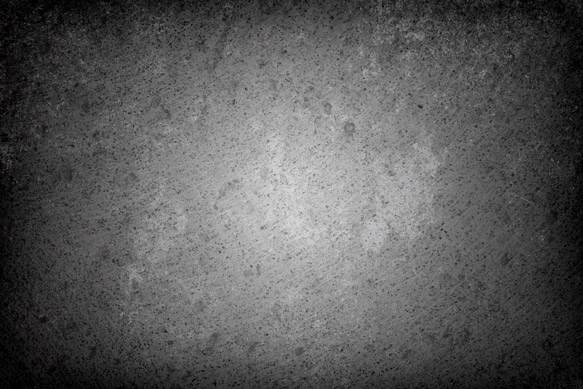
Load some dirty, grayscale textures on top of your radial gradient and play with the blending modes. We recommend you try Multiply, Overlay, Linear Burn, and Linear Dodge (Add).
We used a couple of textures from our Light Concrete Textures Pack 1 as well as Concrete Texture 005.
We set the two light colored textures to Linear Burn, with one of them at 65% opacity and the other at 25% opacity. Then we set Concrete Texture 005 to Linear Dodge (Add) at 35% opacity.
The exact textures used are not important. Experiment with what you think looks best.
You should come up with an image similar to the one below.
Step 3
Create a new layer, set its "Fill" to 0% in the Layers Palette, and give it the following layer style settings.
This will give us a more dynamic looking vignette.
Your image should look similar to the one below.
Step 4
Next we will create our own brushed metal pattern.
Create a new document with dimensions of 2120 x 1280 pixels and fill the background with black.
Click Filter > Noise > Add Noise and use the settings shown below.
Your image should look similar to the one below.
Step 5
Click Filter > Blur > Motion Blur and use the settings shown below.
Your image should look similar to the one below.
Step 6
Crop the image width from 2120 pixels down to 1920 pixels to get rid of the edges.
Your image should look similar to the one below.
Press CTRL + A to select the whole canvas and click Edit > Define Pattern. Choose a name for your pattern and hit OK.
This will make our brushed metal pattern available in the Patterns Palette.
Step 7
Go back to your original file and create a box shape on a new layer in the middle of the canvas. Ours is 1300 x 600 pixels. Again, exact size is not important, and you may end up adjusting it later.
Apply the following layer styles settings, using the pattern we just created as your Pattern Overlay.
Note: When applying your pattern, click the "Snap to Origin" button to center your pattern with your layer to avoid any showing seams.
Your image should look similar to the one below.
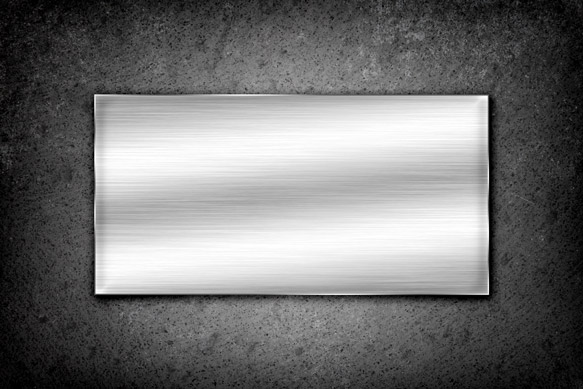
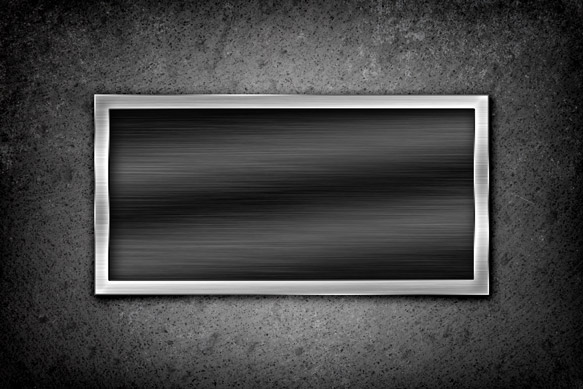
Step 8
Duplicate the brushed metal box layer and resize it so that it is 100 pixels smaller in each direction.
Apply the following settings to the layer styles.
Note: When applying your pattern, click the "Snap to Origin" button to center your pattern with your layer to avoid any showing seams.
Your image should look similar to the one below.
Step 9
Create some large text. and center it within the dark inset box. We used Eurostile Bold Extended 2 to display our name.
Apply the following settings to the layer styles.


Note: When applying your pattern, click the "Snap to Origin" button to center your pattern with your layer to avoid any showing seams.
Your image should look similar to the one below.

Step 10
Create a separator beneath your title text. We used a simple box shape.
Apply the following settings to the layer styles.

Your image should look similar to the one below.

Step 11
Create some smaller text beneath your separator. We used our website URL.
Apply the following settings to the layer styles.


Your image should look similar to the one below.

Step 12
Create a new layer on top of all of the other layers and fill it with a medium gray. We used #808080 for our gray.
Click Filter > Render > Lighting effects and use the settings below to create a more directional lighting effect.
Set the blending mode of your lighting effect layer to Overlay with an opacity of 65%.
Lock the layer so it doesn't effect further editing. You can unlock it at any time to increase or decrease its opacity.
Your image should look similar to the one below.

Step 13
Our final touch will be adding some blood splatters underneath our metallic slab.
Copy some splatter vectors directly above the very bottom background layer. Resize and place them where they look best.
We used shapes from our Splatter Vector Pack 1.
Apply the following settings to the layer styles. The Outer Glow is a very dark red color.
Final Image
That is it! You can easily change the size of the boxes, the fonts, and add/remove items as you see fit.
How did you like the tutorial? Show us what you came up with on our Facebook page!
Related Items
Grab a PanoPass now and get instant access to all these items and much more.


