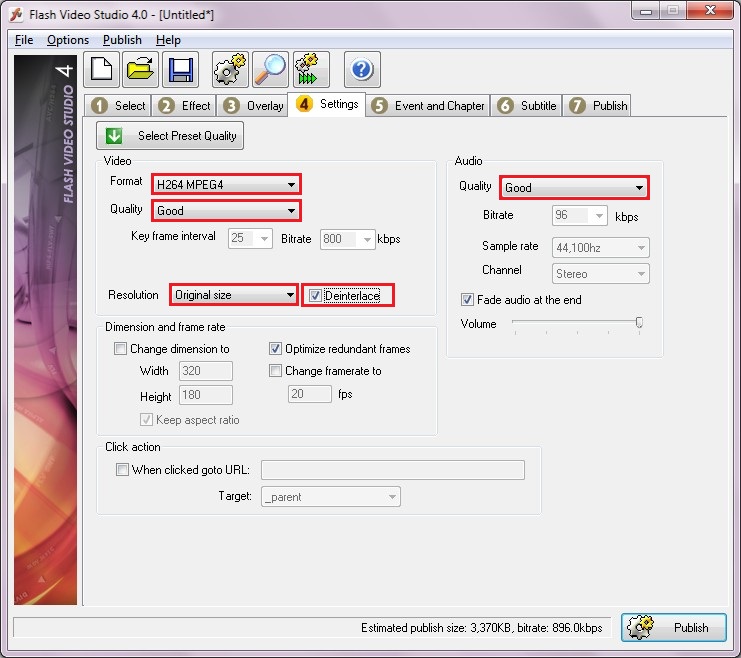
You can now deinterlace an interlaced video easily which improves thevideo quality.Interlace is a method to reduce video bandwidth by mixing 2video frames into one image by laying the first image in theodd rows and second image in the even rows.It cuts the bandwidth by almost half however producesinterlacing/horizontal stripes effect when you observe the videocarefully.
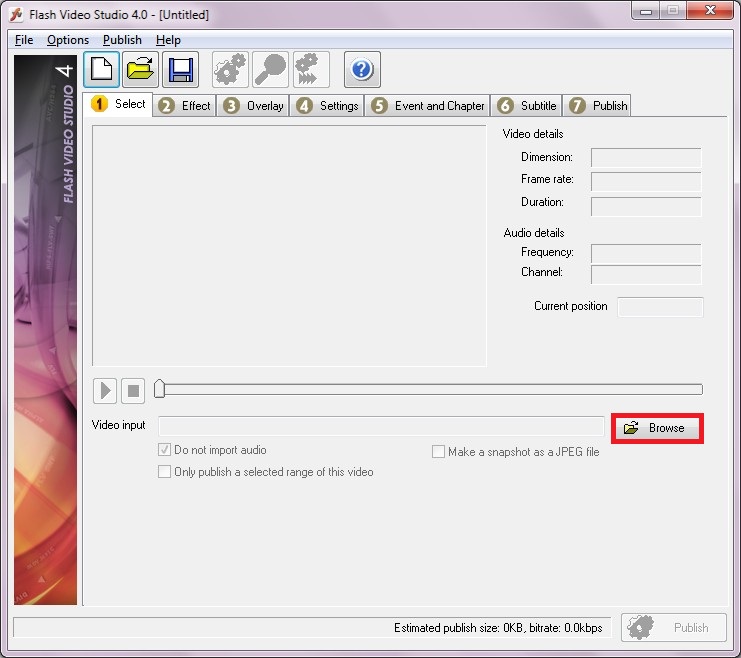
Step 1 Install and Run Flash Video Studio from here Step 2 From menu, click on "Browse" button to open your video file.
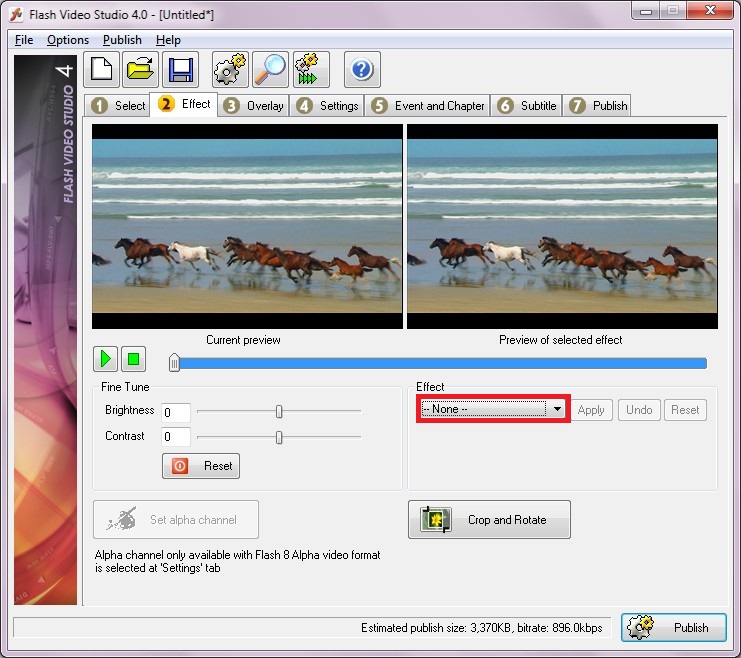
Step 3 Go to tab 2 "Effect". You can add an effect by click on Effect listbox.
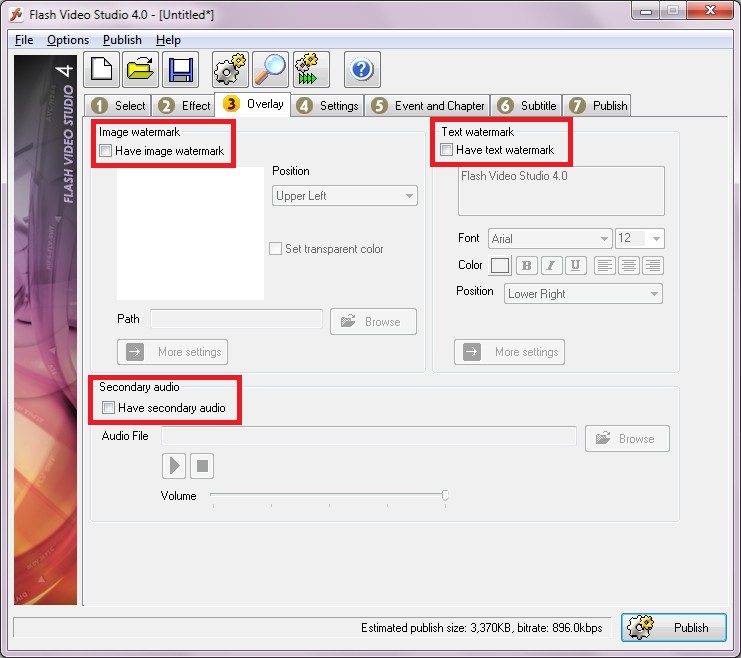
For this tutorial, we don't want to add an effect. Step 4 Click on tab 3, "Overlay". In this section you can add image, text watermark and a secondary soundtrack
Step 5 Click on tab 4, "Settings". In this section you can set the publish quality settings.We want to let you know about "deinterlace" feature.
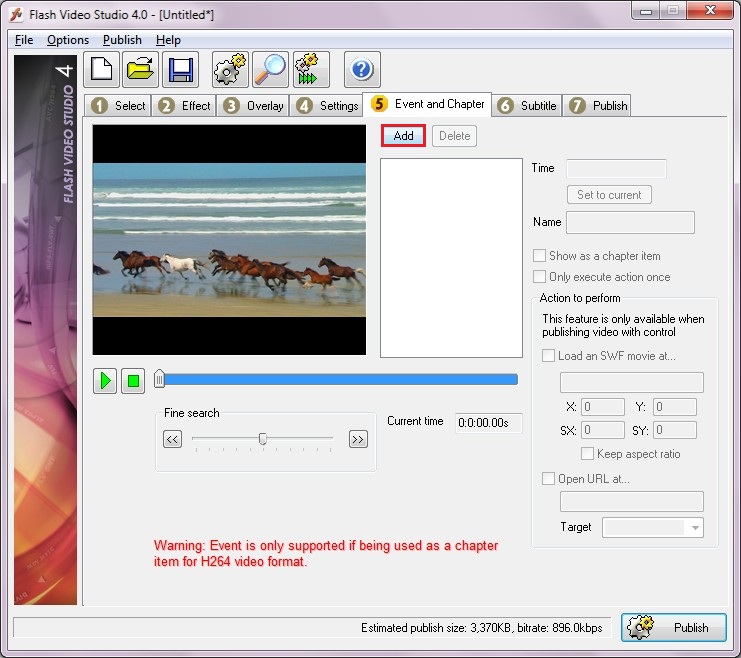
Video format, We choose "H264 MPEG4" and the quality is "Good". The bitrate is lower than when We choose "Best Quality".For the quality Audio, we choose "Good". You will see, the bitrate is lower than we choose "Best quality".We use "Original size" for a resolution and check up "Deinterlace" to make the quality is good. Step 6 Go to tab 5 "Events and Chapters. In this section you can add events and define chapters in your movie.Both SWF and FLV output format supports event and chapter. However they work a little bit different.
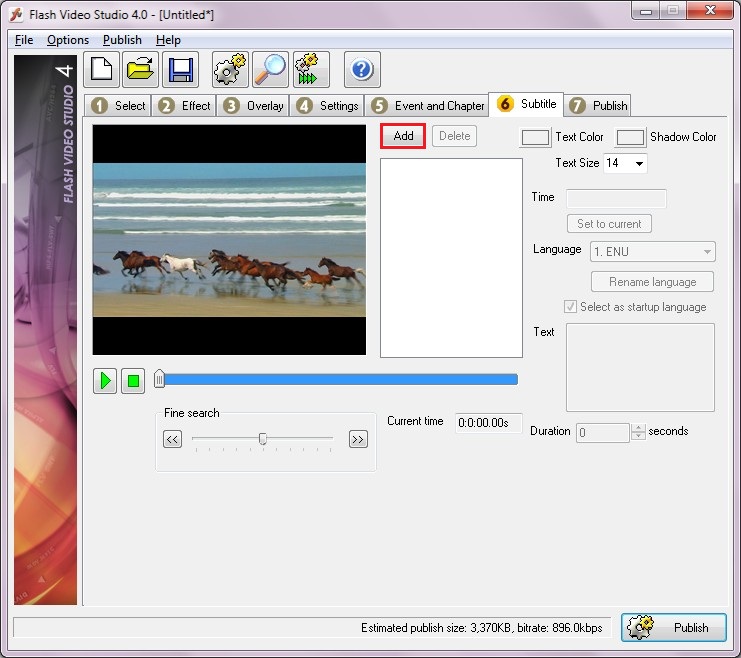
Step 7 Go to tab 6, Subtitle". In this section you can add subtitle in your movie. Both SWF and FLV output format supportssubtitle.
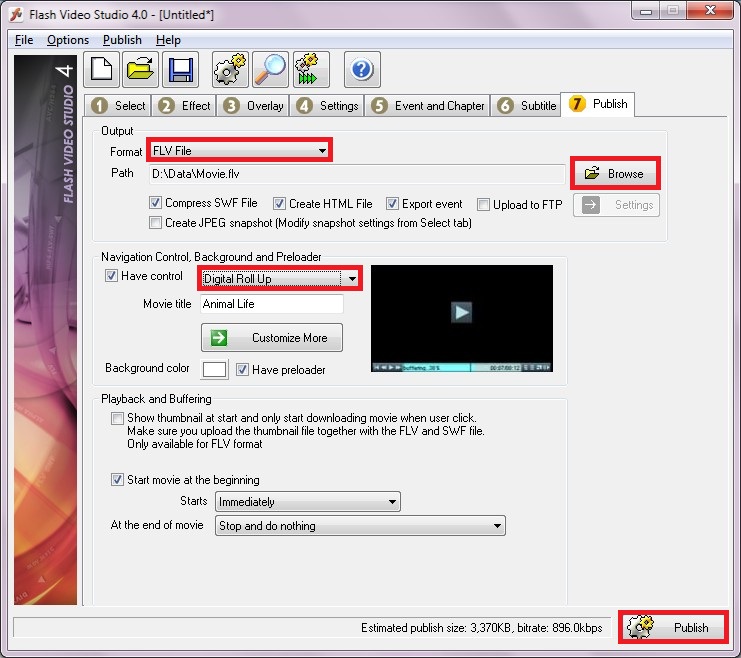
Step 8 Click on tab 7 "Publish", In this section you can choose the publish format (SWF/FLV), add a navigation control andadjust some playback settings.
You can select a publish format by clicking the Format listbox. Thanselect an output file path by clicking the Browsebutton. Leaving the other settings as default, now you areready to publish your video. Click the Publish button at thebottom right corner of the main window to publish Step 9 Congratulation! Your video is done. You can upload the HTML, SWF and flv files into your website.
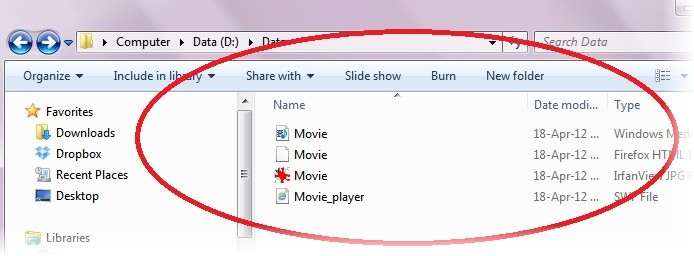
Here is the result:
Click here to play the flash file 
|