There is an easy way now to make presentation using video transparency. You just need to have a video and some images. This tutorial, we will show you how to make presentation using video transparency easily.
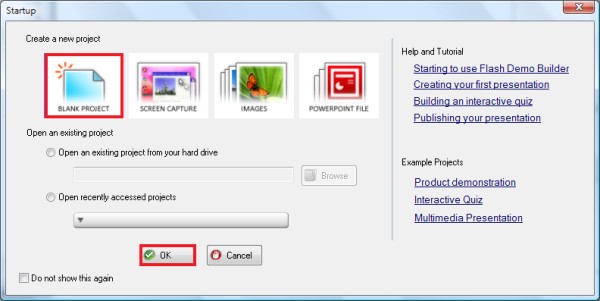
Step 1 Download and Run Flash Demo Builder from here Step 2 From Startup menu, choose "Blank Project" & click on "OK" button
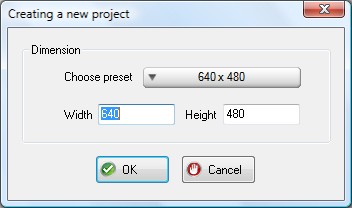
Flash Demo Builder will show a window to choose the dimension of the project. Use dimension of 640x480.
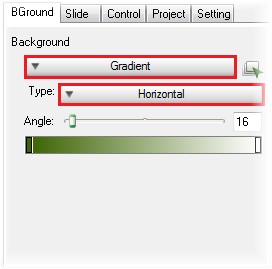
Step 3 The first step, we will use background with Gradient, type Horizontal.
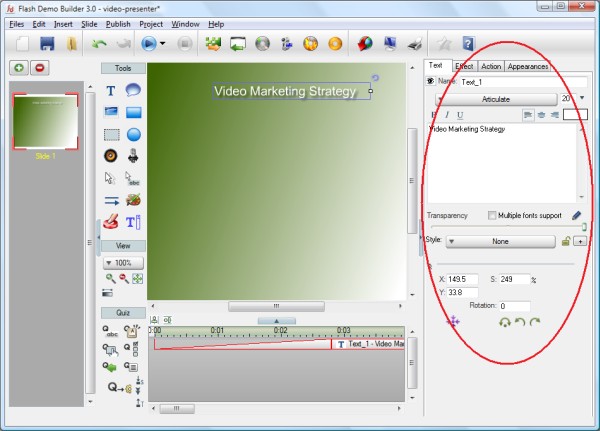
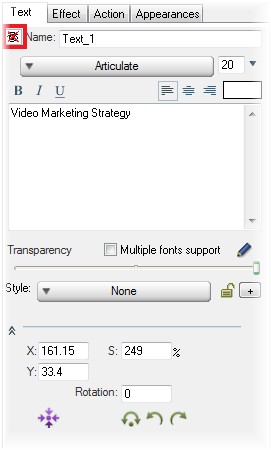
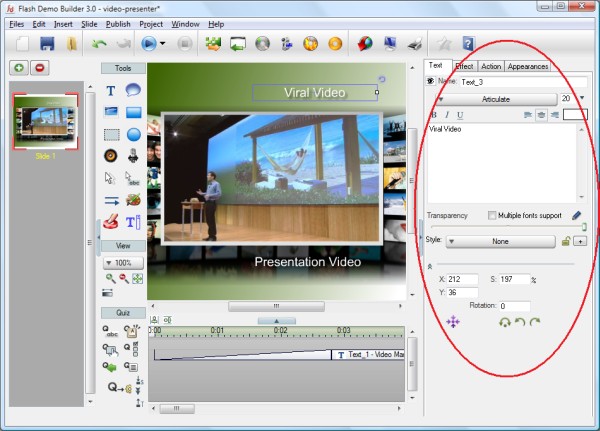
Step 4 The first step, you can click on "Insert a text" button. Fill in with "Video Marketing Strategy".Go to tab "Effect", Fill in Show after with 0. Then click on effect dropdown and choose "Text Gunshot".Fill in Hide after with 2 and choose an effect with "Fade".
Then go to tab Text again and click on "Enable this object".
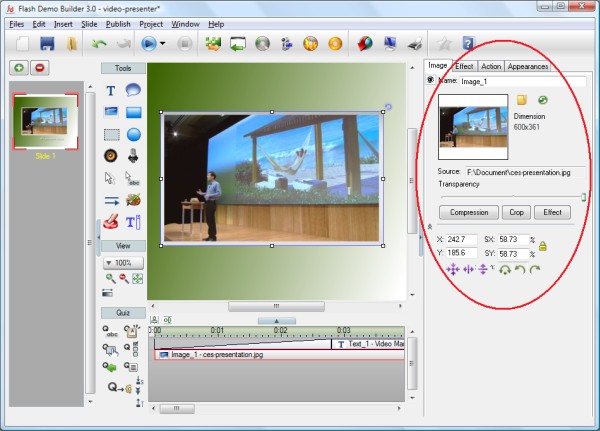
Step 5 Insert an image to this slide. You can set the position. Go to tabeffect and set Show after with 6.2 sec. For Effect, choose Zoom-In.Set Hide after with 7.7 sec, choose Fade for the effect.
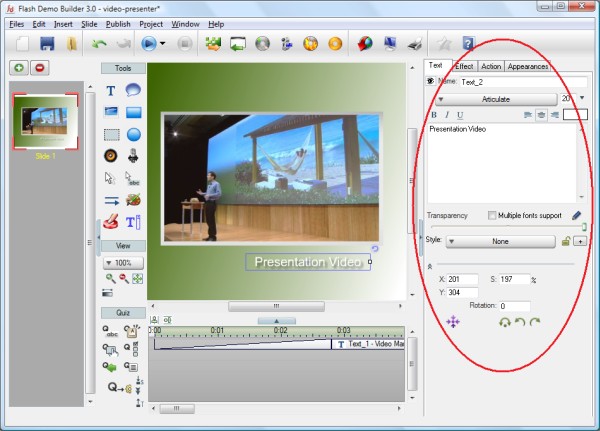
Step 6 Insert a text, fill in "Presentation Video". Set the duration like step 5.
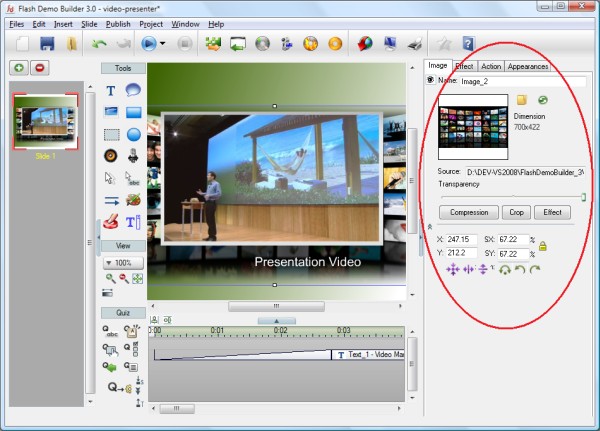
Step 7 Insert an image again. Go to tab effect and set Show after with 16 sec. For Effect, choose Mask - Box Out.For effect after, choose Show forever. Choose Fade for the effect.
Step 8 Insert a text again, fill in "Viral Video". Set the duration like step 7.
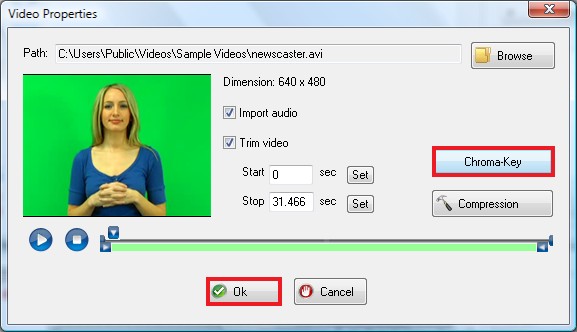
Step 9 Insert a video narration. At the video properties, click on "Chroma Key" button to set your video.
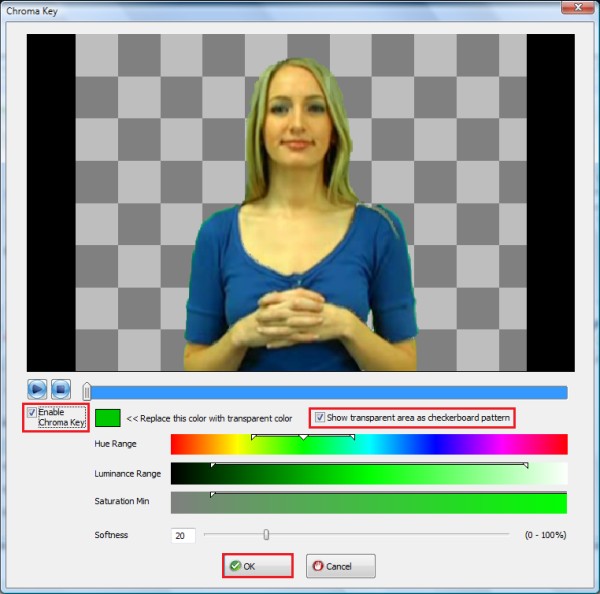
Check "Enable Chroma Key" and "Show transparent area as checkerboardpattern".Then click an area on the video you wish to make transparent.In this video it is the green area outside the presenter.It is best to use green color behind the video footage to make iteasier for the software to identify them.Most of the case the software will be able to detect the transparentarea corectly by simply clicking.But sometimes you need to do a bit of adjustment by varying the huerange and luminance range while watching the preview updated to find thecorrect settings.
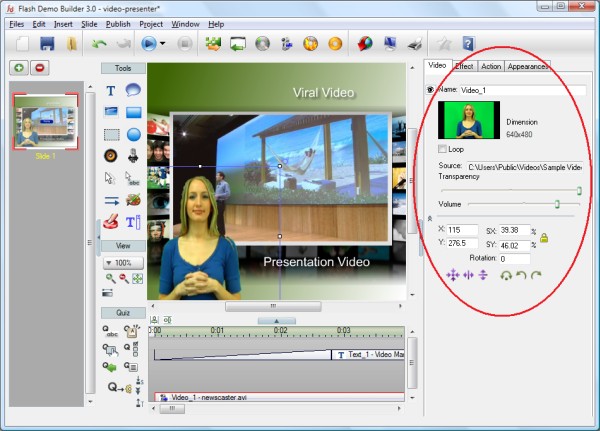
Go to tab effect and fill in 0.7 second at the Show after.
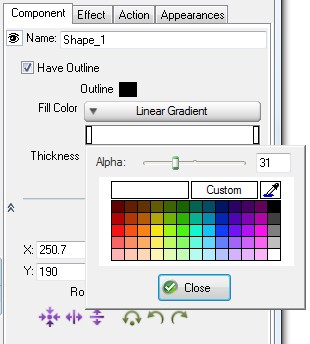
Step 10 To make your presentation transparency, you can add a rectangle. ChooseFill color with Linear Gradient, change the color into whitewith double click at the color. Drag the Alpha till 31.
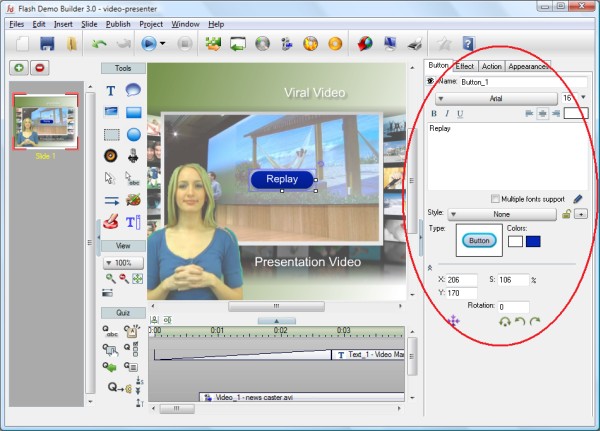
Step 11 Insert a button, fill in with "Replay". Go to tab Effect, Fill in Show after with 20.8 second and change Effect into Fade.
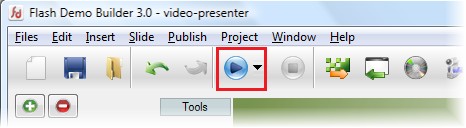
Step 12 Now, Your presentation using video transparency is finished. Click on "Play" button to play your presentation.
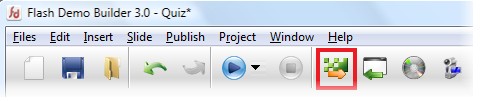
Step 13 Before uploading it into your website, you will need to publish this presentation as an HTML and SWF file. Click on "Make a Flash file" button. Flash Demo Builder will generate flash and html file for you.
Step 14 You can upload the HTML, JPG and SWF files into your website.
Here is the result:

|