Christmas will be coming. Many people will celebrate it with their family, friend, etc. Usually, They will send a gift or e-card. We will show you how to make it self with add some clips and send it by email.
Step 1 You can start it by downloading the trial version from here
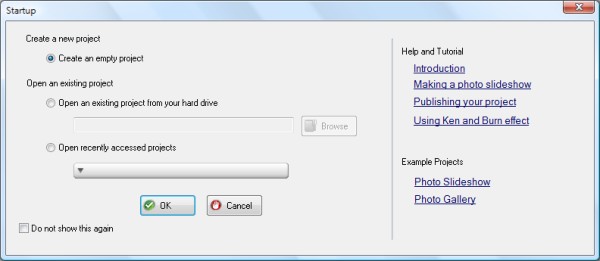
Step 2 Run Incredishow Step 3 From startup menu, select "Create an empty project" and click "OK" button.
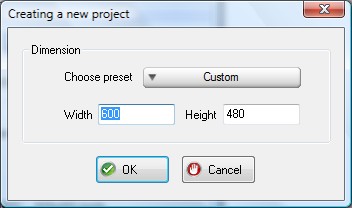
Incredishow will show a window to choose the dimension of the project. For this project, We use custom Size, 600x480. Then click "OK" button.
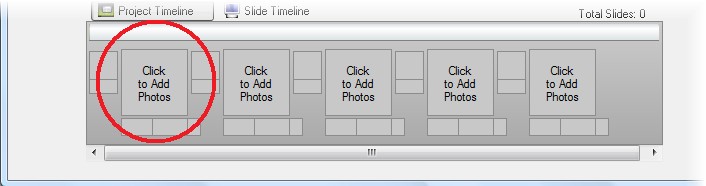
Step 4 To start adding photos to your project, click any of the empty thumbnail at the Project Timeline (bottom) with the text saying "Click to Add Photos".
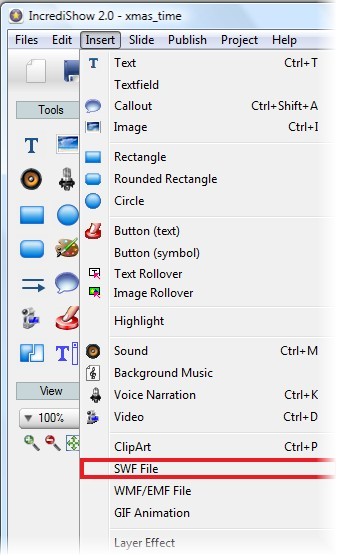
A photo file browser window will appear. Click to select a photo. To select more than one photo, simply hold control button while clicking. Click Open to start adding selected photos into your project. Step 5 For this tutorial, we will show you how to add clips. Click on Insert =? SWF File. Choose your clips file.
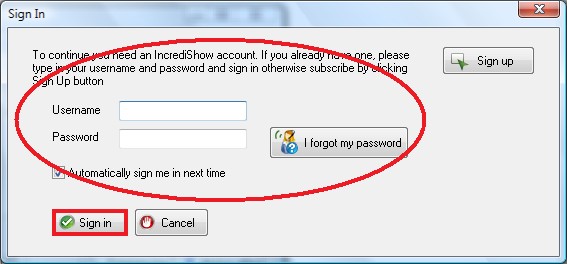
Do this for your other slides. You can add the others object, text, sound, etc. For this tutorial, we add some text and a background music. Step 6 Congratulation! Your Christmas photo slideshow with some clips is done. You can send it to your friend or family by email. Click on Publish => Send Email, type your user name & password then click on "Sign In" button.
A window that prompt you to type in email details will show up. Type in your name and email address then type in up to 6 recipients name and email address. Type in the subject of your email and also the message in the text box provided There is a simple address book provided. To use it, click on Get From Address Book button.
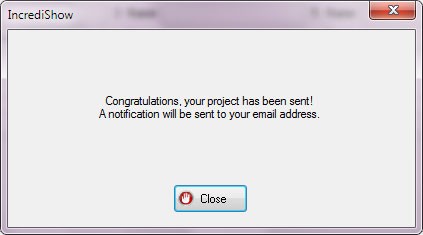
When you are ready, click on Send by Email button. The sending process will take a while. Be patient and you will be notified when it is finished. An email containing link to your show will be sent to your recipients and the show will be available for viewing for about 15 days.
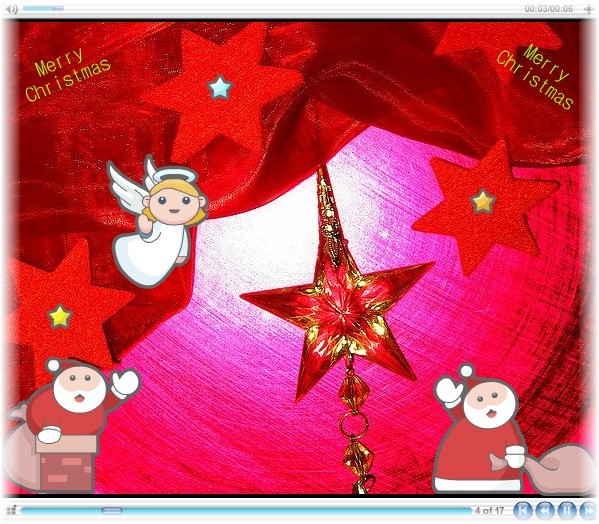
Step 7 Congratulation! Your project is done.
Here is the result:

|