In this tutorial we will be learning how to create a nice red pin in Adobe Illustrator. Don’t worry, if you have lower version of Illustrator, you’ll be able to complete this tutorial as well. We will learn how we can make an eye catchy illustration with just few simple shapes and some nice color gradients.
Final Image
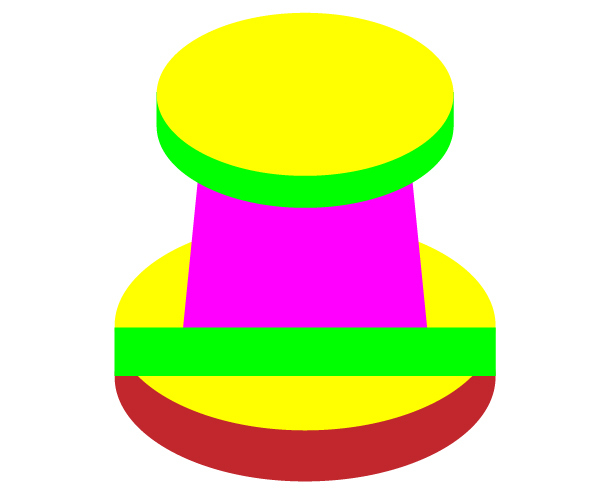
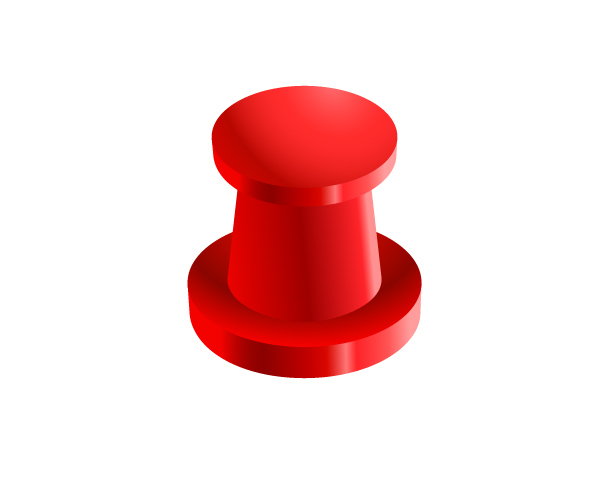
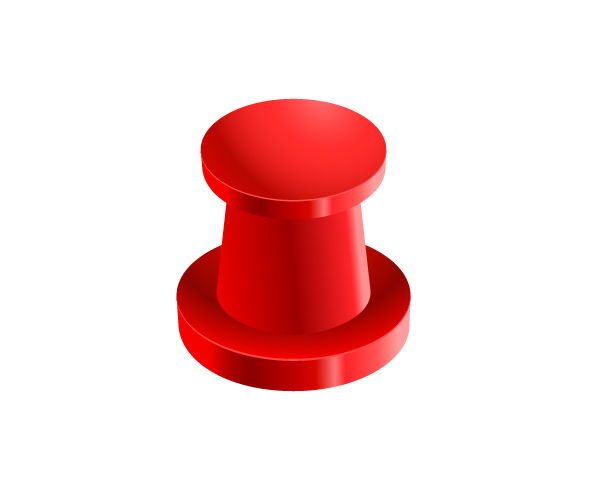
As always, this is the final image that we’ll be creating:

Tutorial Details
- Program: Adobe Illustrator CS5
- Estimated Completion Time: 1 hour
- Difficulty: Intermediate
Note: Original tutorial was published on Vector Cove a few months back. Tutorial was updated and now republished.
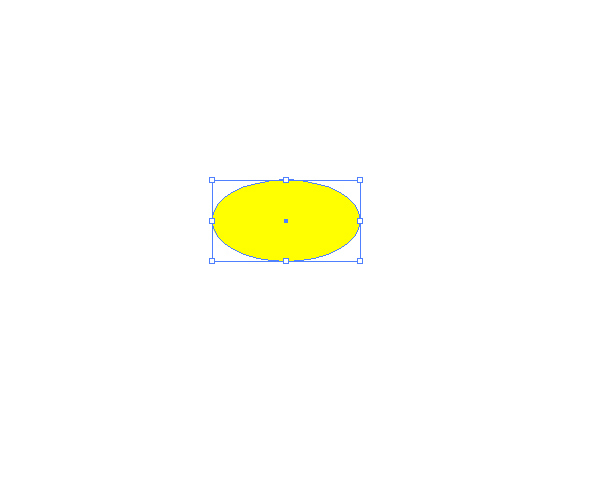
Step 1
Lets start with the simple ellipse. Grab the Ellipse Tool (L) from the Tool Panel and create an ellipse as it shown on the picture below.
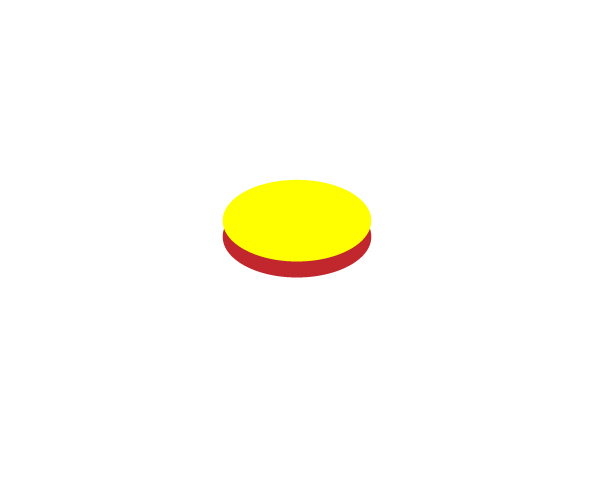
Step 2
Duplicate (Ctrl / Cmd + C, Ctrl / Cmd + F) yellow ellipse and place the copy few pixels below the original ellipse. Also make sure to place yellow ellipse on the top (Shift + Ctrl / Cmd + ]).
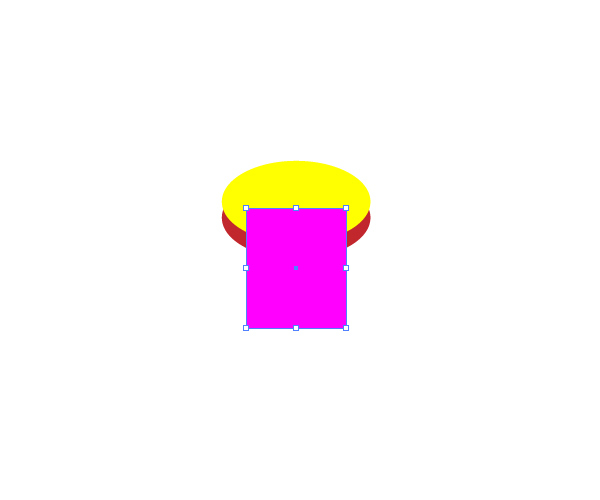
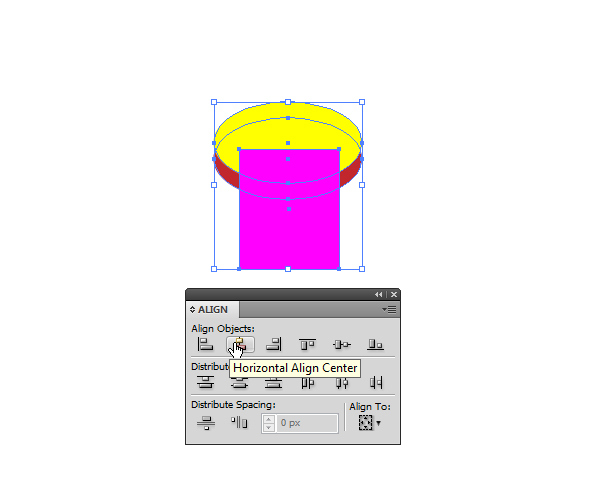
Step 3
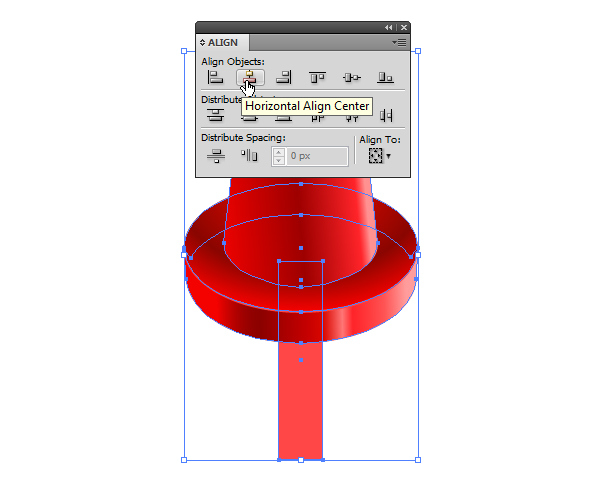
Now we need to use Rectangle Tool (M). Grab it from the Tool Panel and create a rectangle as it shown on the picture below. Don’t forget to align the rectangle with both ellipse. Select all elements and under the Align Panel select Horizontal Align Center. Place both ellipses on the top (Shift + Ctrl / Cmd + ]).
Step 4
We are going to duplicate (Ctrl / Cmd + C, Ctrl / Cmd + F) both ellipses on the top and to place them underneath pink rectangle. Make sure to scale them up a bit and to send them behind the pink rectangle. Also, nudge the red ellipse for a pixel or two downwards (to make larger distance between ellipses).

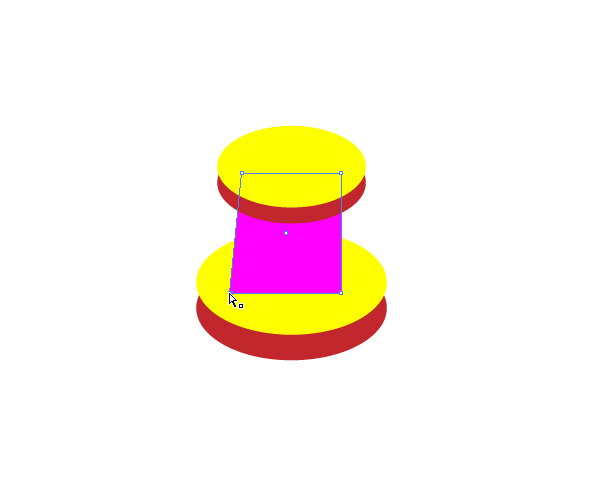
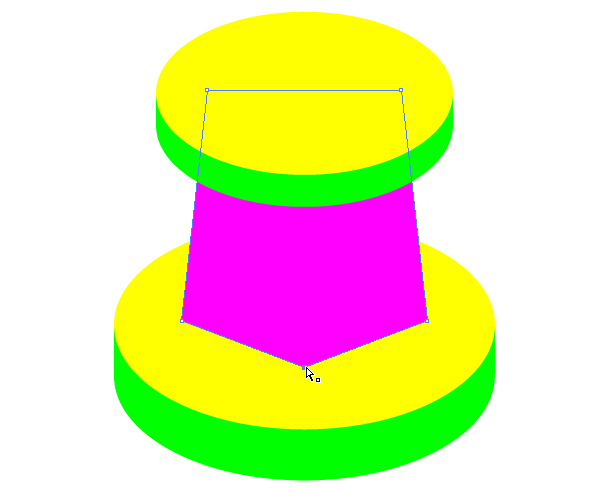
Step 5
Let’s modify the pink rectangle a bit. First we will make larger distance between lower anchor points. Select the Direct Selection Tool (A) from the Tool Panel and select the left lower anchor point of the pink rectangle. Use the left arrow key on your keyboard to nudge this anchor point for 4-5 pixels to the left.
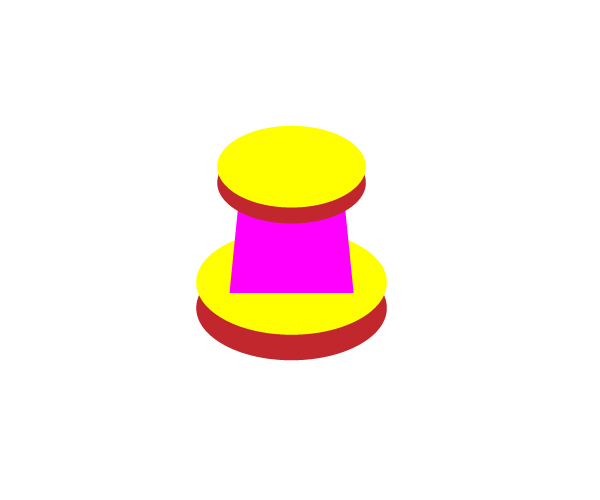
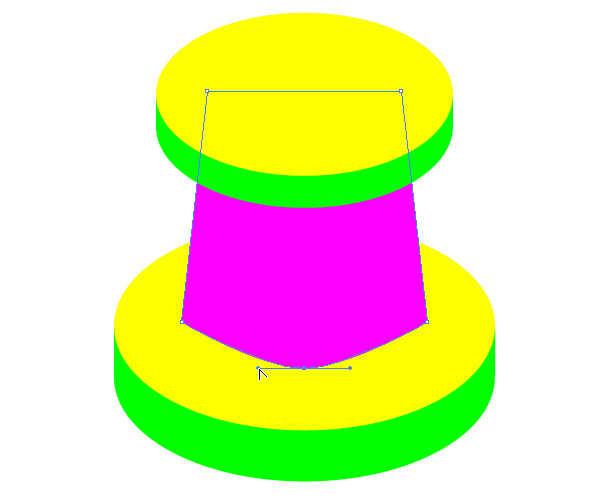
Step 6
Repeat the previous step for the right anchor point as well. You should end up with something like this.
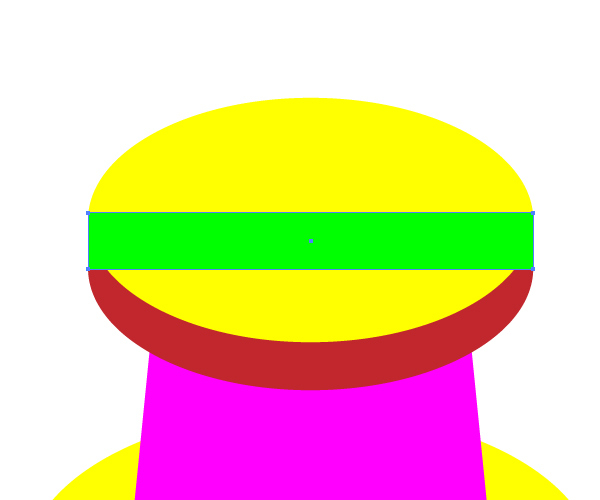
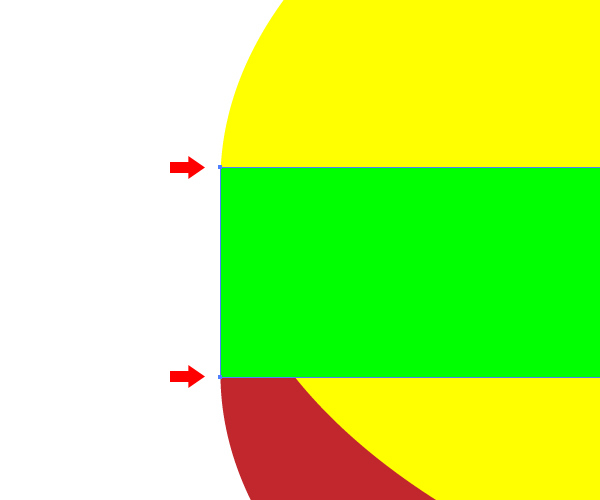
Step 7
Now we need to connect ellipses. First, we will do this for the upper ellipses. Grab the Rectangle Tool (M) one more time from the Tool Panel and create the rectangle as it shown on the picture below. Just make sure to match rectangles anchor points perfectly with the ellipse.
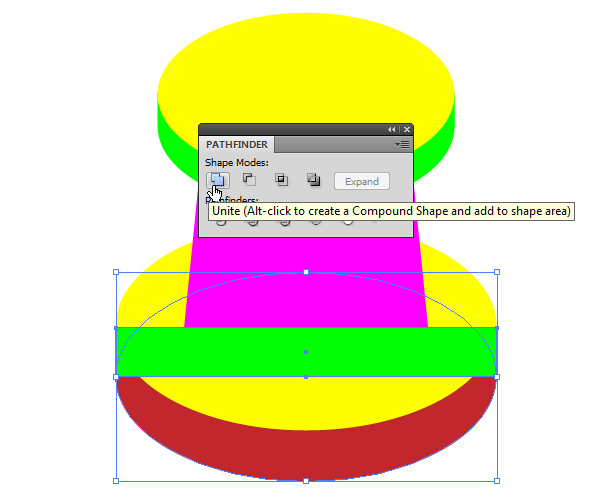
Step 8
Select the green rectangle and the red ellipse and under the Pathfinder Panel hit the Unite button. It will unite both shapes into one. Place the yellow ellipse on the top (Shift + Ctrl / Cmd + ]).

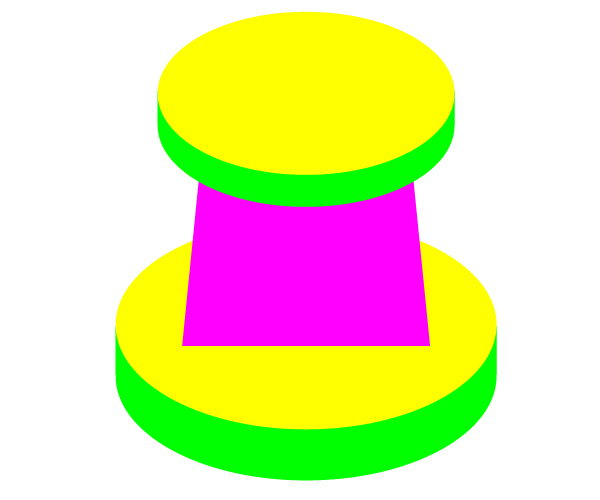
Step 9
We are going to repeat the Step 8 for the ellipses on the bottom. Just do the exact same thing and you should end up with something like this.
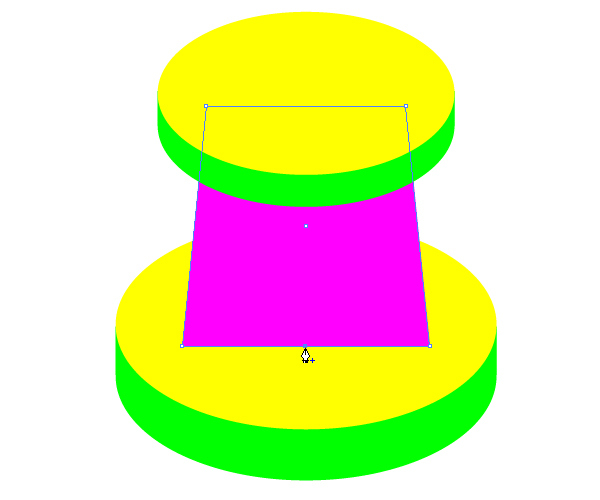
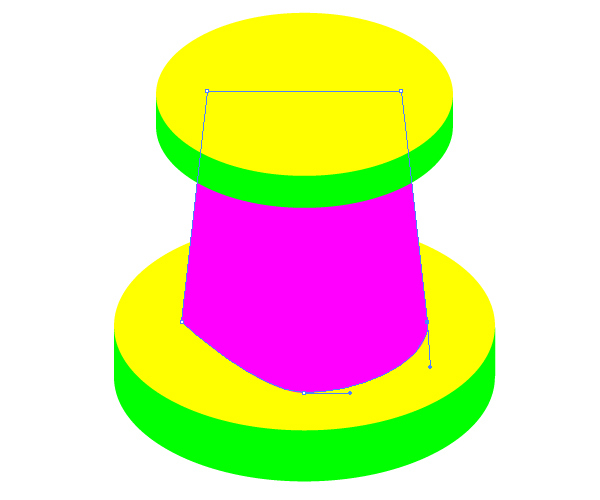
Step 10
Grab the Add Anchor Point Tool (+) from the Tool Panel and add an anchor point as it shown on the picture below.
Step 11
With the Direct Selection Tool (A) select the middle anchor point we have just created and move it downwards.
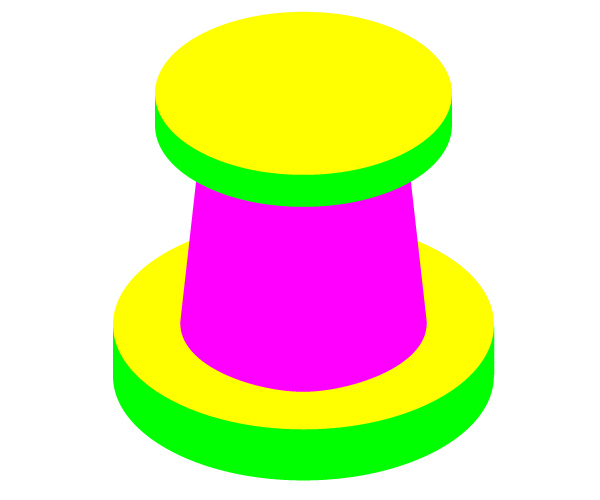
Step 12
With the Convert Anchor Point Tool (Shift + C) click the middle anchor point and drag its handles until you turn sharp corner into the arc.
Step 13
We are going to do similar thing with both endpoints.

Step 14
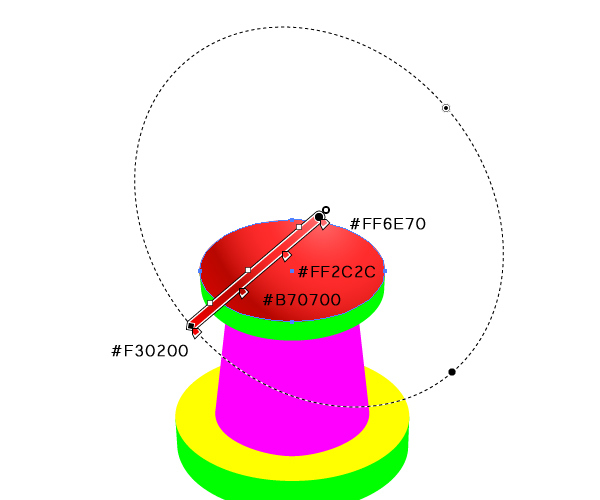
Our pin is ready to get some nice color polishing. We are going to use nice red linear and radial gradient.
Lets to start from the very top of our illustration with radial gradient.
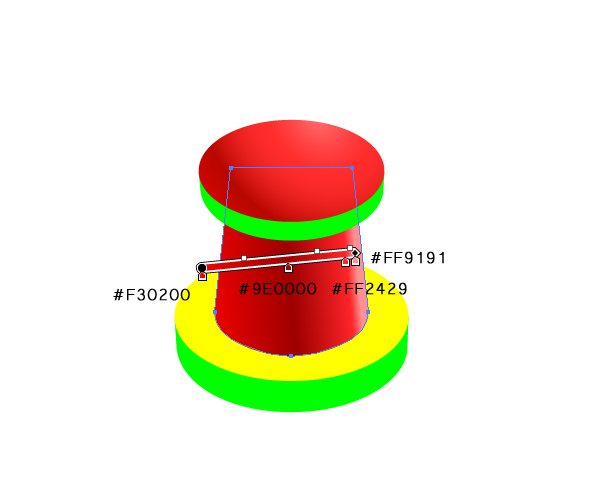
For the middle part we will be using linear gradient.
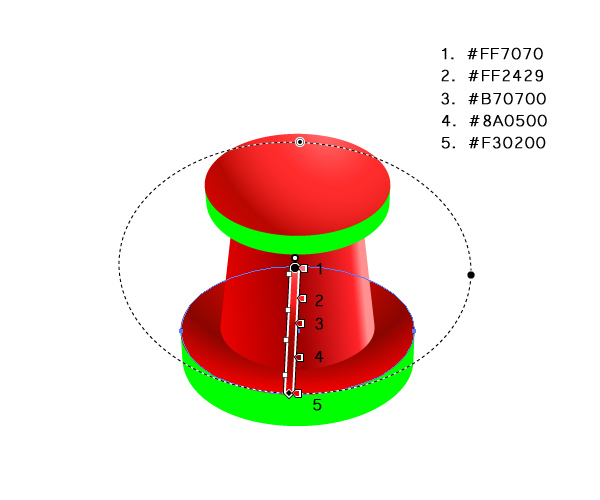
Radial gradient for the lower part of the pin.
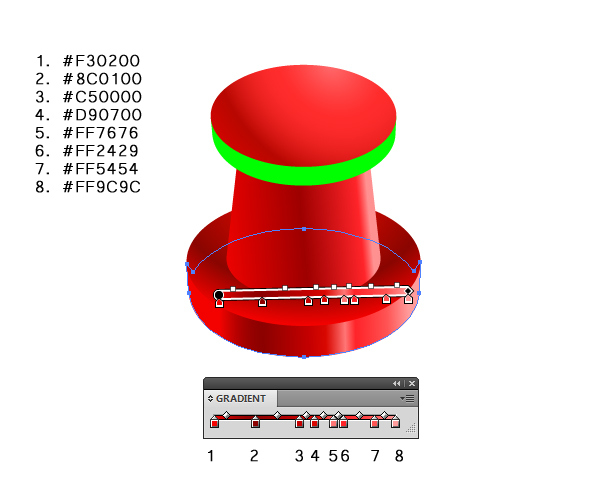
And the same linear gradient for the green shapes that represent elliptical shape.
Step 15
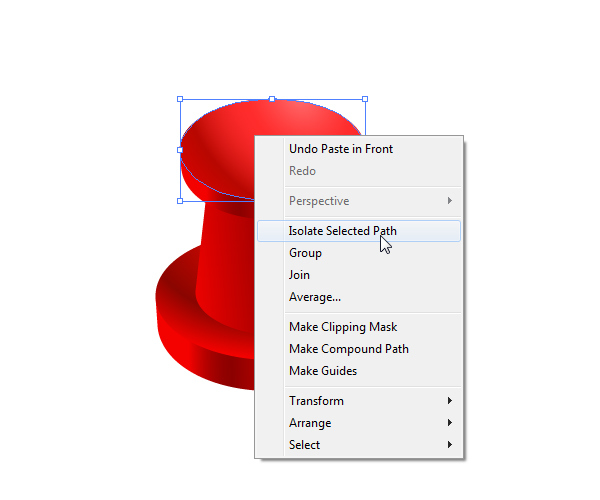
We are going to emphasize the edges. Duplicate (Ctrl / Cmd + C, Ctrl / Cmd + F) the upper ellipse. Under the right click select Isolate Selected Path. It will isolate only copy we have just created.
Step 16
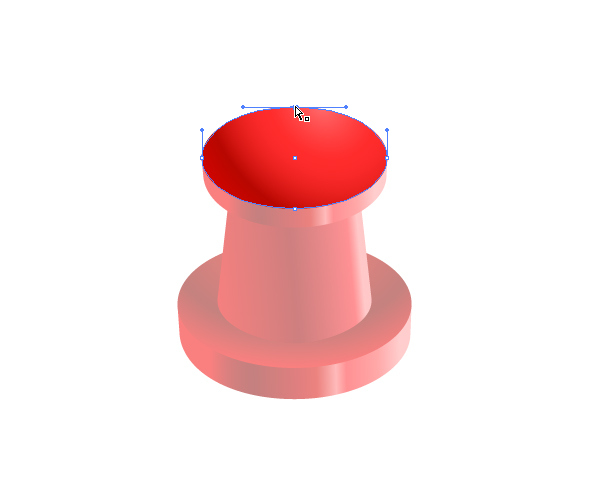
Grab the Direct Selection Tool (A) from the Tool Panel, select the upper anchor point and hit Delete key on your keyboard. Remove the Fill color and set the Stroke color to #FF4747.

Step 17
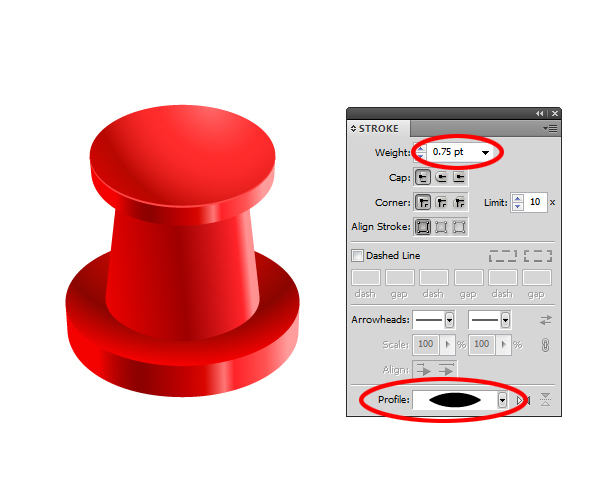
We are going to adjust the stroke from the previous step. Make sure to open Stroke Panel (Window > Stroke). Set the Width to 0.75 and the Profile to Width Profile 1.
Step 18
Repeat the previous step for the lower part of the pin as well. You should end up with something like this.
Step 19
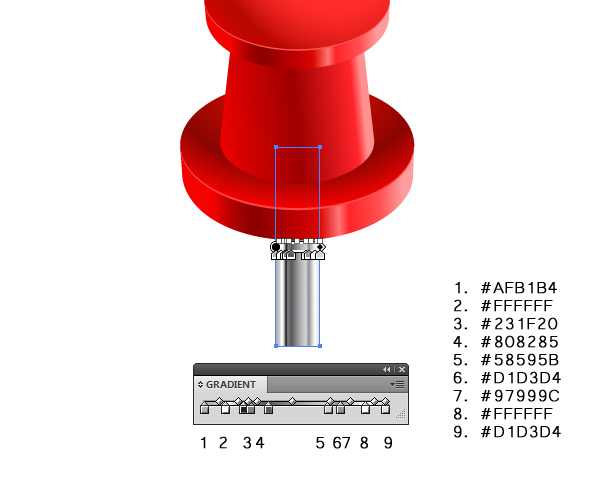
As you can see the metal part of the pin is missing. Lets crate it. Grab the Rectangle Tool (M) from the Tool Panel and create a rectangle as it shown on the picture below. Make sure to align the rectangle with the rest of the illustration by hitting Horizontal Align Center under the Align Panel.
Step 20
We are going to apply nice linear gradient that contains different shades of gray in order to simulate metal look.
Step 21
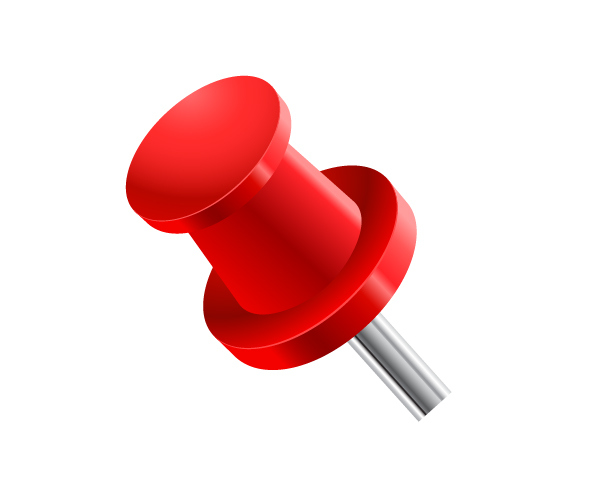
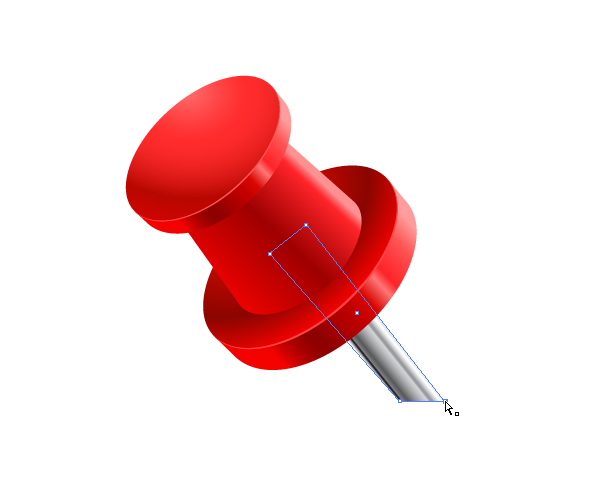
Select all elements we have created so far and rotate them.
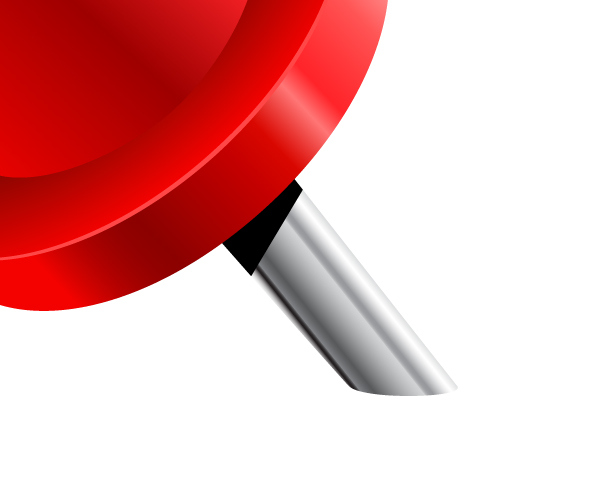
Step 22
We need to adjust the lower (visible) side of the metal part. Pin needs to look like its pinned to the ground. Select the Direct Selection Tool (A) from the Tool Panel and move the anchor point as it shown on the picture below.
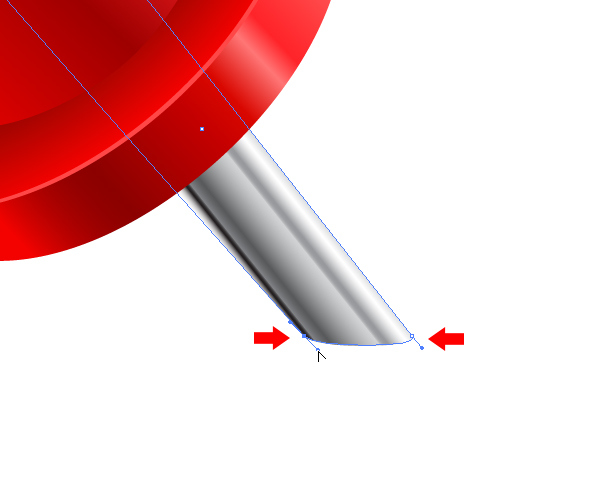
Step 23
Let’s modify that lower side of the metal part even more. Grab the Convert Anchor Point Tool (Shift + C) and drag the handles as it shown on the picture below.
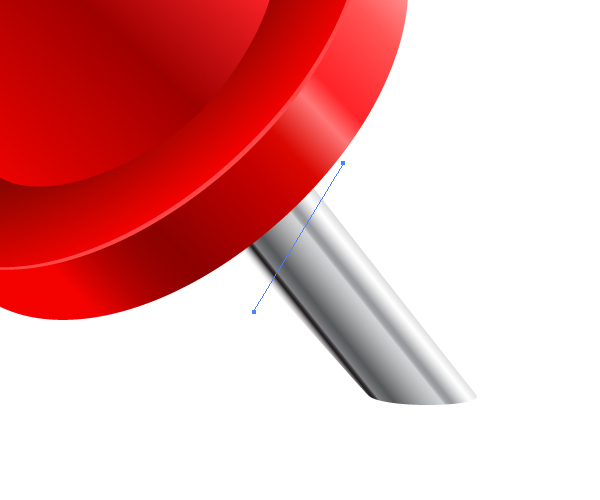
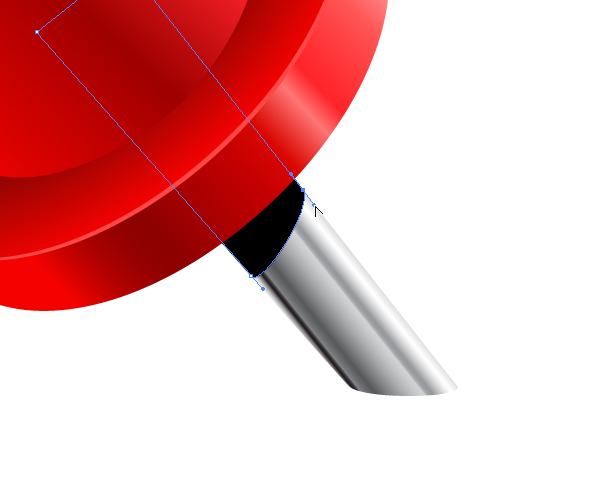
Step 24
Duplicate (Ctrl / Cmd + C, Ctrl / Cmd + F) the metal part of the pin. Select the Line Tool (/) from the Tool Panel and draw a straight line.
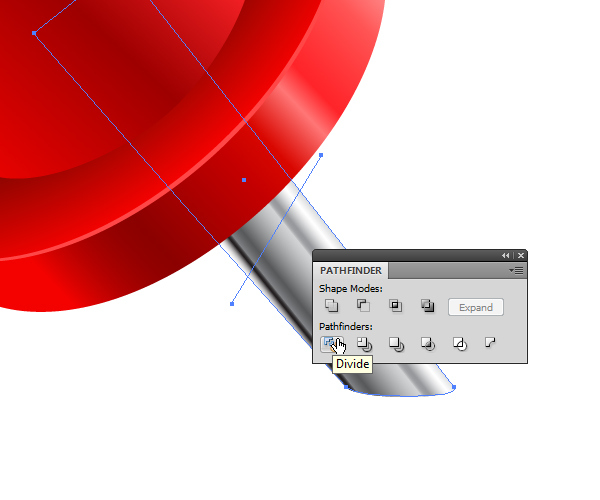
Step 25
Select both, copy of the metal part we have just created and the line and under the Pathfinder Panel hit Divide button. It will split the metal part in two shapes. Ungroup (Shift + Ctrl / Cmd + G) the new shape and remove the lover part. Set the Fill color of the upper part to #000000.
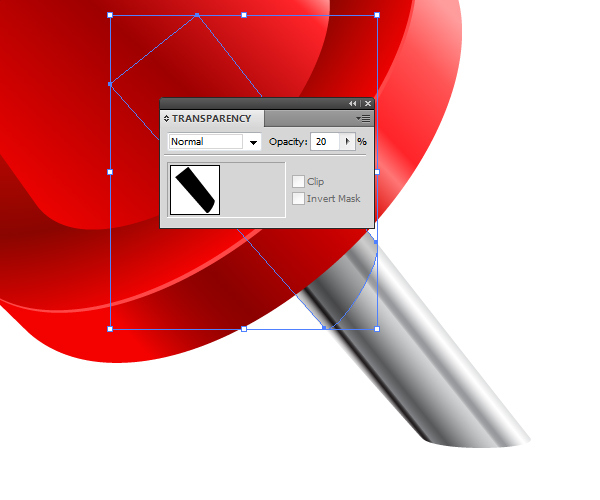
Step 26
With the Convert Anchor Point Tool (Shift + C) modify the endpoints of the black shape, just like we did for the metal part of the pin.
Step 27
Make sure to lower the Opacity to 20% under the Transparency Panel. It will create a nice shadow that red part of the pin is casting on the metal part.
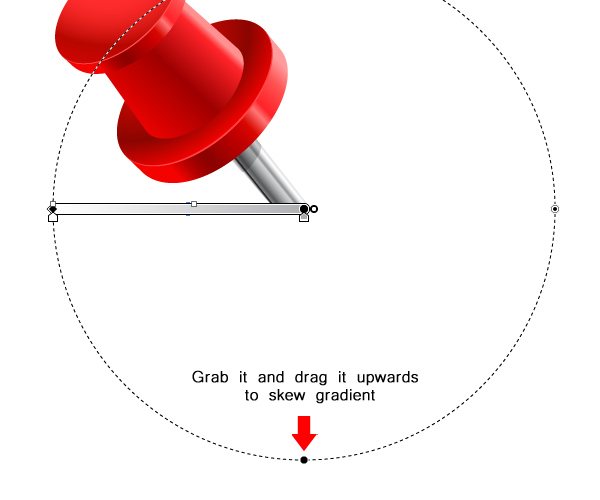
Step 28
The last thing we want to create is a small shadow that pin casting on the ground. To do that we need to use the Ellipse Tool (L) and simple radial gradient. Grab the Ellipse Tool from the Tool Panel and create a very slim ellipse. Make sure to send it to back (Shift + Crtl / Cmd + [).

Step 29
Apply nice radial gradient as it shown on the picture below. Make sure to skew the gradient to follow the shape of the ellipse.

Conclusion
Today we have learned how to create a neat, red pin illustration. It can be used in many different purposes (to pin a note, to pin a place on the map, to pin a photo, etc). As you can see, creation process was very simple. All you have to do is to make sure all object are properly align, have a good perspective and to use vivid colors. Also, do not forget, practice makes perfect. If you have any questions please post them in the comments section below this tutorial. Thank you for following along.
