In this tutorial, you will learn to create mobile in photoshop using round cornered rectangles , circles and gradients.
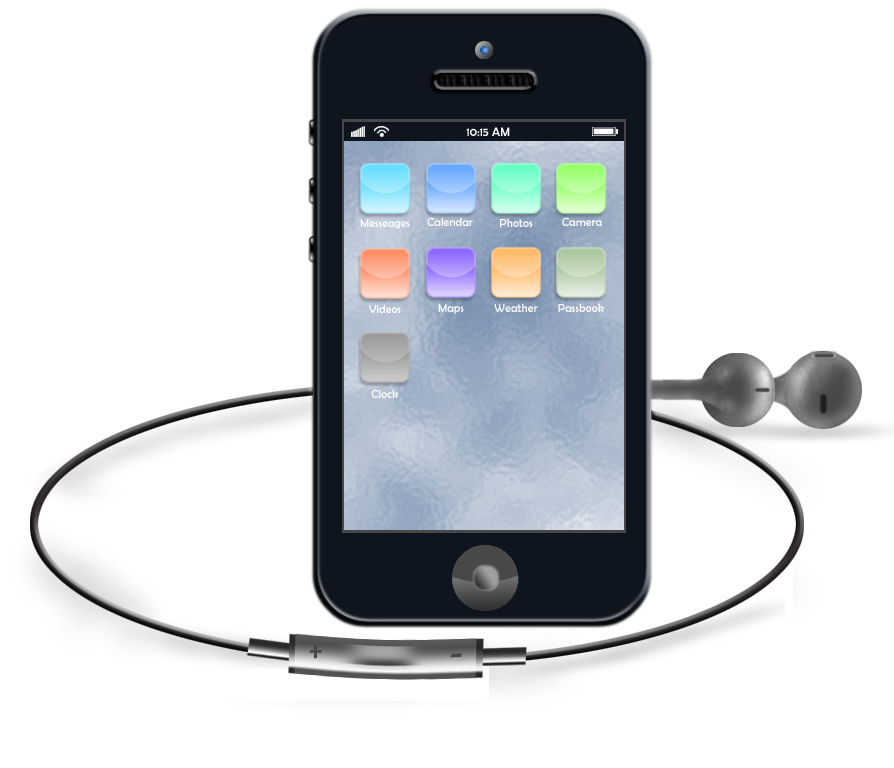
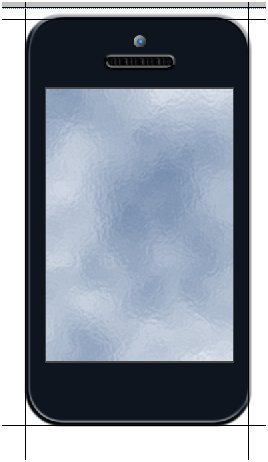
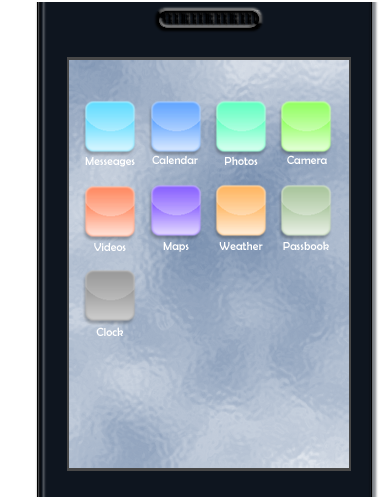
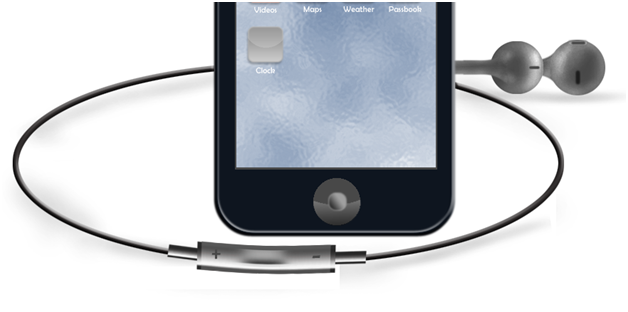
Final Image:
Creating Frame
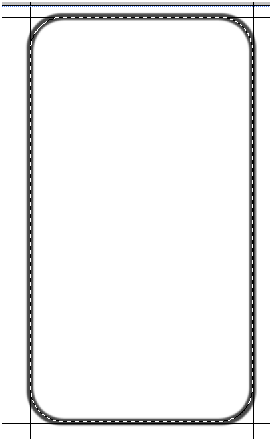
Step-1
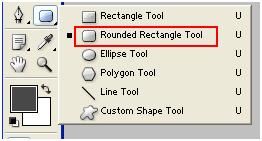
Lets create round cornered rectangle.
Select “Rounded Rectangle Tool” and set radius to 50px.
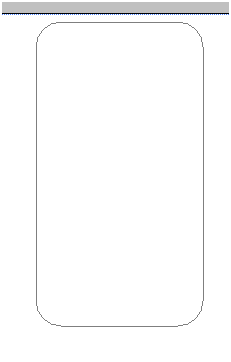
Draw a rectangle(3cm x 5cm) like this.
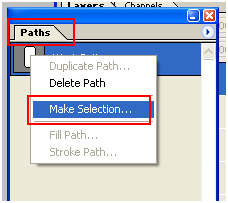
Step-2
Go to window>>paths
Right click on the paths and click on “Make Selection”
Step-3
In new layer, give stroke.
Go to Edit >> Stroke
Set Stroke width to 10px
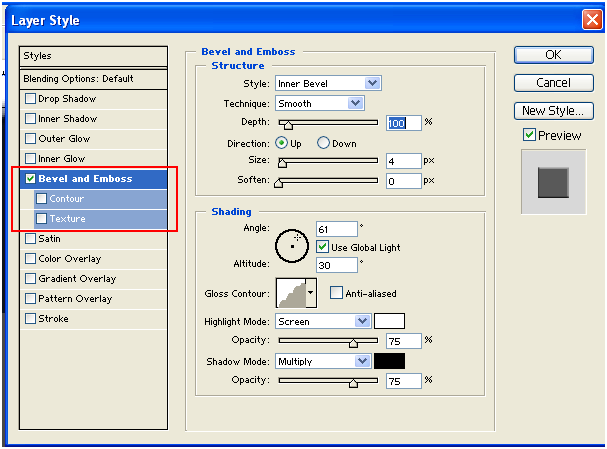
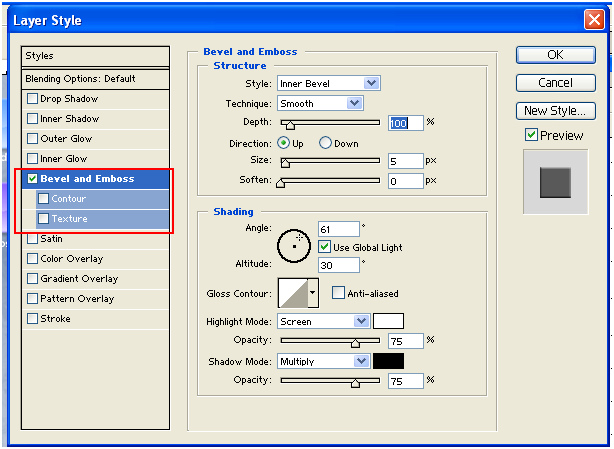
Step-4
Add “Bevel and Emboss” to the layer

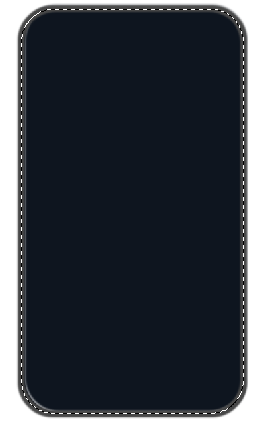
Step-5
In new layer fill the round cornered selection with black color.
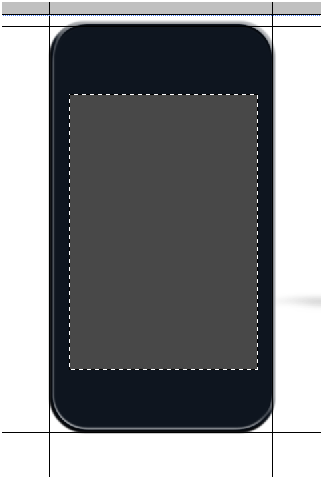
Step-6
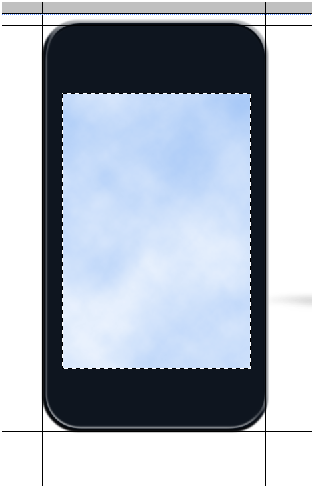
Now, draw a rectangle (2cm x 3cm) which is going to be a display screen and place it as follows.

Background Image for Display
Step-7
Lets design a simple abstract image for the screen.
First of all, fill foreground with blue and background with white.

Step-8
Select display screen.
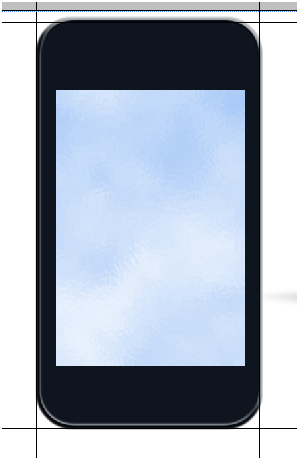
Step-9
Select New layer.
Go to Filter >> Render >> Clouds.
Step-10
Go to Filter >> Distort >> Glass.
Creating Speaker
Step-11
Draw a round cornered rectangle like this…….

Step-12
Select New Layer.
In “Paths” panel, select the layer and right click on it and select “Make Selection”
Give stroke with width 10px and “Bevel and Emboss”

Add mesh

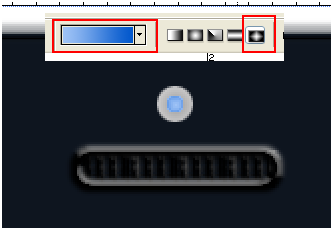
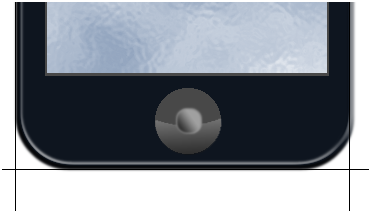
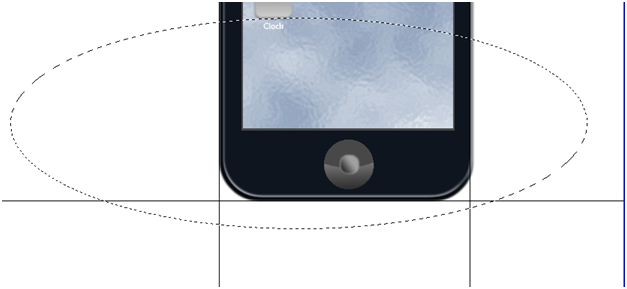
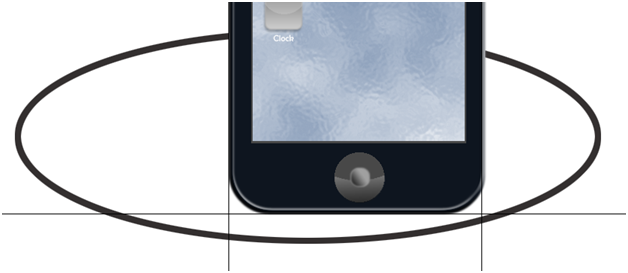
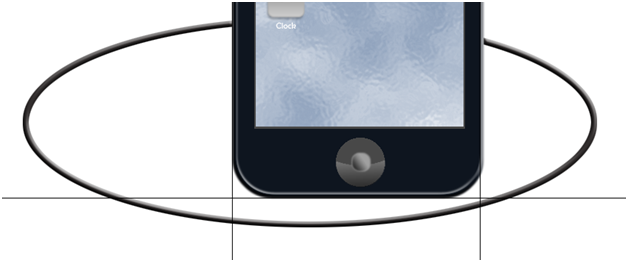
Creating Camera
Step-13
For creating Camera, simply draw a radial gradient circle like this…..

Now, draw a blue color – diamond gradient – circle inside the above circle like this…..
Creating Menu Items
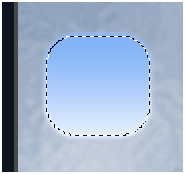
Step-14
Select New Layer.
Draw round cornered rectangle.

Make selection and draw blue linear gradient.
Add reflection.
Select new layer. Draw reflection like this….
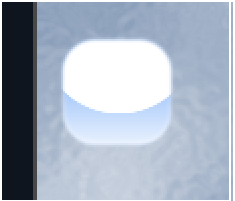
Decrease opacity to 40%

Give name to the item.
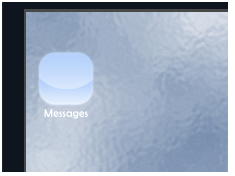
Add drop shadow.

Similarly create rest of the menu items like this…..
Adding Side Buttons
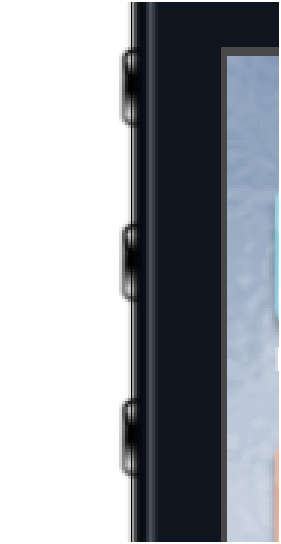
Step-15
Add reflected gradient.
Finally, duplicate it and place them like this….
Adding Button
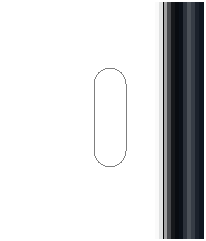
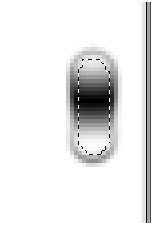
Step-16
Lets add the single button.
Creating Ear Phones
Step-17
At first, lets create ear phones wire.
Select new layer.
Step-18
Give stroke with width 10px
Add “Bevel and Emboss”
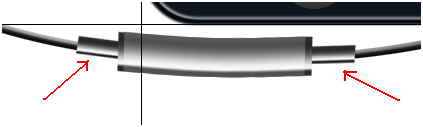
Creating On and Off Button
Step-19
Draw a rectangle selection and draw Reflected Gradient like this……
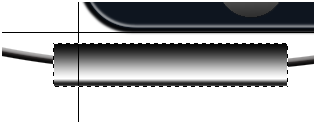
Go to Filter >> Liquify
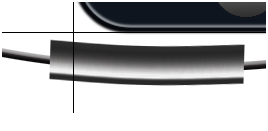
Step-20
Duplicate the above rectangle , resize it, lighten it and place it like this….

Step-21
Again duplicate it, resize it and place it like this……
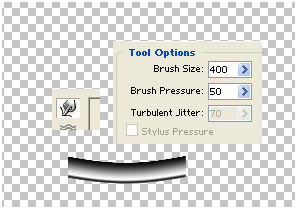
Step-22
Draw a gradient like this….and also add plus(+) and minus (-).

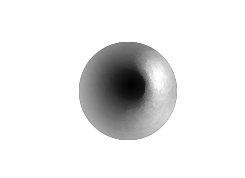
Step-23
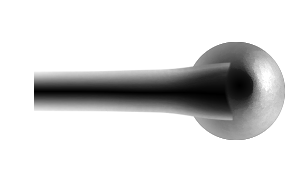
Now, lets create speakers.
At first create a circle.

Step-24
Using “Dodge Tool”, brighten one side of it.
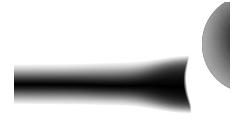
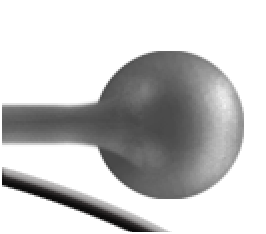
Step-25
Draw a reflected gradient rectangle like this….

Go to Filter >> Liquify and spherify one side of it like this..
Step-26
Place it over the circle and modify it using “Dodge Tool” and “Burn Tool” like this…
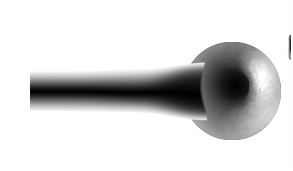
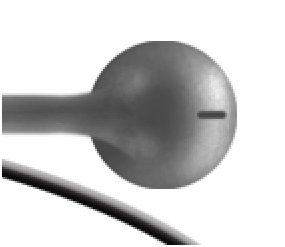
Step-27
Do final adjustments.
Step-28
Similarly create other ear phone
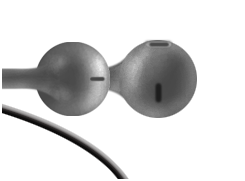
Step-29
Add shadows
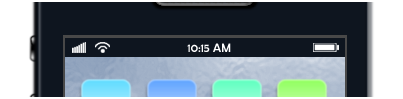
Step-30
Finally add signal, time, battery icons.
FINAL IMAGE