

In this tutorial, I will teach you how to create a fantastic night scene on Illustrator. You will learn on how to use Live Paint to color the house and give a night lighting effect to the house. You will also learn to draw trees and create a moon glow effect using Gaussian blur.
1. First, let us open a new document. To open a new document, go to File > New. When you click on New, a new document will open. As shown in the image above, we will first name the file and then input the dimensions of the artboard. It is very important to remember that we need to set the color mode in the document to RGB, so that the image looks like an original image.

Drawing the House
2. You can see 3 objects in the Night Scene image: the house, the land and the sky. We will start by working on the house. To make the house, we have to use a sketch. You can find the sketch in the file download. We will primarily trace this sketch. To trace the sketch, import the house on the artboard.
 3. Lock the sketch by pressing Ctrl + 2. Then select the pen tool and draw over the sketch line as shown in the image below.
 4. After tracing the sketch, our image will look like this.
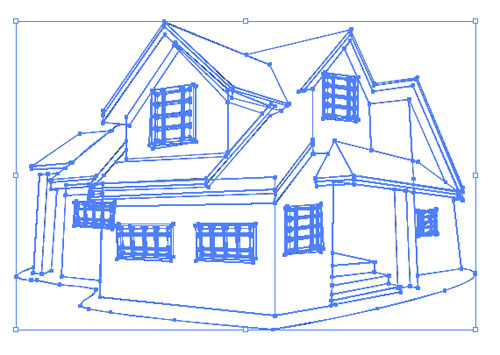
5. Go to tools and select Live Paint Bucket.

6. Using this tool, click on the house that is traced and fill it with this tool.

7. Add colors to the house using this tool.

8. Since we are making this image for night effect, we have to give the house a night lighting. To add the night lighting, select the house and copy it.

9. Select the house and go to Pathfinder window.
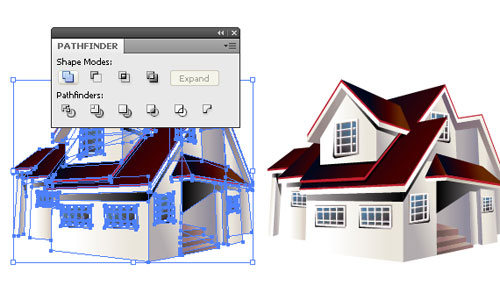
10. Select the option indicated above, which will convert the house into a shape.

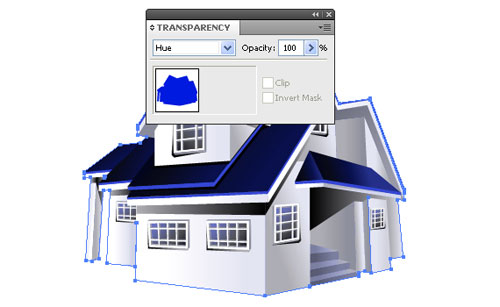
11. Fill this shape with blue color and place it over the house.

12. After placing the shape, go to Transparency window and select HUE option, as shown in image below.
13. After placing the shape over the house, it will look something like this.

14. Copy this shape once again and place it over the house. By doing so, the color of the house gets darker. It will look like this.

15. Our house is now ready.
Drawing the background
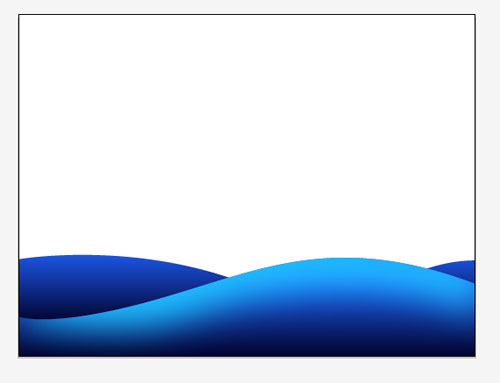
16. Let’s start working on the image background now and draw the land.
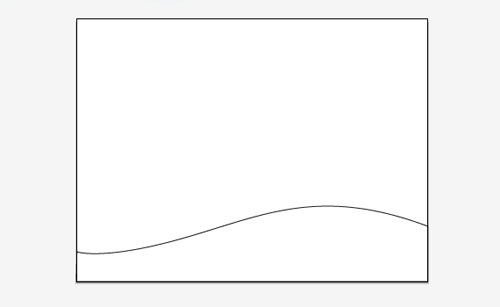
17. To make the land, draw a shape of a hill on the artboard.
18. Fill this shape with color. The value is given in the image below.
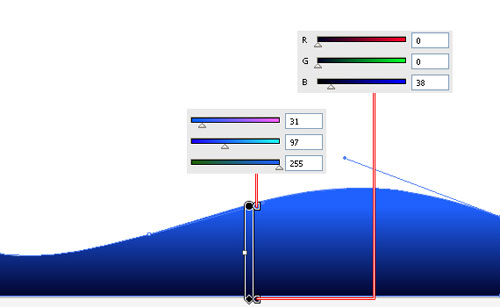
19. After filling the shape with gradient color, make one more shape.

20. Fill the other shapes with gradient color, too. We’ll use the same value which was used in the earlier shape.

21. Now, on this shape, use the pen tool to make one more shape. See image below.

22. Fill this shape with gradient color in values given below.

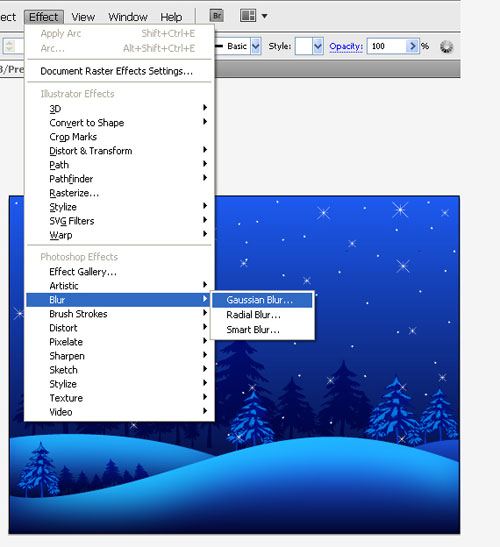
23. Select this shape and go to Effect > Blur > Gaussian Blur.

24. By selecting the Gaussian Blur option, a window will pop up. Input the values shown below.
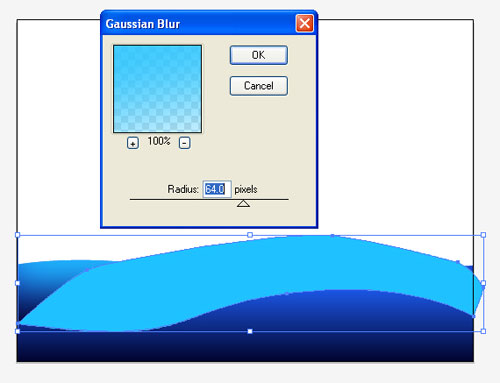
25. By doing the above step, the shape gets a little blurred.

26. Now on this blurred shape, copy the shape below.

27. Select both shapes and then mask them.
28. Similarly, blur the other shapes in the back and mask them.

Drawing the Night Sky
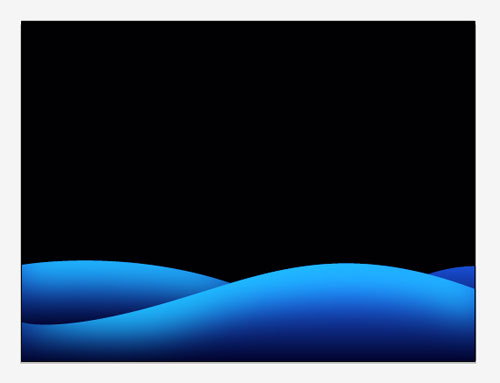
29. The next step in this tutorial is creating the sky. To do so, make a box first and fill it with black color, as shown in the image below.
30. Select the mesh tool and click on the left corner of this box. Input the values given here for the correct color.
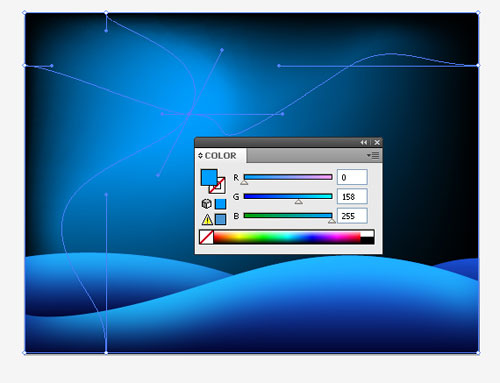
31. Similarly click on the right corner and input the given color. See below for the given values.

32. Click on the bottom left corner and fill the given color, the values shown below.

33. Set background opacity to 50%.

34. Make one box over the artboard and set the values given below for the color.

35. Place this box behind all the objects. You can use Ctrl + Shift + {.

36. Now, goto Windows > Symbol Libraries > Nature.

37. By selecting this option, you will see a window ithat looks like this.
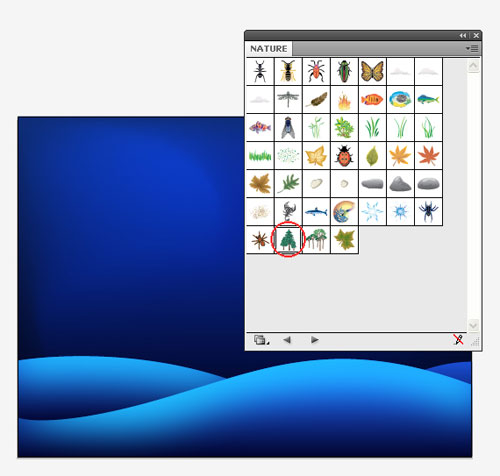
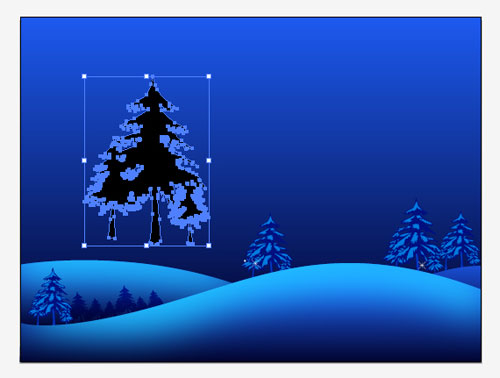
38. In this window, select the option that is marked red and move it onto the artboard by dragging it.
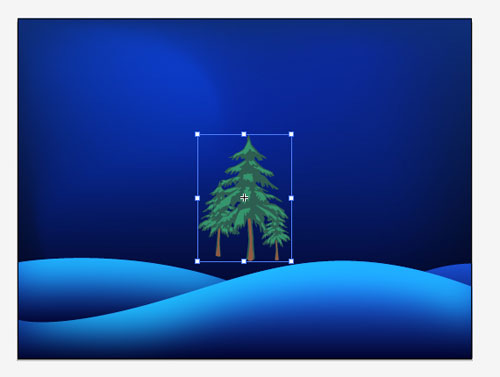
39. Select the symbol, go to Object > Expand option. Then expand the symbol.

40. After expanding the symbol, go to Edit > Edit Colors > Adjust Color Balance.

41. After selecting this option, you will see a window to adjust the colors. Input the values given below.

42. Place the trees as per your liking on the image.
43. We have used 2 types of trees in the final image. Now, let’s make the second tree. To do so, copy the first tree and go to Pathfinder window and select Add to Shape.

44. By choosing this option, the image will take a new shape. Fill the shape with black color.
45. Copy this tree and place it as per your liking around the image.

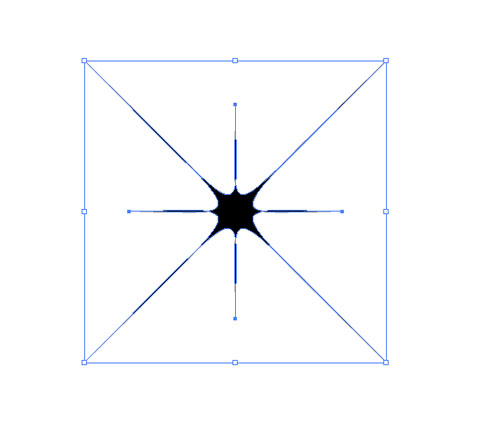
46. Next,we will make stars. To create the stars, see the steps below. First, make a shape as shown in the image below.

47. Select the star then go to the tool bar and select Crystallize tool.

48. Place this tool over the shape and click. This will convert the shape into the star that we will use on the image.
49. Place the stars as per your liking in the image.

50. On the top left of the image, make a white circle. (Cialis)

51. Copy this circle and make a slightly bigger circle.

52. Select the second cirle and go to Effect> Blur > Gaussian Blur.
53. By choosing this option, you will see a window in front of you in which to input the values given below.

54. After putting the values, the circle gets blurred. See image below.

55. Copy this blurred circle and make a slightly bigger circle.

56. Now, change the color of the biggest circle to blue.

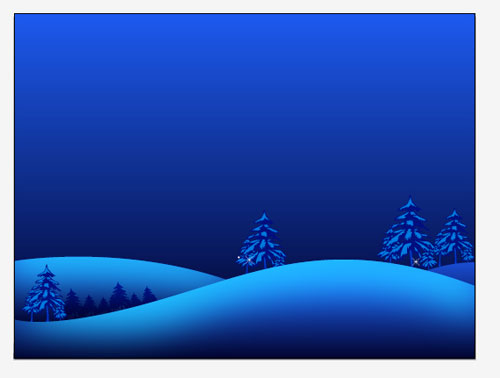
57. Place these blurred circles under the first circle.

58. After placing them, our image will look like this.

59. Our moon is now ready. Place any random shape on the moon that is similar to add a moon texture to it.

60. Trace the clipart of the owl and place on the image. You can use some cliparts from the internet, too.

61. Place the house on the hill to complete our night scene.

To download the source file for this tutorial, you will need to login as a member.
Sign up today to access all exclusive members content!
