


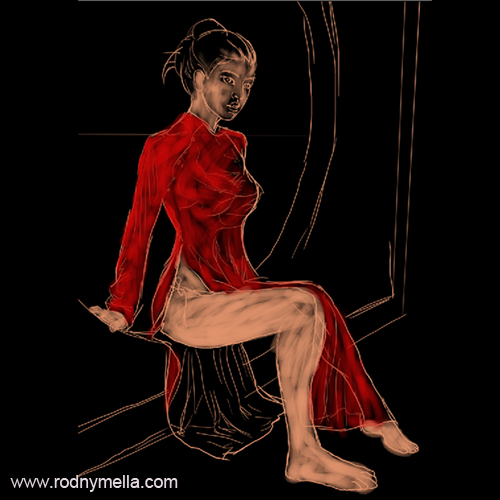
Here's how I do my painting. This is a work in progress so you'll see the steps I do in creating a piece. Below is a quick sketch over a black background. Then I fill them with colors I am going to use. I normally place a palette of color beside the drawing so I know what the colors will be.
 Now that I have color direction for the painting I will start to paint the face. I'll start with the eyes then followed by the rest of her face. After I get the basic silhouette of the face I leave it be for a while and continue to paint the rest of the body. Detailing is normally done at the final stage. For now I just want to fill colors and get correct shades. I work with layers because it gives me control over the objects I am coloring. Separate layer for shadows, for highlights, for characters and for background. 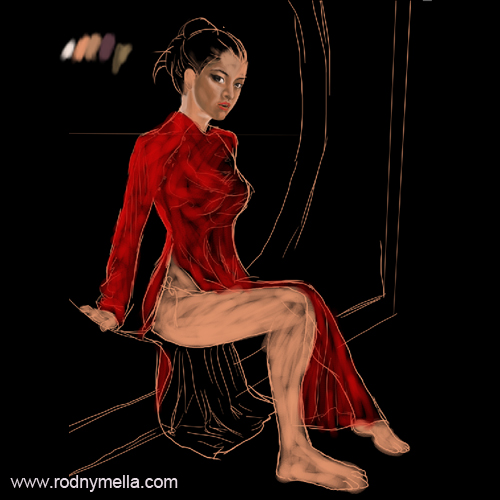 Here's just continuation of adding proper shades and lighting in the painting. Add dark shades on the dress and folds because it add realism into the painting. 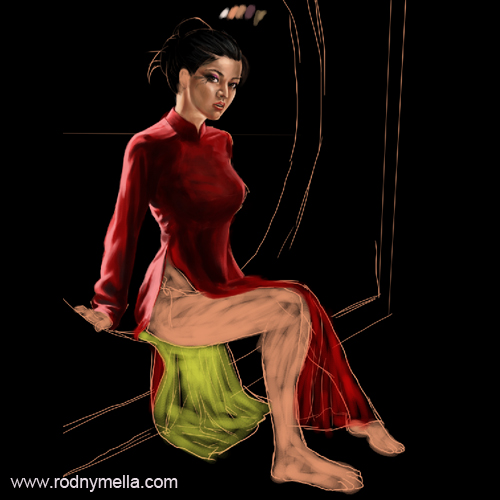 Here's the close-up of the face.  I finish painting the character with all shades and highlights in place. Clothes in plain red, hair silhouettes only and face. Next is adding embelishment in her dress and hair which I like very much. 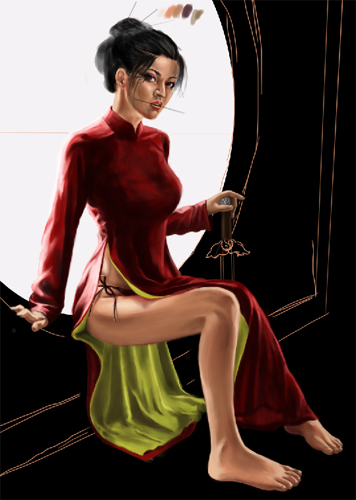 I drew the dragon on her dress in separate layer in orange color. Then I made the layer opacity to "Screen" or "Lighten" which ever one works well. Then another layer opacity to "Screen" and paint yellow orange color to give the dress the golden color. The graphics has to fit the folding of the dress to make it believable. I add props like the sword and the hair pins in separate layer so if I don't like it I can just turn off that layer. 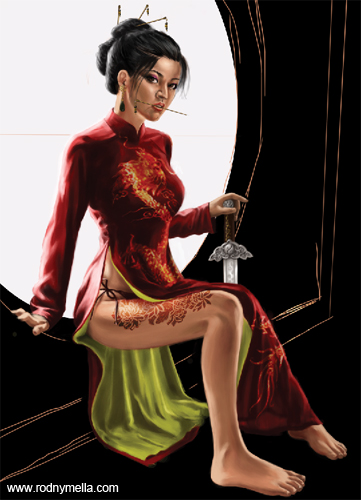 Here's close-up look 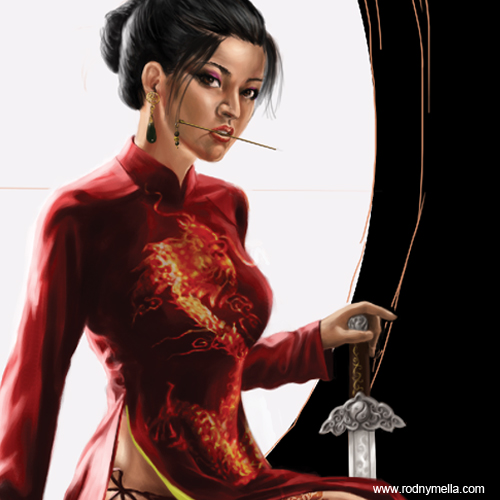 Background is pretty simple. I took some concrete and wood and tatami texture from the net then fit it in the wall. The image outside the window is just circle dabbing then I blurred it and dabb more white to get some depth of field. Correct placemenent of shadows and highlights will make it more beleivable.  Finally the last process is detailing. This is important because it adds life into the painting. I made some blood splatter in another layer then change the opacity of the layer to "Multiply". I finish it off by adding the shadows and highlights on the floors. Here's the final piece. 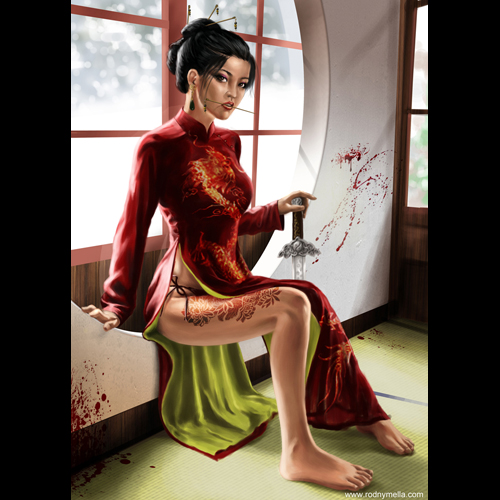 Here's larger image of the final piece. If have any question just leave me a message maybe I can give more specific techniques to you! Want to learn more painting process and 3D modeling and renderings in my webby here www.rodnymella.com 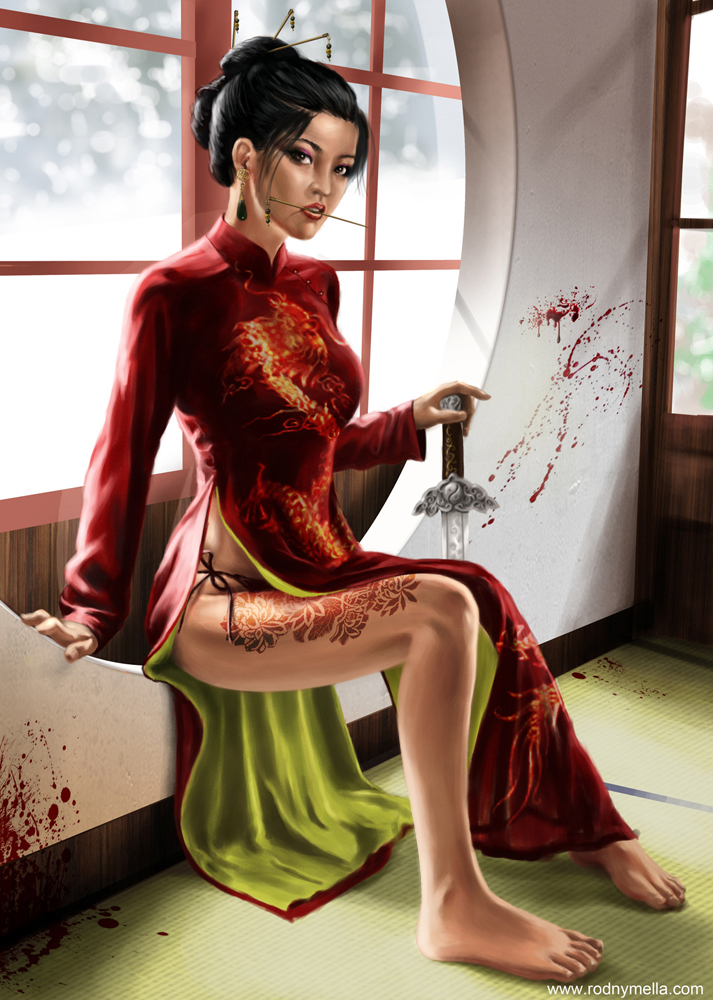 Cheers Peeps! Rodny 
Dig this tutorial?
Thank the author by sending him a few P2L credits!


|


