


We will be using Adobe Photoshop and then to add the effects will use Adobe ImageReady
First we create a new document. 100x100 should be good but you can make it smaller or bigger. Now create a new layer, chose the elliptical tool and holding shift create a circle in the middle of the document. Now fill it with any color you choose. Zoom in (ctrl +) to see better. 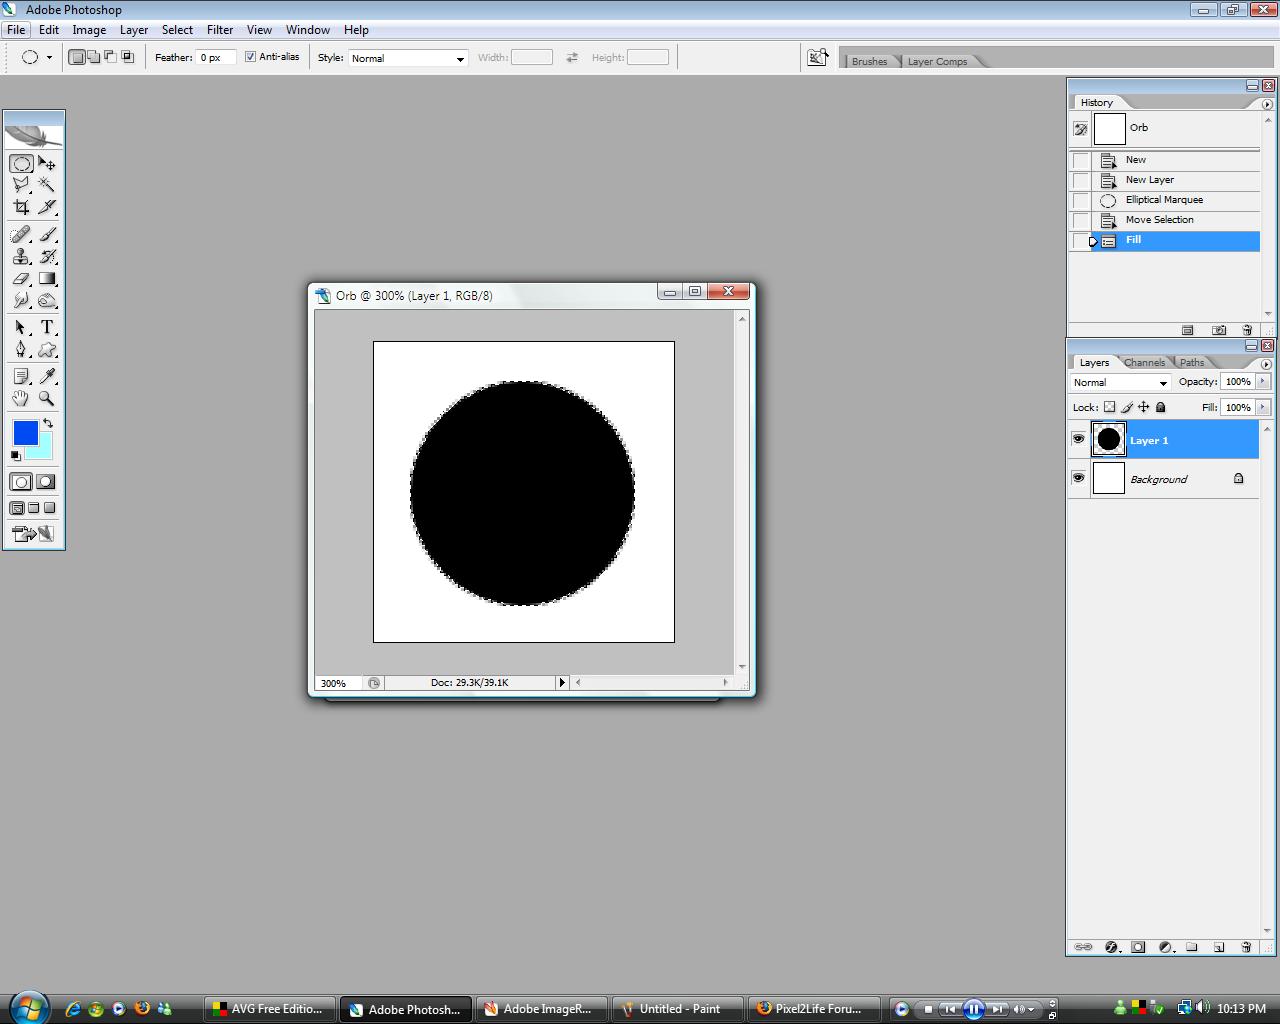 Now right click the new layer, choose blending options and apply the following:     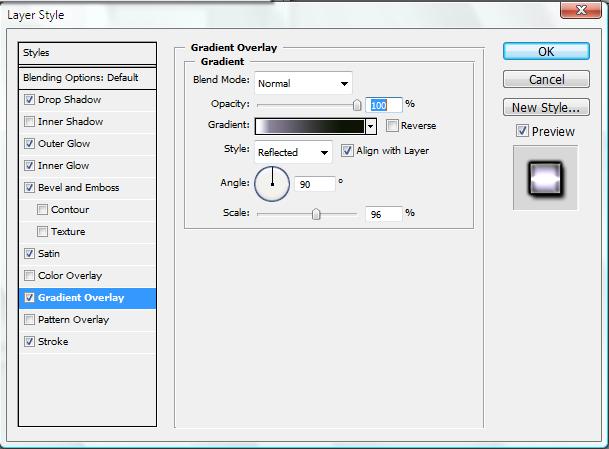 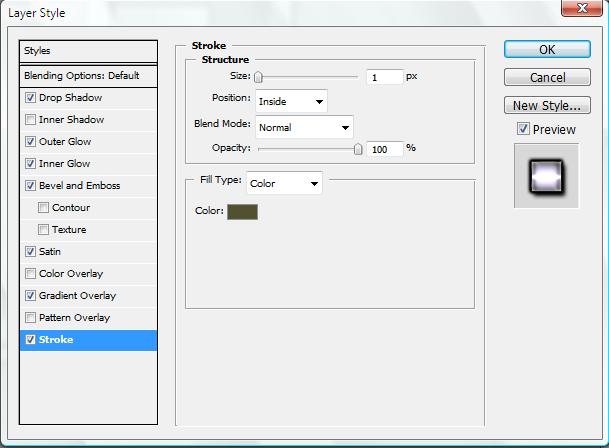 Now your orb should look like this: 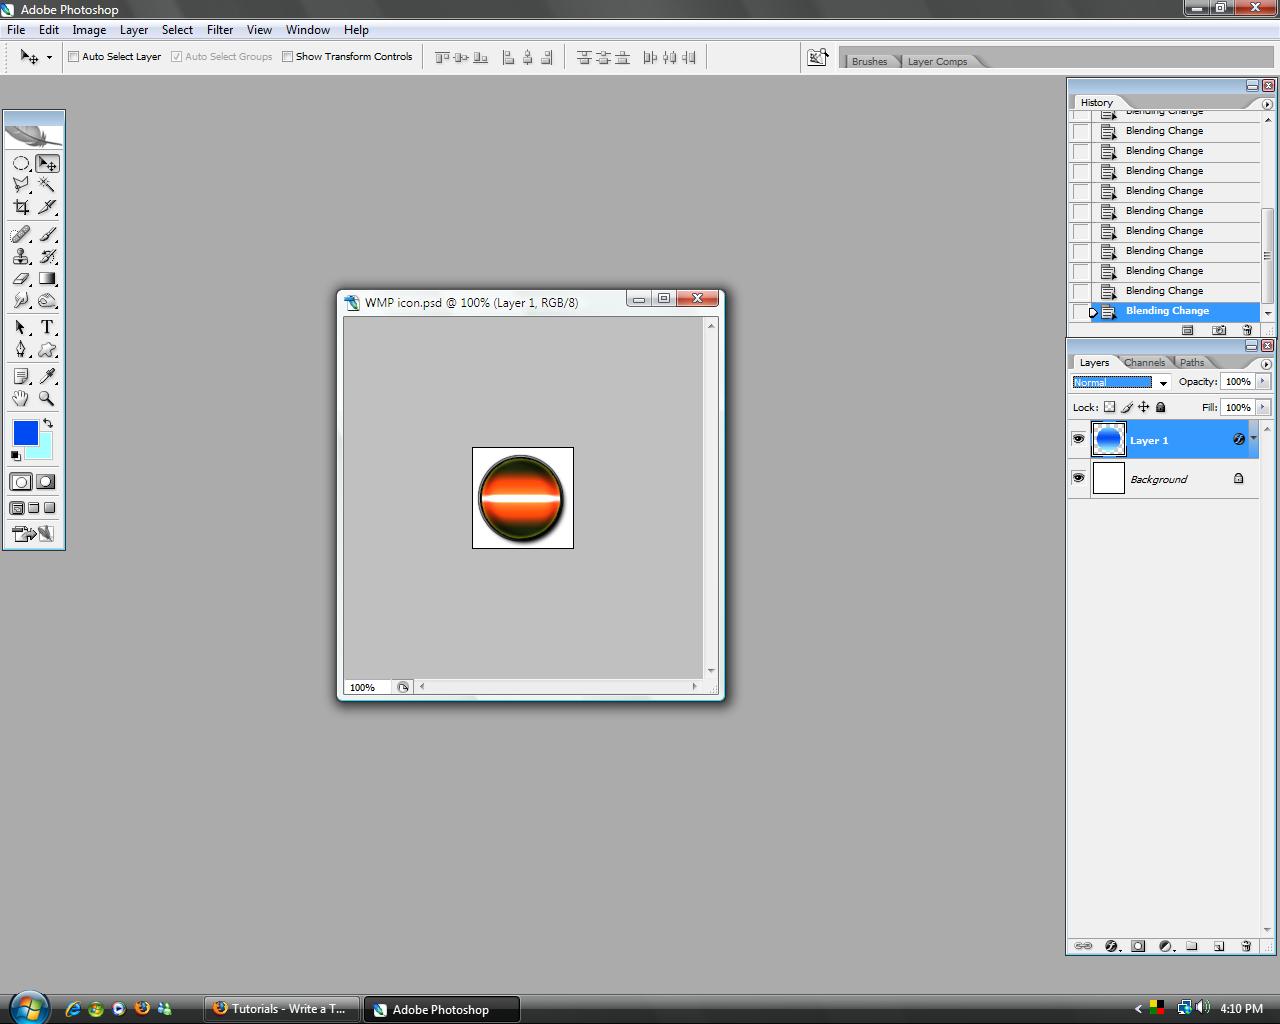 The next thing we are going to do to add the effects on the orb is go to File->Edit in Image Ready. Make sure you have the animation frames. If not, go to Window-Animation. Now create a new frame. With the new frame selected, go to the layers pallet and choose blending options for your orb layer. Go to gradient overlay and choose any color you want your orb to have. Keep making new frames and choose different colors for them until you have something like this:  Now select the first frame and choose TWEEN: 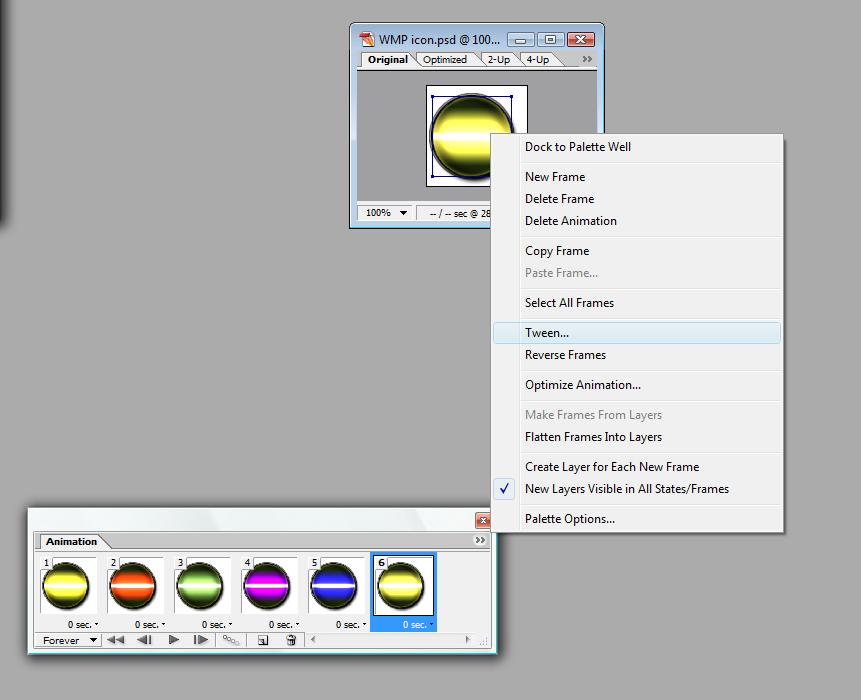 Now apply these changes:  After this do the same steps with the TWEEN changes to the original frames, not to the new 10 that were formed from the first original one. For the last original frame you tween with the previous frame. This is how your result should look like:  
Dig this tutorial?
Thank the author by sending him a few P2L credits!


|


