Morning Guys, Today i woke up and while started to browse pixel2life.... suddenly I thought to write a tutorial. So here we go. This is the final image i have got. Before beginning the tutorial... I want to remind you�that the two shades of glow used here are professionally used in many ways. Reminding you about proxicide's MKvsSF-3. He used the both glow effects in his movies to make it more catchy. But here is a quick reference to those glow shades.
�So start with a 640 x 480 document with Transparent Background and click on OK.
Now Press D*. (D to make your foreground color�"Black" and Background color "white). Use Alt+Backspace to fill the foreground color to background. Now you have a black background.
� Now type your text:- Anything you like to type (your name or girlfriend's name whatever)
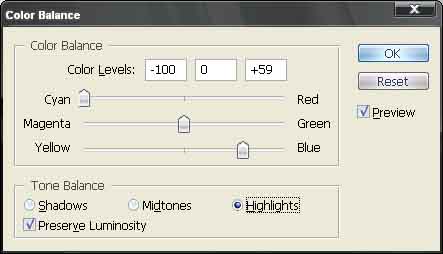
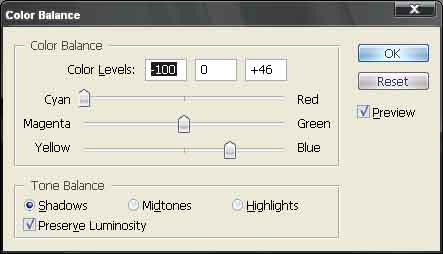
Now click on Layer -> New Adjustment Layer -> Color Balance Now adjust the color balance settings as shown below. Note:-Ensure that "Preserve Luminiousity" is checked.
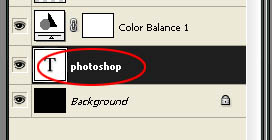
�Click on Ok and now Select the text layer
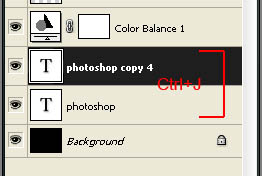
Click Ctrl+J to duplicate the Text Layer.
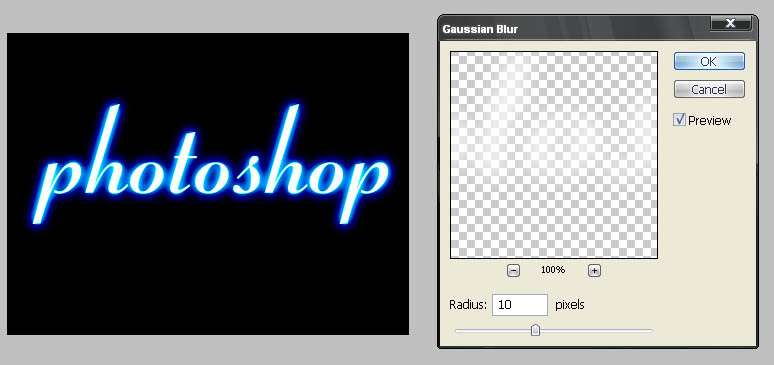
Now duplicated text layer�is�selected. Click on Layer -> Rasterize -> Type Now still selecting the rasterized layer Click on Filter -> Blur and enter the following settings in it.
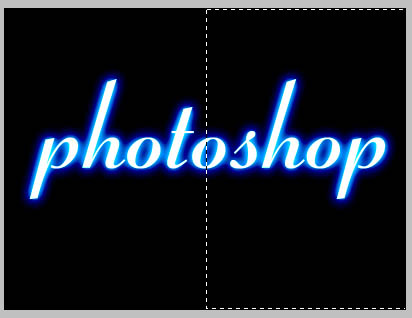
Now what you see here is�giving 10 pixel blur to Rasterized text layer. The color we see here is due to the color balance adjustment layer above the Rasterized text layer. Now Press Ctrl+A. It will select the whole canvas. Now Press Shift + Ctrl +C.�It will copy all the layers objects�in a merged clipboard data. Now press�Ctrl + N. It will open a new document......... click on OK Now Press Ctrl + V to paste the content Now select half of the canvas�and give it a feather of 120px like this.
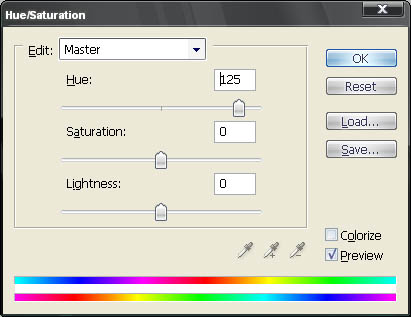
Make sure the selection is active. Now Press Ctrl+U to open Hue/Saturation or Image -> Adjustment -> Hue/Saturation Enter the following values Enter 125 in Hue and Press OK
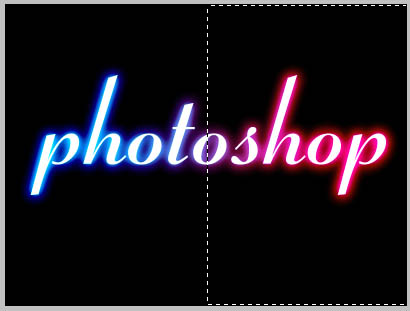
�Here is the Result.
See how easy it is�. Now you are done Enjoy! 
Dig this tutorial?
Thank the author by sending him a few P2L credits!


|


 �
� �
�