


ok I'm teaching you this time how to make a metallic futuristic border like this:

start by making your sig background.
if you did not start this sig on a transparent background go to select> select all. then press control + C to copy the image. make a new image the same px size as the other with transparent background and paste there.
from this image we choose the rounded rectangle tool.
now we will create a new layer and cover the whole image with this tool in white.
it should look like this:

now we use the single row marquee tool to select a line roughly where we want the bottom border to end. select the pencil tool and use a 60px brush coloured black to run over this selection a few times.
to get the exact same measurement on the other side I use rectangular marquee tool to go from the line to the bottom of the sig/banner and move it to the top then use single row marquee at the bottom point of the rectangle. do the same as above for this line.
it should get this look roughly:

now with the magic wand tool we click the white bit in between our 2 border pieces. press the delete button (or edit> clear) to get rid of it.
now for some blending options on the border:
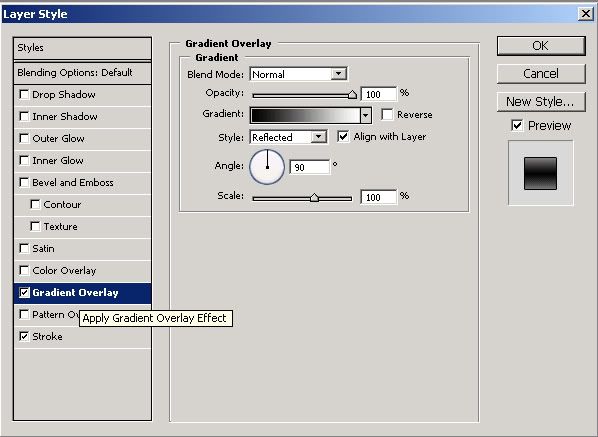
^^ where it says reflected MUST be done.
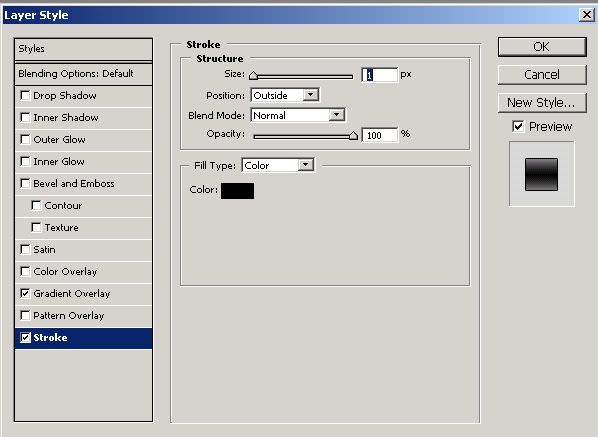
^^ the stroke does not have to be black
now we go to the lower layer and use the history brush to get rid of those corners and make them transparent. to save with corners still transparent go to file> save for web. make it a GIF file.
and youre done with the second tutorial I made myself.
heres the outcome again:
please let me know how you go with it.
url removed please read pinned topic
Edited by Donna, 27 October 2006 - 06:50 PM.


