


CREATE A 400*400 new document, dont ask why i jus like 400*400s......
Set the background as black,
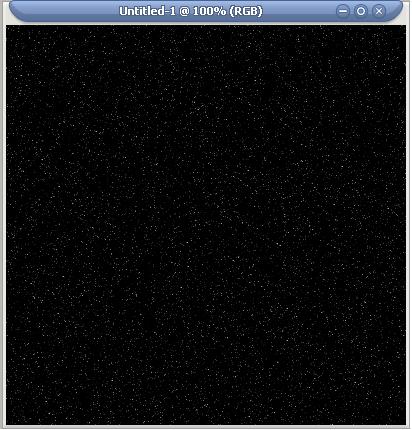
Then go to Filter>Noise>Add Noise at 25 %
with Gaussian and Monochromatic ticked!
then go to Image>Adjusment>Brightess/Contrast
Set the Brightness as -79
and Contrast as +24
You should now have something similar to this:
Make an new layer, call this Planet.
Anyway after that u'll need to use these colours as ur foreground: #0067A9, and #B0B0B0 as your background
Using the Elliptical marquee tool make a Cirlce while holding the Shift key.
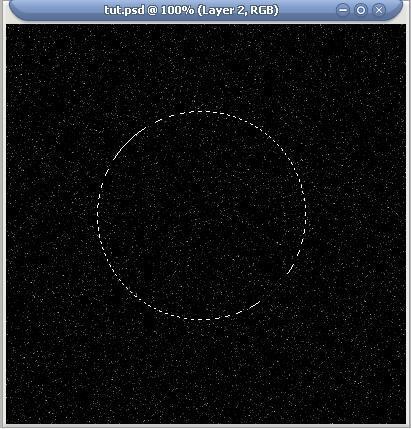
Fill this up with the Background colour(Silvery one)
Make another layer an fill it up with the Foreground colour(Blue)
Make another layer
 this time fill it with lots of squiggly line using the bluey colour, i used a 5 px brush
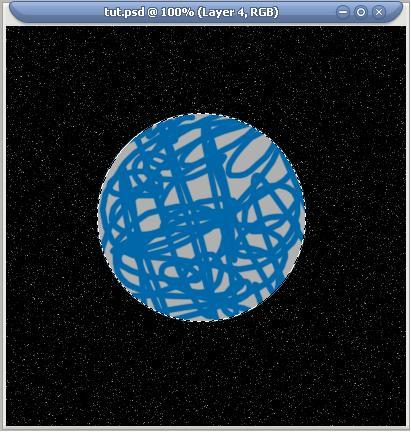
be really generous with the amount of lines u make but be sure u show some of the silver.
Now go to Filter>Blur>Motion Blurand set it to about 250 to 260 depending on your lines, and set the angle to 25
Then go to Filter>Disort>Spherize and set it to 100
Then CLick Ctrl+F once to add the effect again .
Now set the Blending Mode to Colour Burn.
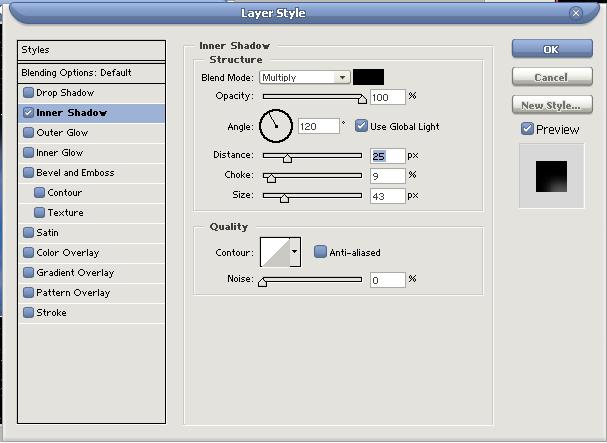
Then Merge all the Layer by Clicking Ctrl +E but DONT MERGE WITH THE BACKGROUND!then go to Layer>Layer Style> Inner Shadow
And set it to these settings:
and
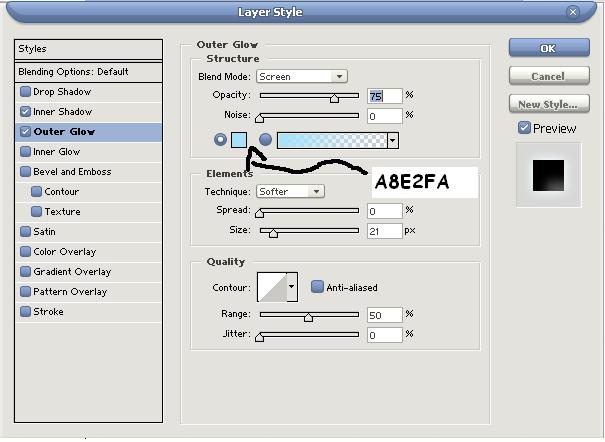
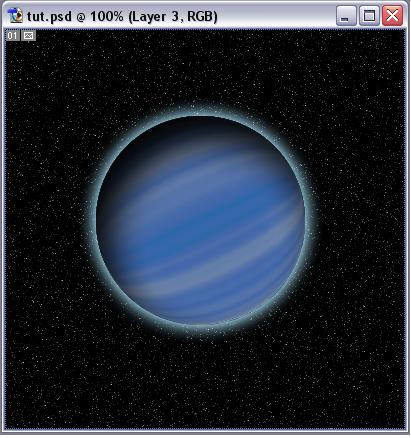
You should now have something similar to this:
half way through now
now you'll create the Ring around the planet
Dont worry this is really easy
Creat a new layer an Click D to resest the Colours
Now go to Filter>Render>Clouds
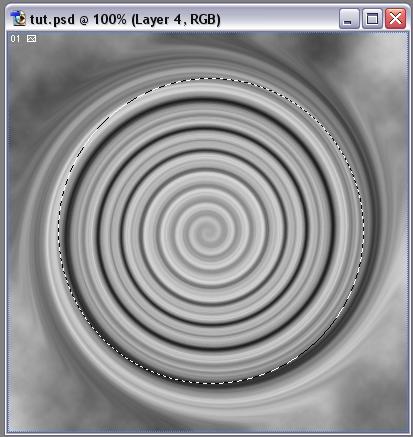
Then go to Filter>Disort>Twirl
Set it to 999(max) then Click Ctrl+f Twice to add the effect twice.
You should have this:

Now using the Elliptical Marquee Tool Make a circle around the outside of the twirl.
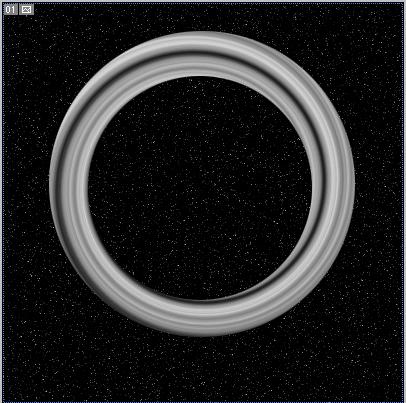
Then go to Select>Inverse then click Delete
then USin the Elliptical Marquee Tool selec the middle of the cirle and delete so that you end up with a Ring
Now go to Edit>Transform,Now using Scale Skew Rotate Disort and Perspective Give the Ring a Good angle so that it looks real: this is what i have:
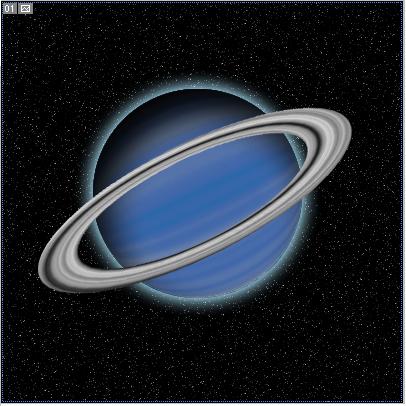
Now get the Eraser Tool And set the Opacity to 50%and erase the excess so that you have this:

I also added Colour, Click Ctrl+U make sure you tick the Colorize Box
HUE=207
Saturation=25
Lightness=0
Ok Final Step now
 :
:to make the ring realistic i added some blur
Filter>Blur>Motion Blur
Angle=0
Distance= 6 px
Thats It my Final Result:#
I also added a Lens Flare
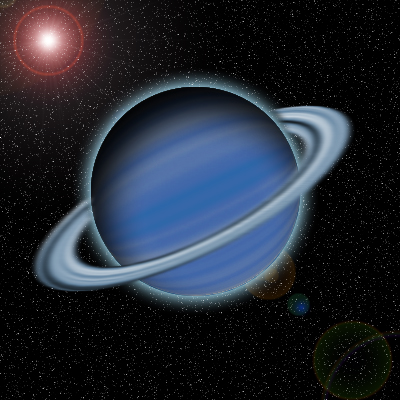
Done Hope You enjoyed!

Edited by Donna, 30 July 2005 - 12:34 PM.


