At this moment, there are many way to make a presentation. One of them is to use a screen capture.We will show you how to make a presentation using screen capture with auto panning. Panning is a wayto move the capture area during capturing session. Moving capturing area is useful when you want torecord different part of desktop one at a time. Without panning, your only option is to record thewhole desktop which is not quite effective as the resulting presentation will be very large.
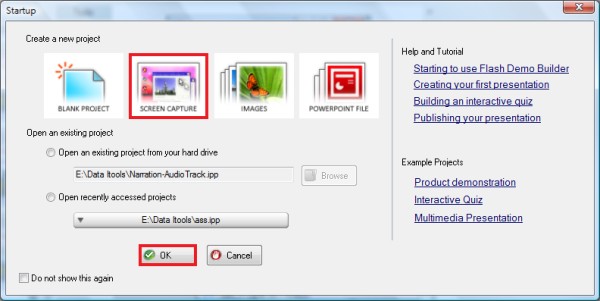
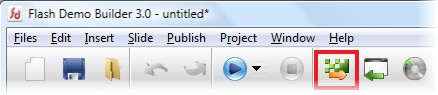
Step 1 Install and Run Flash Demo Builder from here Step 2 From startup menu, choose "Screen Capture" & click on "OK" button.
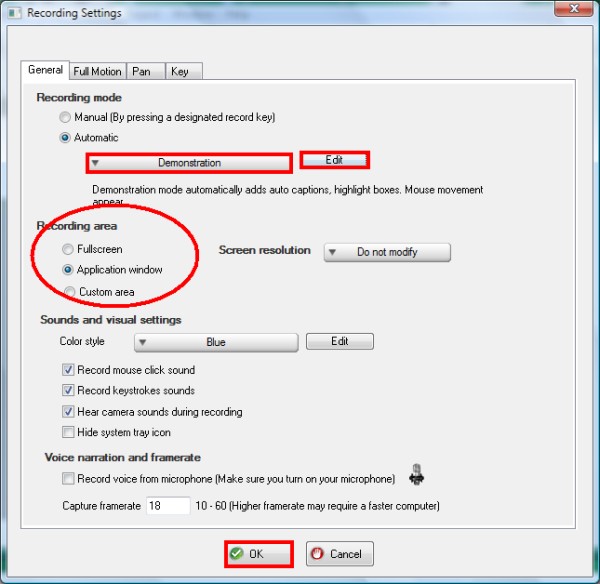
Flash Demo Builder will show a window to choose the record settings.
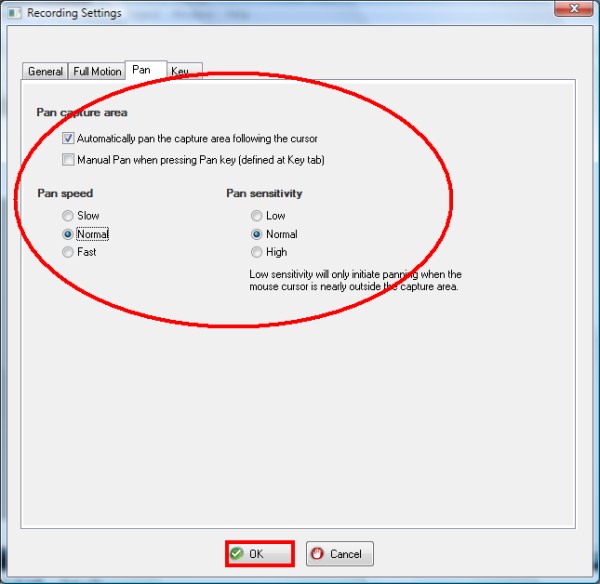
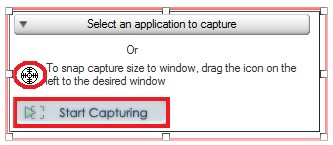
Choose "Automatic" for recording mode. At the dropdown, choose "Demostration". Automatic is recording mode toautomatically takes a screenshot, insert an auto caption, a mouse click highlight and a mouse movement dependingon the keyboard and the mouse activities. A Demostration automatically adds a mouse movement, an auto caption anda mouse click highlight.You can click "edit" button if you want to change the setting. We have checked some settings. To edit the settingof Pan Capture, click on "Pan" tab. You can choose automatically or manually settings. We use automatically settings. The rest we use default. Then click "OK" button. Step 3 A capture window will show. You can either select a running application window by clicking on Select andapplication to capture button, resize and drag the red capture window manually or by dragging the smart snap cursorinto any window.
For this tutorial, we drag the icon. To start capturing, click on "Start Capturing" button. Step 4 Flash Demo Builder will show a window to choose the project dimension. We choose "Same as Capture Area".
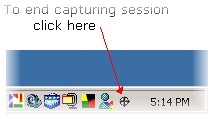
Step 5 Now, time to make a demontration. You can end the capturing session by clicking on the icon at the bottom rightcorner of your desktop as shown below or by pressing a Ctrl + End button. Throughout the capture session, a mouse movement,an auto caption and a mouse click highlight will be added.
Step 6 Your flash prsentation is done. You have to publish this project into a flash file before upload it into yourown website.
Here is the result:

|